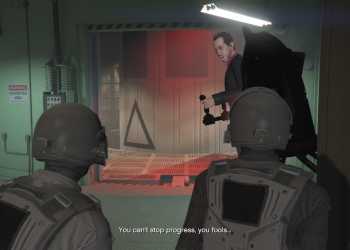
The Doomsday Heist Act 2, 'The Bogdan Problem' is the second installment in the Doomsday Heist sequence. This act consists of four setup missions with their own respective prep missions. The setup cost for Act 2 is GTA$ 95,000 with a return payout of GTA$ 1,425,000 on normal and GTA$ 1,781,250 for hard mode.
Contents:
Prep 1 - Keycards
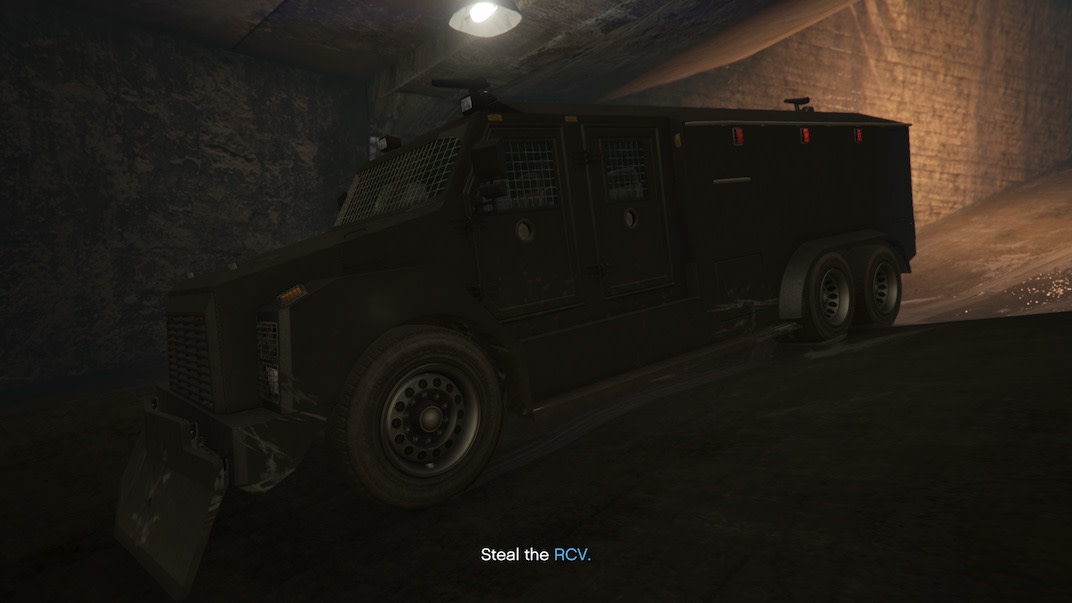
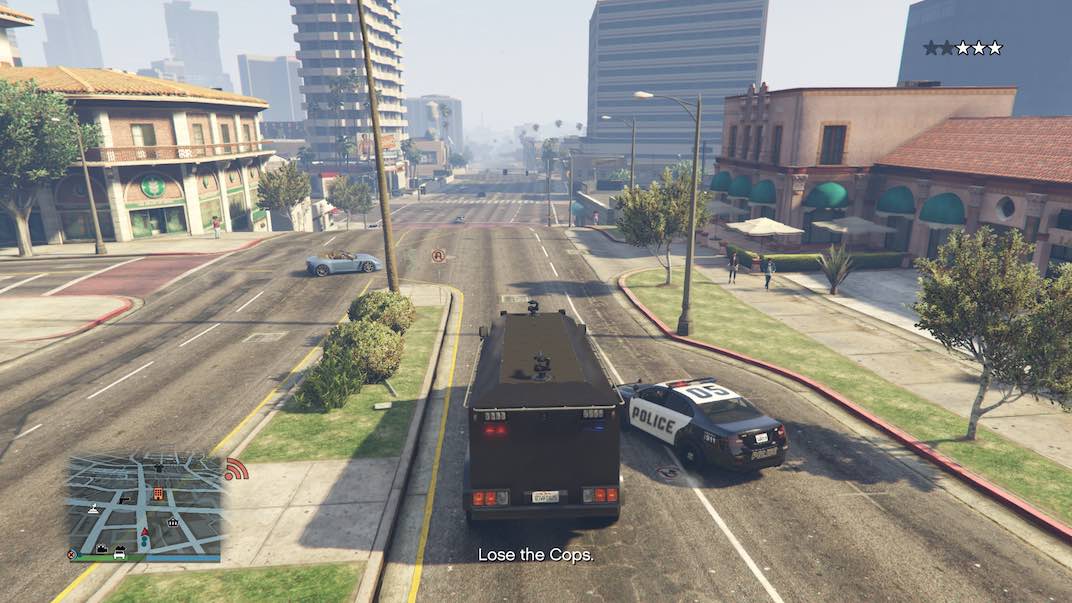
To get things started you will need to go to a gas station and steal the riot control van. An armored vehicle is recommended as you will find an active robbery in progress and police presence on the scene responding to the incident.
Punch a hole through them and create an opening to jump into the riot van. Lose your wanted level before heading back to the facility.
Pro Tip: It might be a slight detour but head to the canal tunnel next to the casino and sit tight to wait out the coppers. Make sure you are parked far enough in as some ambitious troopers will enter by foot near the service tunnels entrance. Additionally, you can always call Lester to get rid of the police.
Careful not to destroy the riot van. It is armored, not indestructible. 3-4 explosions will total the vehicle and you will need to restart the mission.
Once you've ditched the wanted level head back to the facility to drop off the riot van.
Setup 1 - Avenger
This setup mission is suprisingly difficult. Make sure to stack up on snacks, armor, ammunition, and prepare for a lengthy fire fight.
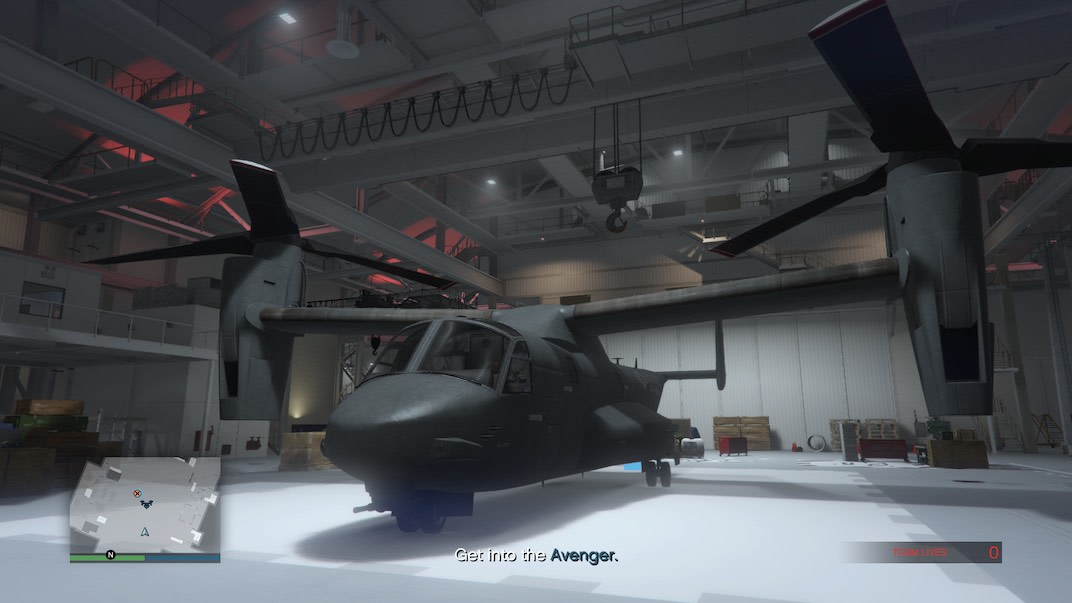
Once you're inside of the hangar, immediately head to the right side and take cover. The power will be cut and the lights will go dark. Turn on your night vision and proceed to the stairs on your right, making your way into the office rooms.
Keep an eye out for muzzle flashes from the rafters, this will help you spot the enemies. Make your way to the top floor and carefully head to the generators to get the lights back on. Once you have the power back on, finish cleaning up and make your way to the Avenger. Fly back towards the facility and drop off your new asset in the indicated area.
Prep 2 - ULP Intel
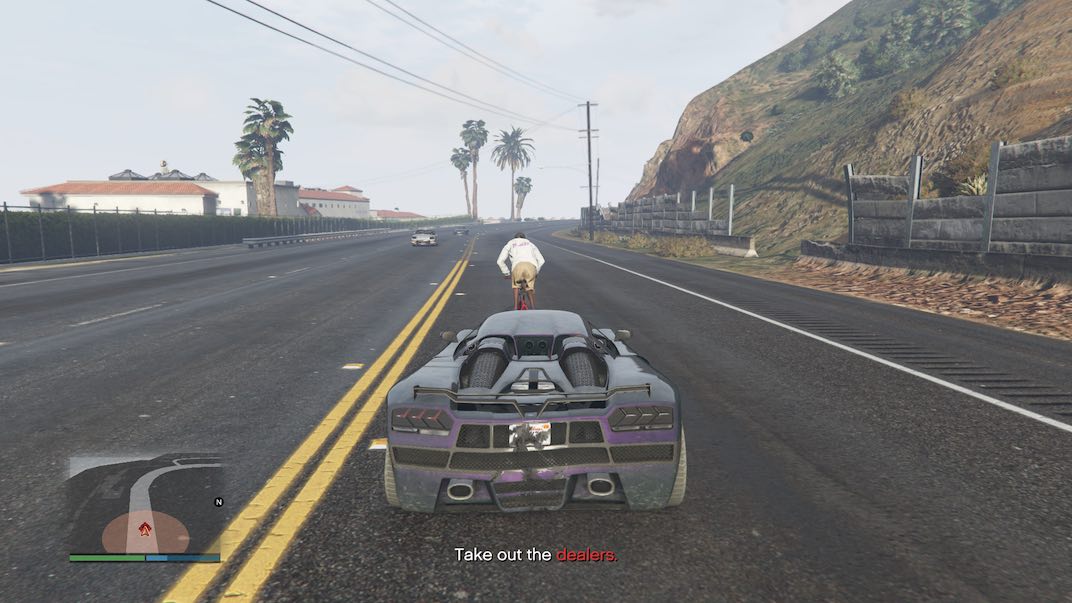
This prep mission is straight forward. A fast vehicle, preferably an aircraft with homing missiles, is recommended. You will need to take out some drug dealers who will then reveal the location of an apartment with the intel you are looking for.
Enter the building and kill the remaining dealers inside of the apartment, collect the duffel bag which is holding the intel and bring it back to the facility.
Setup 2 - Rescue ULP
For this setup mission you will need to rescue an agent from inside a heavily guarded building. Make sure to have max snacks, armor, and ammo. It is also recommended to bring an armored and/or weaponized vehicle to clear the guards out of the surrounding area. Team 1 will enter the foundry and team 2 will be in the lookout tower providing cover fire. Team 2's main objective is to prevent any enemy forces from entering the building and blindsiding team 1; they will be having a hard enough time as it is.
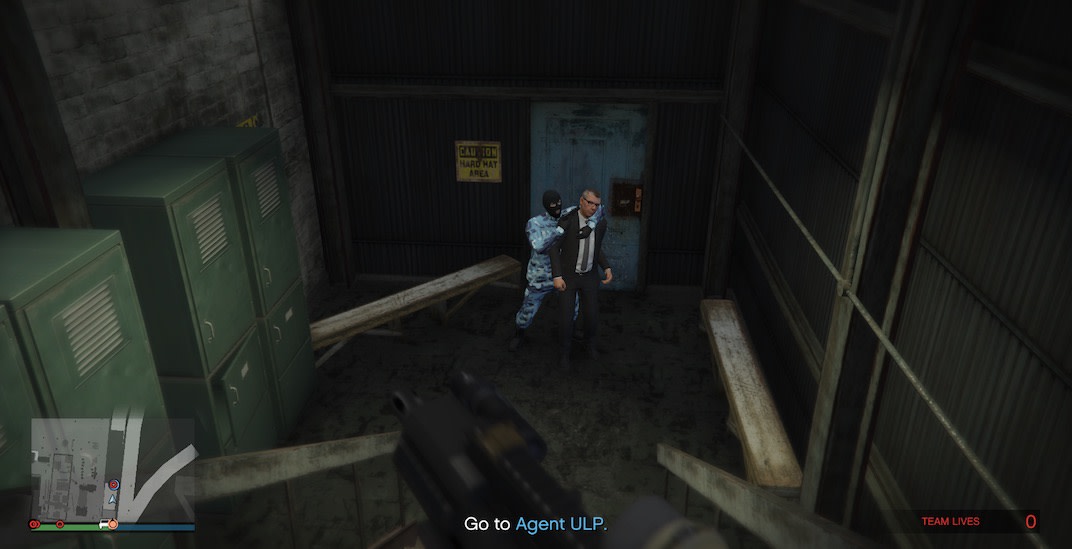
Team 1 will need to clear out the building and make their way upstairs to locate Agent ULP, where you will find him held hostage at gunpoint. Kill his captor and then exit the building by backtracking the way you came.
Once outside, take cover and dispatch the enemies before making your way to the getaway vehicle. Once team 1 and the agent are mobile enemies will pursue on your way to the drop off point. Team 2 can continue dealing with the enemies to make team 1's escape easier. Once you reach the drop off point it is mission complete.
Prep 3 - Riot Control Van
Go to the designated area and incite a riot by throwing tear gas into the crowd. Once the riot begins, you will need to brawl with the rioters. Keep it fist to cuff, no weaponry. The idea is to get the riot control van to show up so you can steal it.
Hang back and let the chaos ensue. Once the RCV arrives, run up to it and jump in. Upon entering the van you will receive a 3 star wanted level. The next step is to lose the cops by either your own devices or by calling Lester.
After you have successfully gotten rid of your wanted level, deliver the riot van back to the facility and you are ready for the next setup mission.
Setup 3 - Salvage Hard Drives
This setup mission is tricky but after you get the hang of the water hose it's not as challenging. Time will not be on your side though, so team 1 will need to hustle and team 2 will need to provide adequate support to beat the clock.
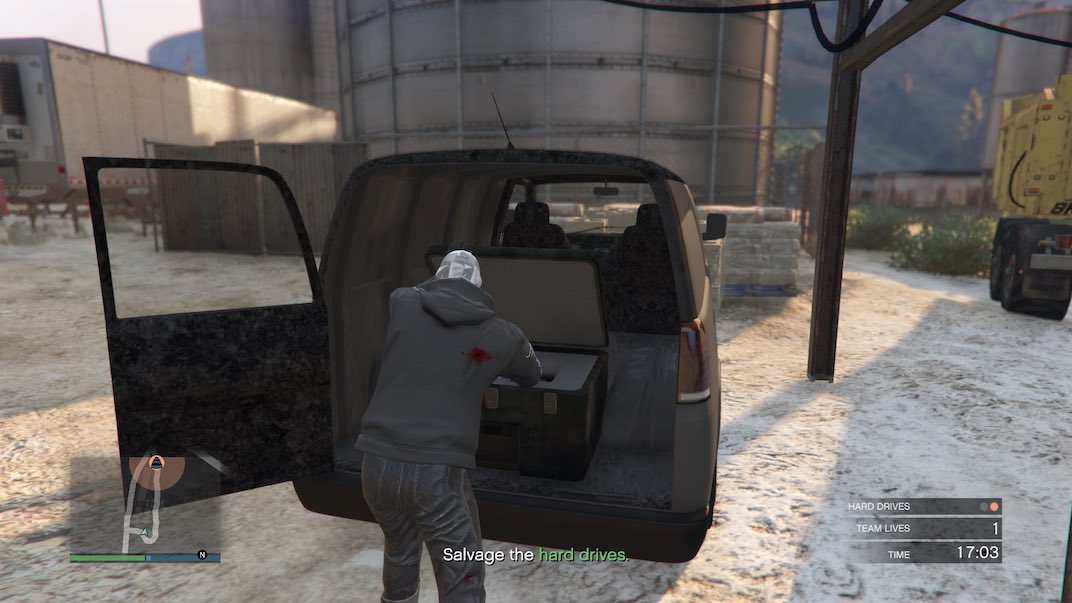
You will be prompted to go to multiple locations where you will find some vans that are on fire. Extinguish the flames and collect the hard drives from the burnt out vans.
Pro Tip: Put out all of the fires first before clearing the enemies and collecting the hard drives. Use the hose on the riot van to knock down and stun the enemies, buying you time to extinguish the fire and weakening them so team 2 can finish them off.
Team 2 will need to provide cover fire for team 1 as they salvage the hard drives from the vans.
There are 4 sites in total, each one with increasing difficulty and amount of fire you will need to extinguish.
At the final location, after you put out all of the fires the timer will stop. After it stops counting down you can relax and clear the yard before salvaging the hard drives, all but insuring an easy victory.
Prep 4(a) - Strombergs
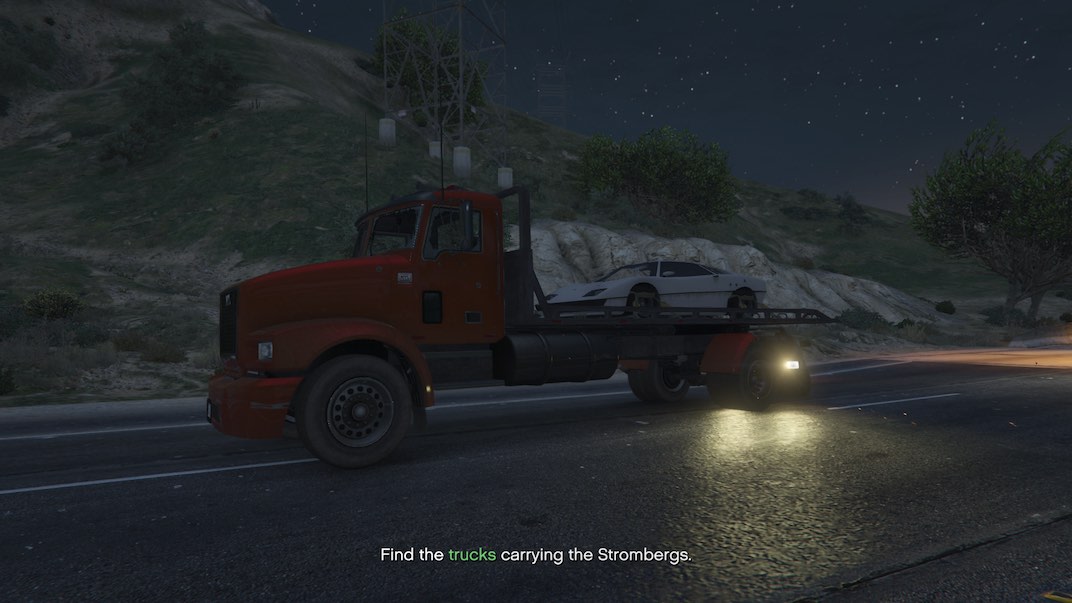
For this prep mission you will need to locate 4 Strombergs that are scattered across Los Santos strapped to the back of 6 delivery trucks. There are a couple of different strategies you can implement to sort out the decoys. You can either split up to divide and conquer and hope you get lucky, or you use a flying vehicle to perform fly-bys and correctly identify your marks.
When you successfully identify a truck carrying the Stromberg your mini-map truck icon will change from green to blue. If it is a decoy then it will disappear from your map.
Once you have identified your target, take out the driver, get into the truck and return it to the facility. You will need to do this 4 times so a friend will help expedite this mission. After you return all 4 Strombergs, the mission is complete.
Prep 4(b) - Torpedo ECU
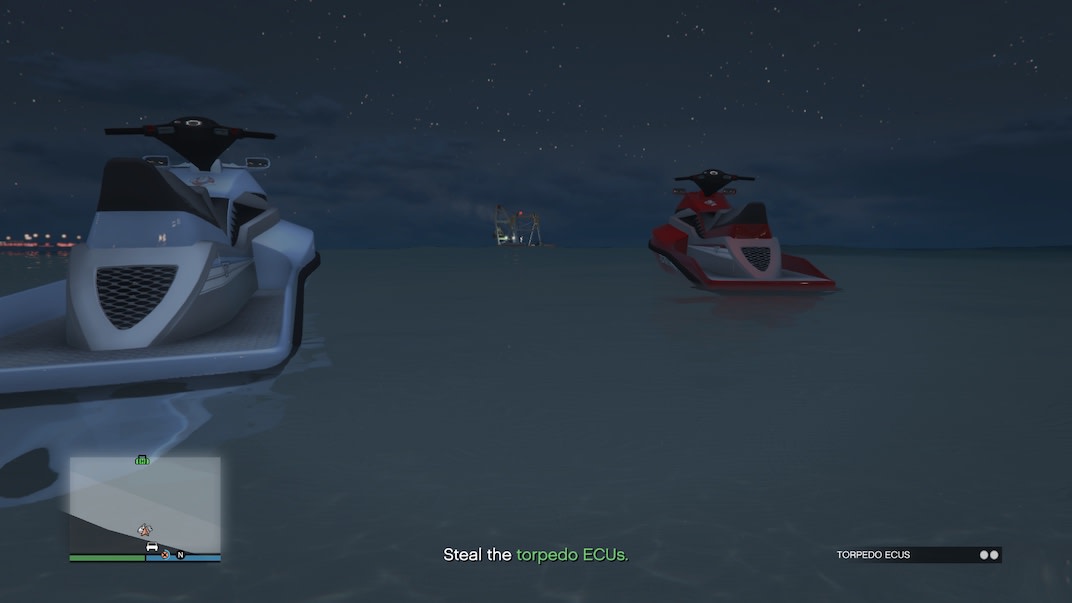
For the continuation of prep mission 4 you're asked to board an oil barge and steal the Electronic Control Units it is carrying. You can expect heavy resistance and you will need to retrieve two units so an accomplice is very welcome.
A flying and weaponized vehicle with homing missiles is recommended for this mission as are snacks, armor, and ammo.
Once you arrive at the barge you will need to take out the enemies. You will also need to destroy two helicopters. After the coast is clear, board the barge, collect the ECU's and then bee line back to the facility.
After you have collected both ECU's and returned them to the facility you will be done with the prep mission and ready to proceed.
Setup 4 - Submarine Recon
This setup mission is a piece of Pan De Agua. Start out this setup mission by taking the Strombergs to North Chumash and destroying the convoy you encounter there.
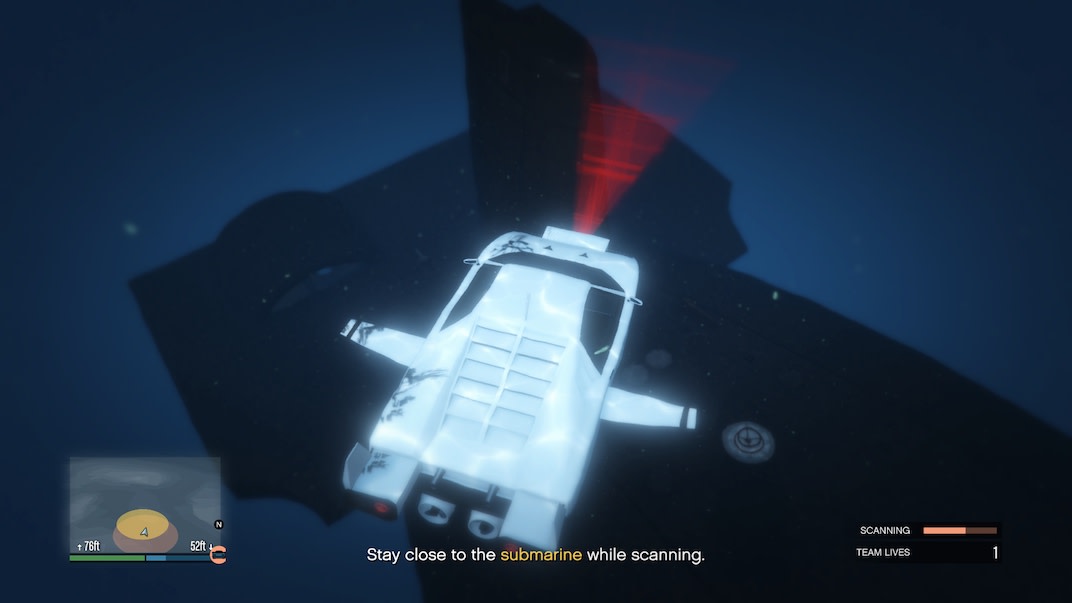
After you take out the convoy, both teams 1 and 2 will need to go to Paleto Cove. Drive into the water and engauge the Stromberg's submersible mode. Team 1 and 2 will have mirror responsibilites but in different locations. You will need to clear the sea mines in order to gain access to the submarine. After clearing the mines Team 1 will need to scan the submarine. You will need to complete the scan three times at the bow, amidships, and stern. Team 2 will have another area to scan.
Once you have completed the scans, it's time to head back to dry land and return to the drop off location. Pro-ish Tip: Don't forget to disengauge the Stromberg's submersible mode otherwise you will not go anywhere and you will look stupid.
Act 2 Finale - The Bogdan Problem
The finale of Act 2 gets real, real quick. One team will need to use the Avenger and the other team will need to board the submarine underwater. As this is the finale you can expect heavy resistance so fill up on snacks, armor, and make sure to meditate to cleanse your chakra before starting...
The Avenger's role will be to hover above the submarine in auto-piolet mode, using its turrets to take out the incoming enemy helicopters while the Stromberg's team boards and assaults the submarine. Pro Tip: Park the Avenger high above the submarine to slow down the rate of fire received from attacking choppers.
The Stromberg team will experience a standard fire fight while making their way to the control room. Proceed through the submarine clearing all enemies as you make your way through the hull.
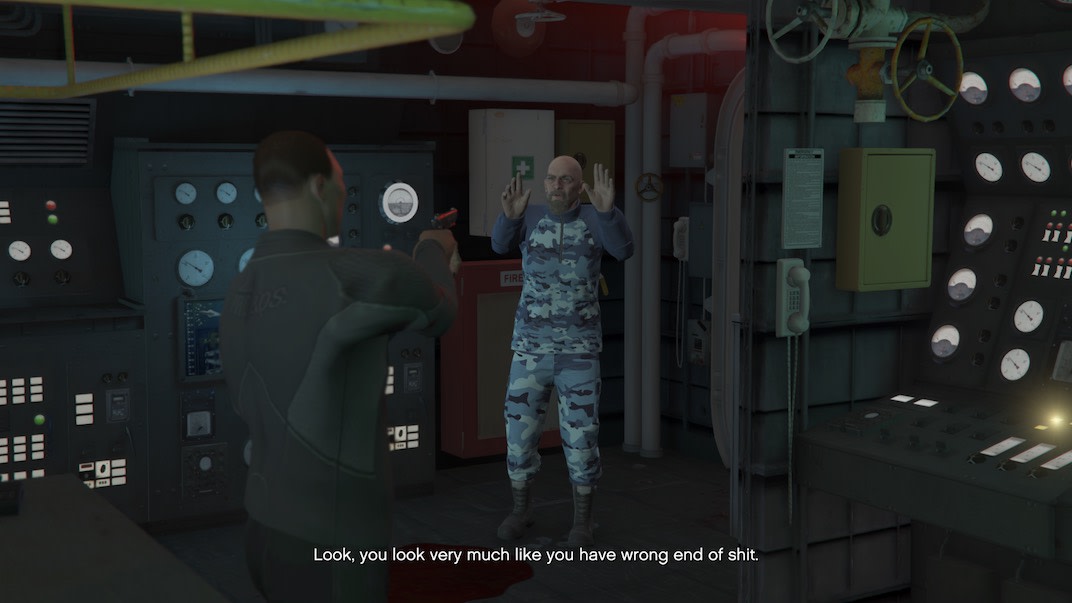
Head down the stairs and take a left to enter the locker room. Go through the locker room and enter the kitchen. Dispose of the guards and continue forward. Once you reach another set of stairs, make the descent and this time take a right to find the contact you are looking for. Take out the guard and interrogate the prisoner for information. Threaten the prisoner and he will cough up the information you need to proceed to the next check point.
After you have interrogated the prisoner, double back to the control room. Take a picture of the table and plug in the USB to the console. If you did this correctly a cut scene will begin. Once this is over you will be teleported outside of the sub. Make your way to shore and link back up with the Avenger team. Once you are reunited, bring the Avenger back to the drop off location to complete the heist.
Congrats on successfully completing The Doomsday Heist Act 2: The Bogdan Problem!
