How to Complete Bunker Sell Missions (Gunrunning) in GTA Online
Sell missions are the only part of bunker income that isn't passive. You can do whatever you want in-game while your staff build the stock, but once they're finished it's up to you to drive it out for the actual payday.
Read on for every sell scenario, the exact stock thresholds that keep your sale down to one vehicle, and how to sell safely without a crew.
On this page
Bunker Sell Mission Overview
When you begin a sell mission you'll start outside your bunker with one or more delivery vehicles. There are 6 possible scenarios and one is chosen at random when you start the sale. In every scenario the job is the same: get the vehicle(s) to the drop-off location(s) within the time limit without letting them get destroyed, and the payment lands in your Maze Bank account immediately.
Quick facts | |
|---|---|
Guaranteed one-vehicle sale | 25 units or less (GTA$ 175,000 stock value, upgraded bunker) |
Phantom Wedge stays one truck | Up to about 50 units (roughly GTA$ 350,000); other scenarios don't |
Time limit | 15 minutes for most scenarios, 30 for the Merryweather run |
Solo time bonus | Timers run 50% longer when selling solo (since June 2024) |
Best scenario | Phantom Wedge |
Toughest solo rolls | Dune FAV, Insurgent with Merryweather ambush |
Bonus daily sell | Ammu-Nation Contract, GTA$ 50,000 every 48 minutes |
Two changes since this guide family first appeared are worth calling out. Since The Criminal Enterprises update (July 2022) you can sell in invite-only, friends, and crew sessions, not just public ones. And since a June 2024 update, all bunker sell timers run 50% longer when you launch the sale solo, so a standard 15-minute delivery gives a lone seller 22 and a half minutes.
In a public session your position is broadcast to other players shortly after you set off, and they earn cash and RP for destroying you. That fight is now optional; see the public sessions section below before you take it on.
When to Sell Stock
You can sell stock as soon as there's any in the bunker, and the more you carry, the more delivery vehicles the game may hand you. That's the real strategy question: how much can you sell before the mission stops being soloable?
Here's how sale size maps to vehicles with a fully upgraded bunker (values are the base stock value shown for a nearby sale, before the 50% Los Santos delivery bonus):
Stock you sell | What you can get |
|---|---|
Up to 25 units (GTA$ 175,000) | One delivery vehicle, guaranteed, whatever the scenario |
26 to about 50 units (up to roughly GTA$ 350,000) | A Phantom Wedge roll stays a single truck; every other scenario can spawn 2 or more vehicles |
Above about 50 units | Multi-vehicle on most rolls, scaling up to 3 Insurgents or Marshalls, or 2 Phantom Wedges, at full stock |
The safe solo pattern is to sell every 25 units, which comes around roughly every 3 hours of production. Every one of those sales is a guaranteed single vehicle.
Pushing into the GTA$ 350,000 band is a gamble, not a guarantee: only a Phantom Wedge roll stays single-vehicle up there. It can pay off if you're willing to reroll bad missions by switching sessions (covered below), but never read that band as a promised one-vehicle sale.
With helpers, everything changes: a full 100-unit bunker sold to Los Santos is GTA$ 1,050,000 in a single mission. If other players are driving for you, register as an MC President rather than a CEO, since helpers are paid better on MC sales. They'll appreciate it.
Sell Mission Scenarios
Below are all 6 scenarios, roughly in order of how happy you should be to see them.
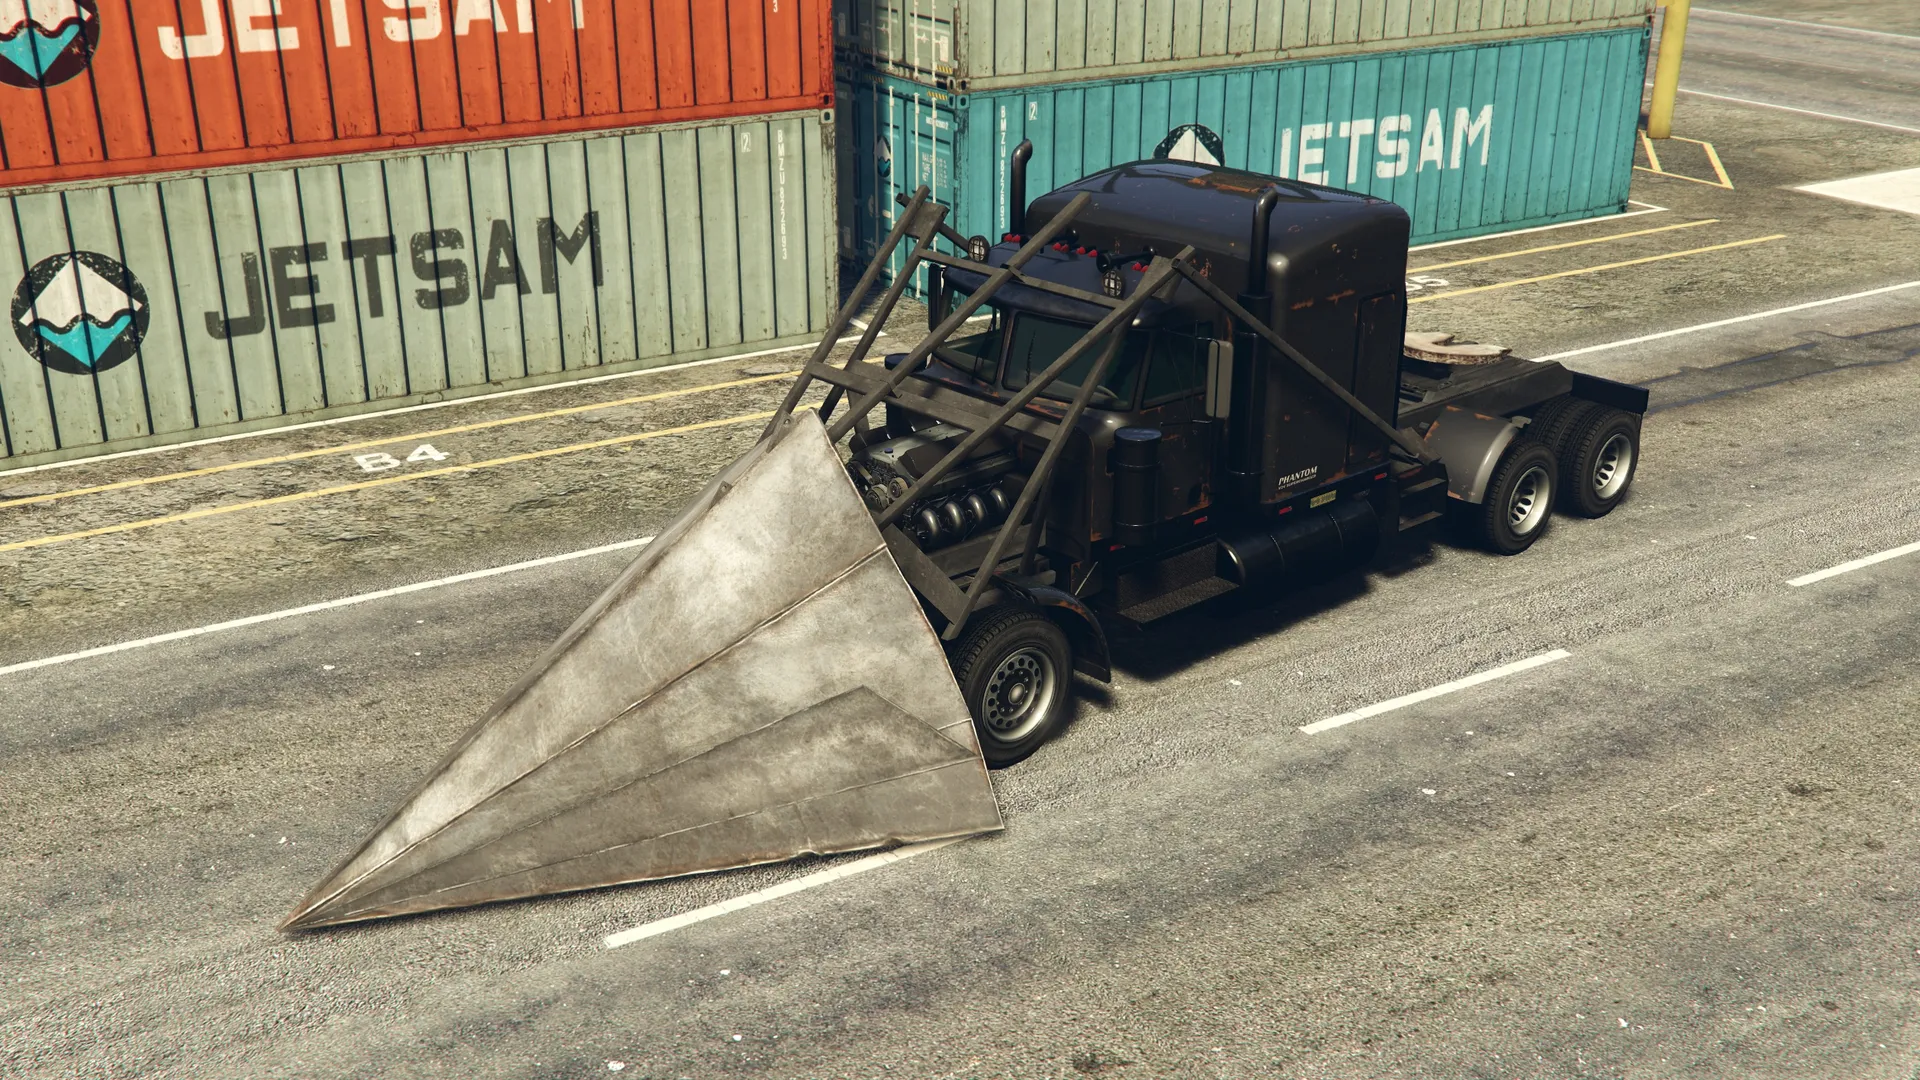
Phantom Wedge
Vehicle info: a Phantom Wedge semi hauling your stock in a trailer. One truck up to about 50 units of stock, two at larger sales.
Drop-off points: only one.
Time: 15 minutes (22:30 solo).
Enemies: an automatic 3-star wanted level.
Tactics: the wedge takes no damage from ramming, so plow straight through police cars and keep moving. The wanted level can't be shaken, but the police give up once you get near the drop-off.
Good to know: the trailer isn't locked to the mission cab. You can hook it to another truck, a MOC cab, or even lift it with a Cargobob, and yes, your own personal Phantom Wedge works too. The mission cab is armored and your personal one isn't, so treat that mainly as a rescue option if the mission truck gets irreparably stuck. An Up-n-Atomizer helps there as well.
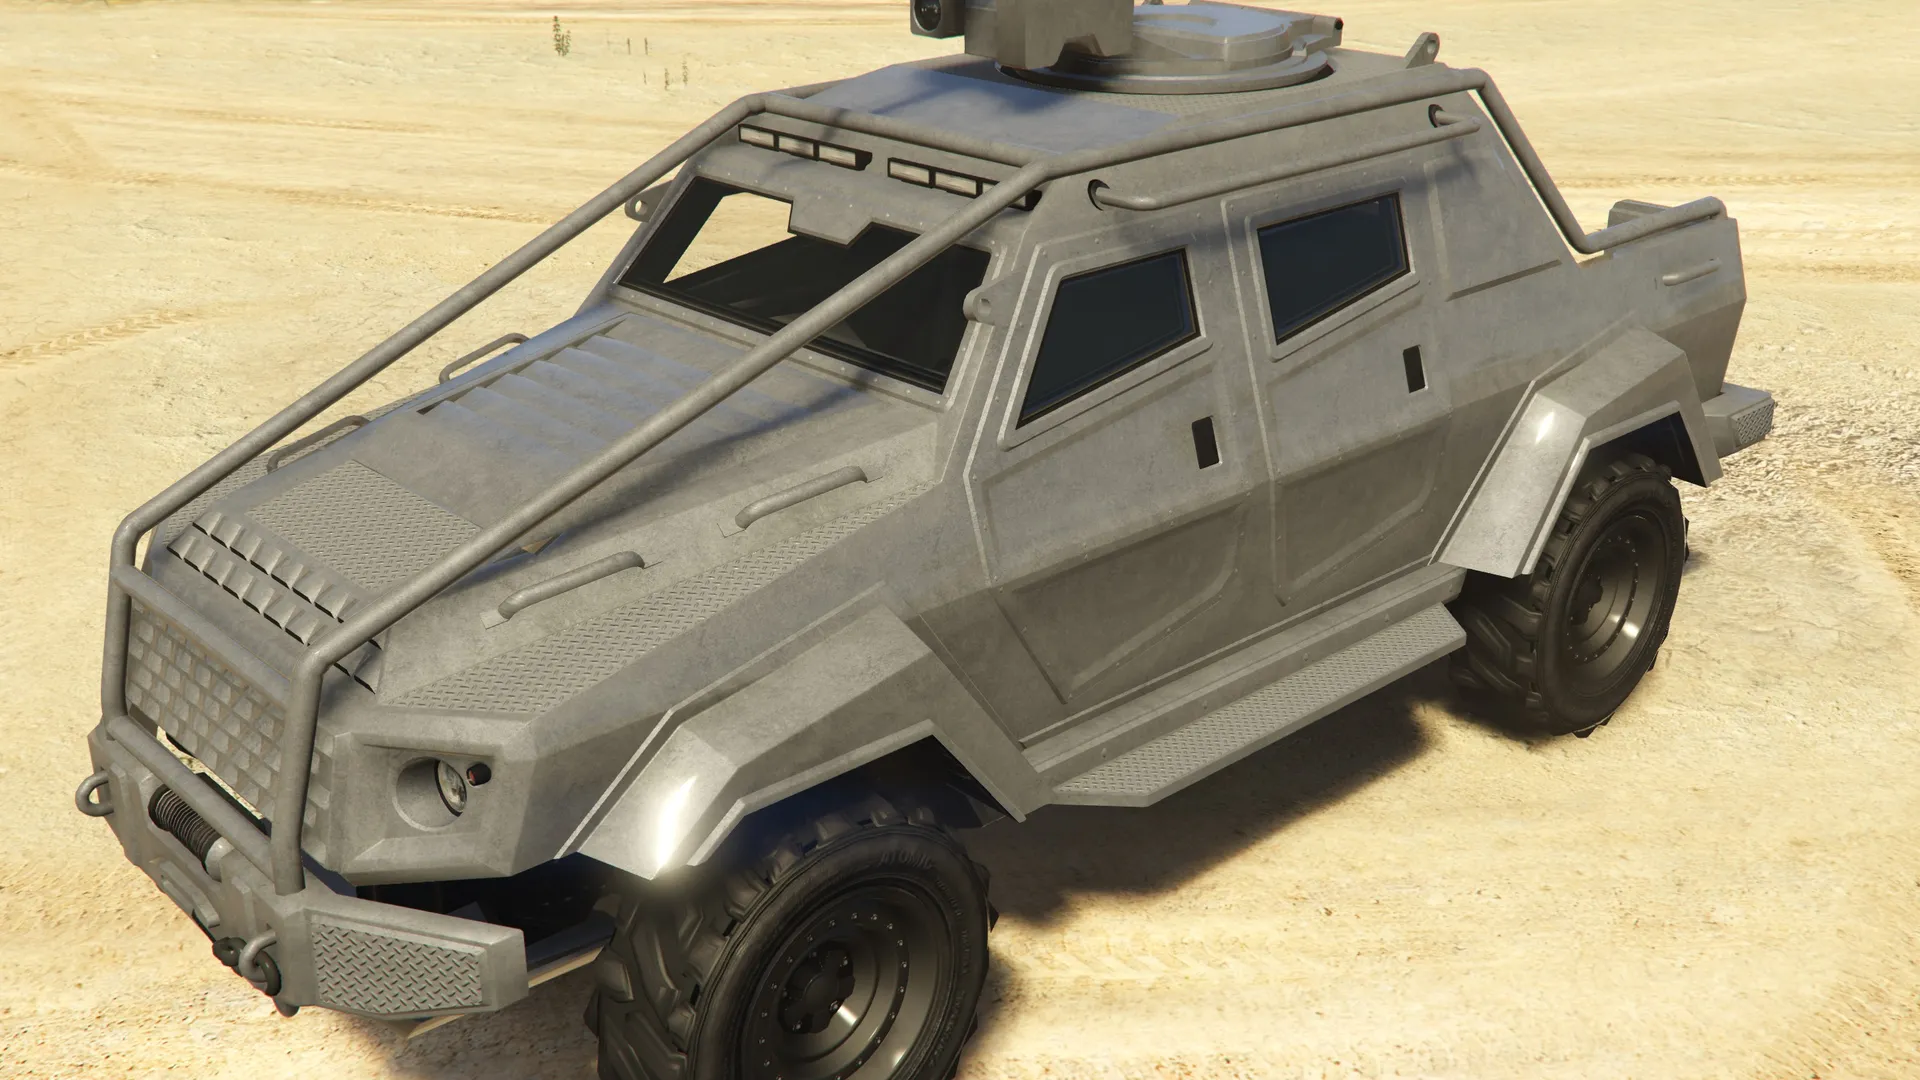
Insurgent (simple delivery)
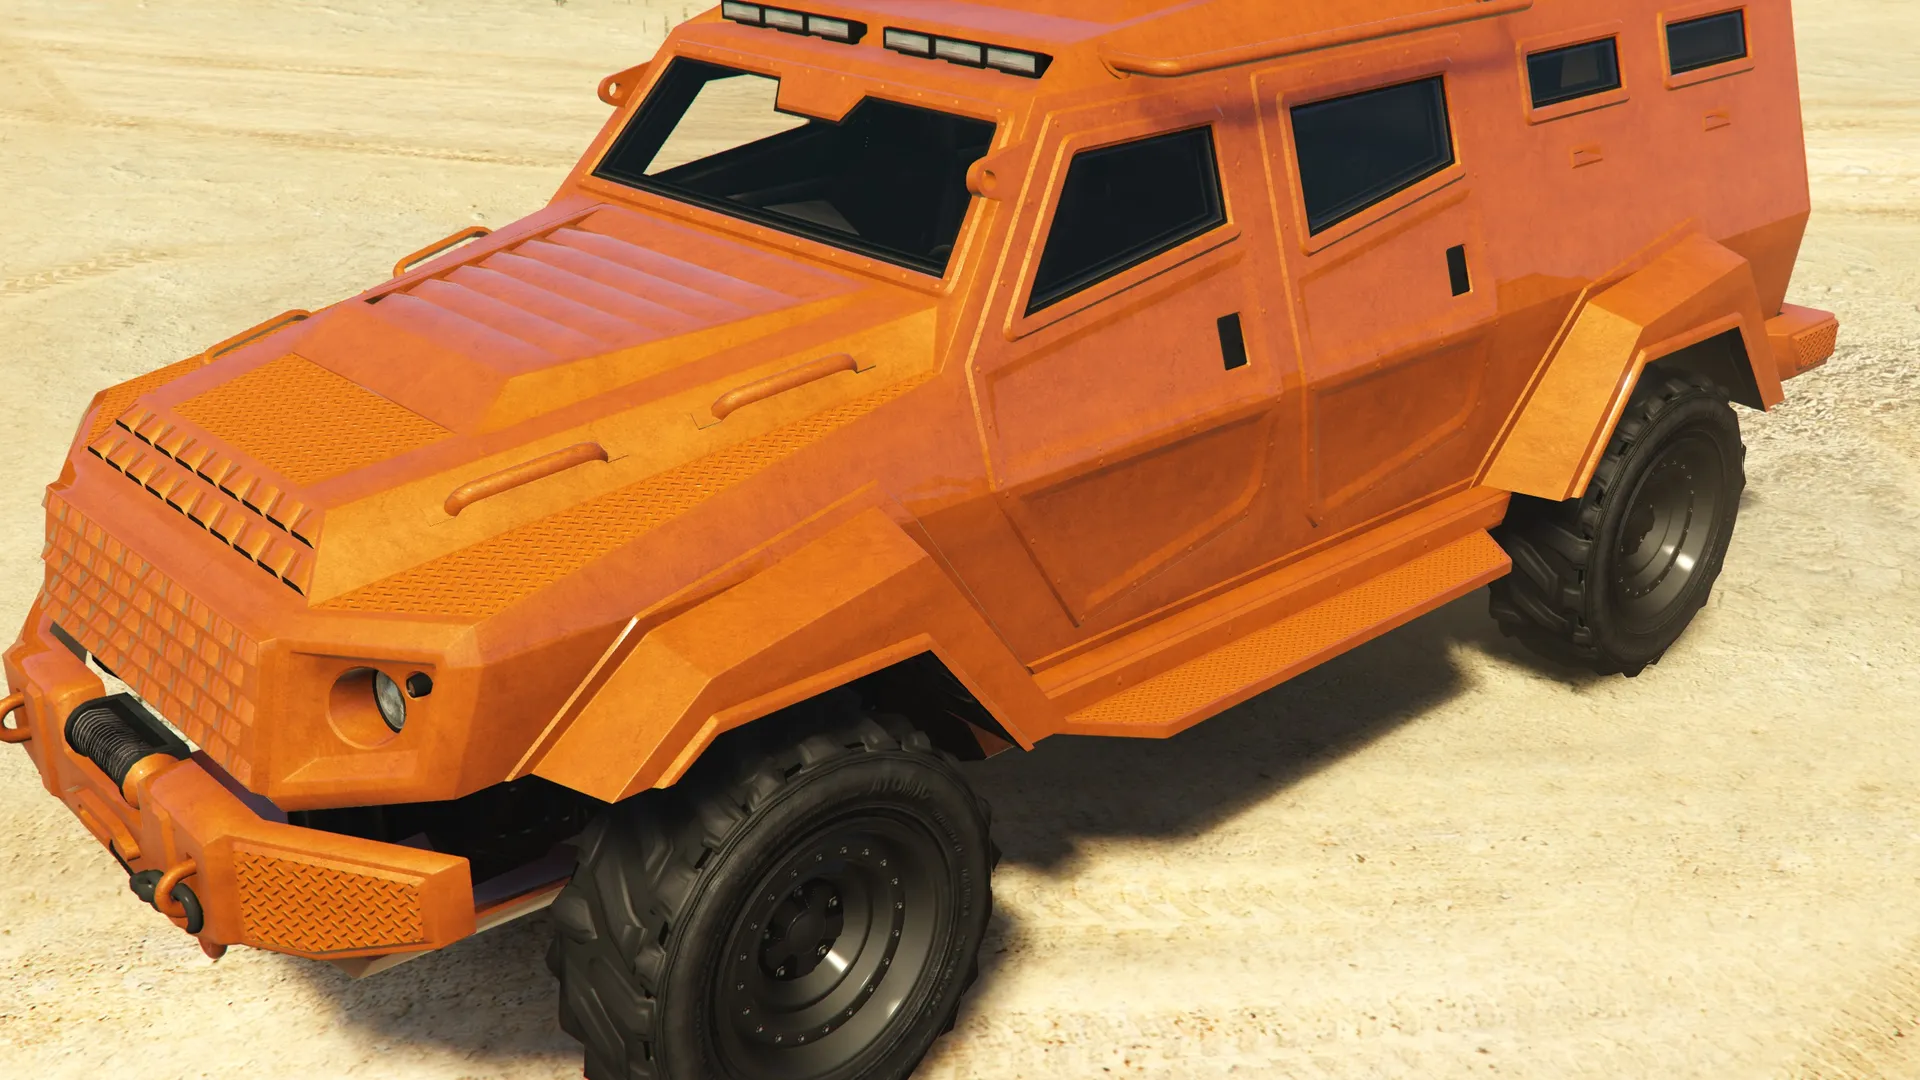
Vehicle info: up to three unarmed Insurgent Pick-Ups.
Drop-off points: just one per vehicle.
Time: 15 minutes (22:30 solo).
Enemies: none, though you may pick up a 1-star wanted level driving past police. Outrun it the way you would in a stolen car.
Tactics: the easiest roll in the pool. Drive, drop, done.
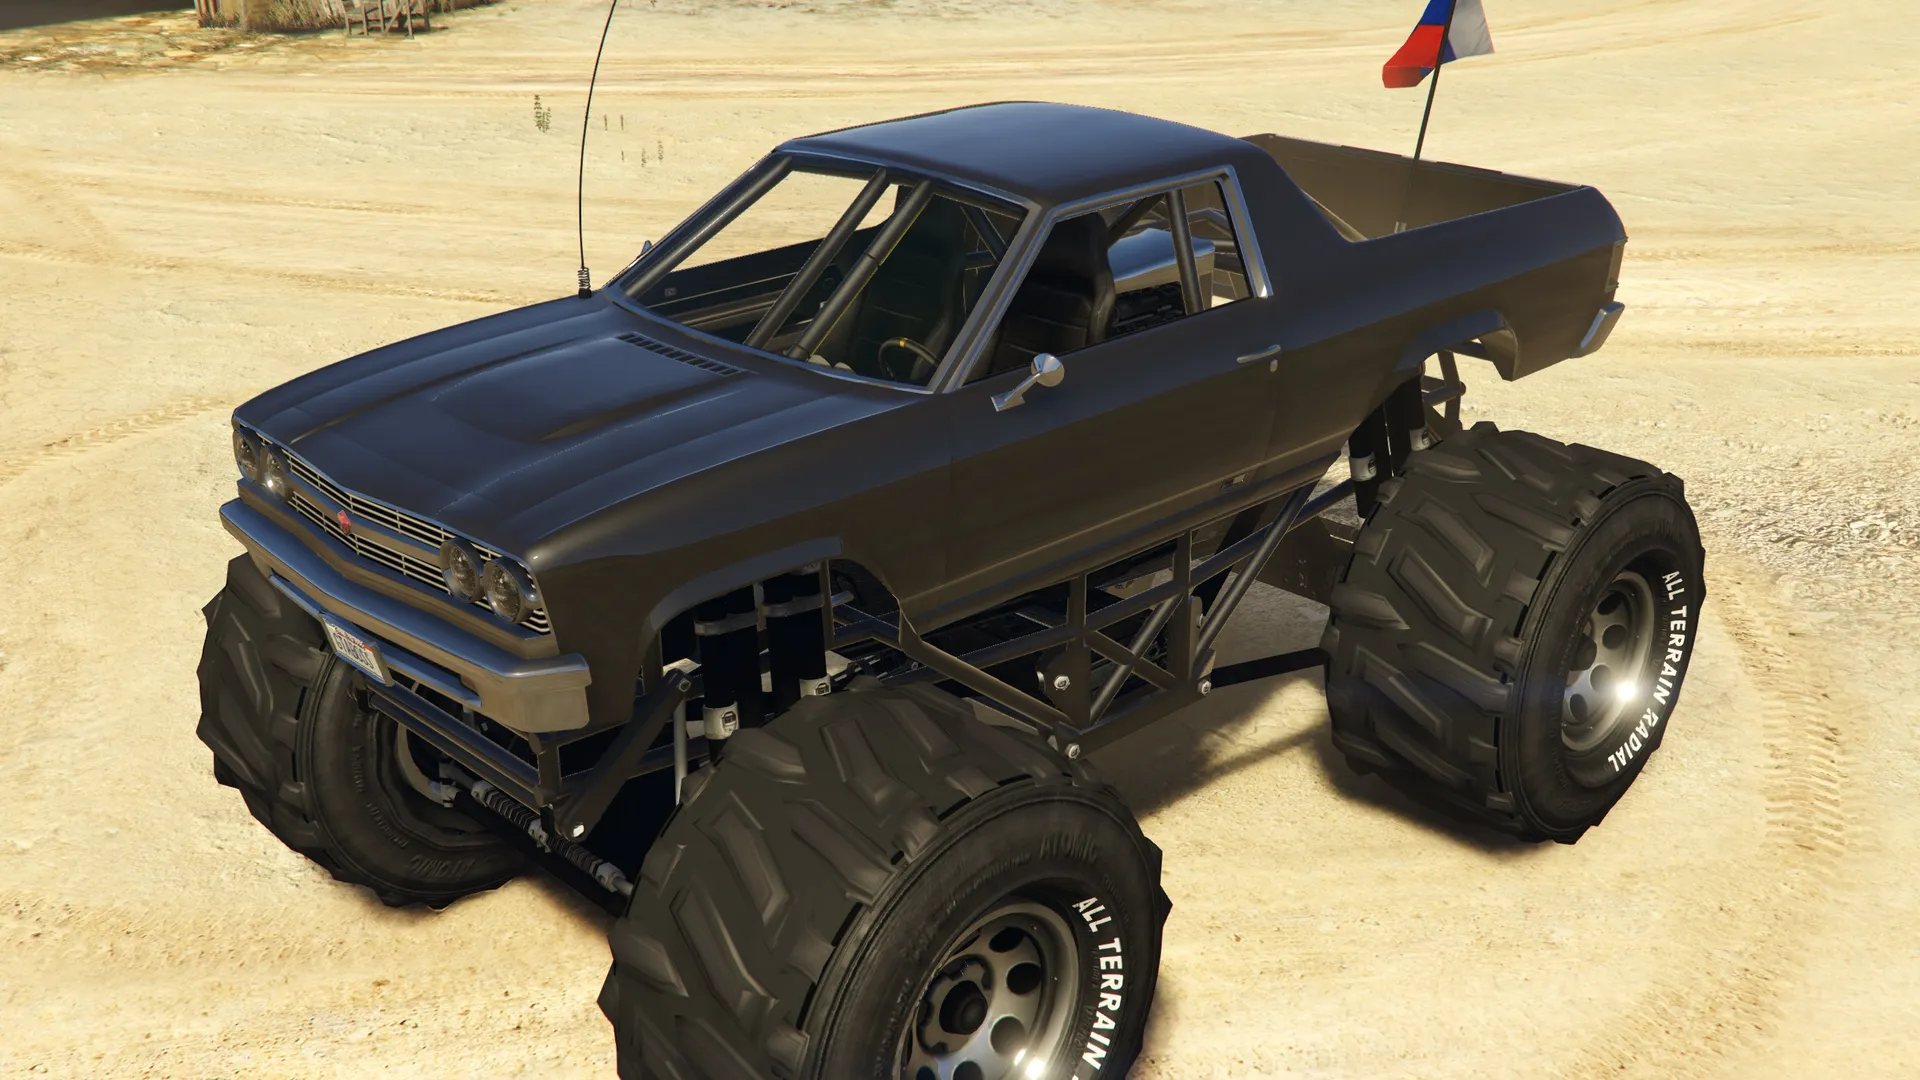
Marshall
Vehicle info: up to three Marshall monster trucks that climb almost anything.
Drop-off points: five, mostly at high altitude.
Time: 15 minutes (22:30 solo).
Enemies: two Buzzards with side gunners appear after the first drop-off; destroy one and another spawns at the next point.
Tactics: don't duel the helicopters, just keep driving; your time is better spent reaching the drops. Bring snacks and body armor. With multiple trucks solo this gets very tight, so it's a common session-switch reroll.
Insurgent with Signal Jammer
Vehicle info: 2 or 3 unarmed Insurgents traveling as a convoy.
Drop-off points: just one, shared by all vehicles.
Time: 15 minutes (22:30 solo).
Enemies: only if a vehicle strays outside the signal jammer's radius.
Tactics: the jammer hides the convoy from the session as long as every vehicle stays inside its radius. It only appears on mid-size, multi-vehicle sales, which makes it effectively a co-op scenario. Once you complete the drop-off, all players must leave the area before time runs out to finish the sale.
Dune FAV
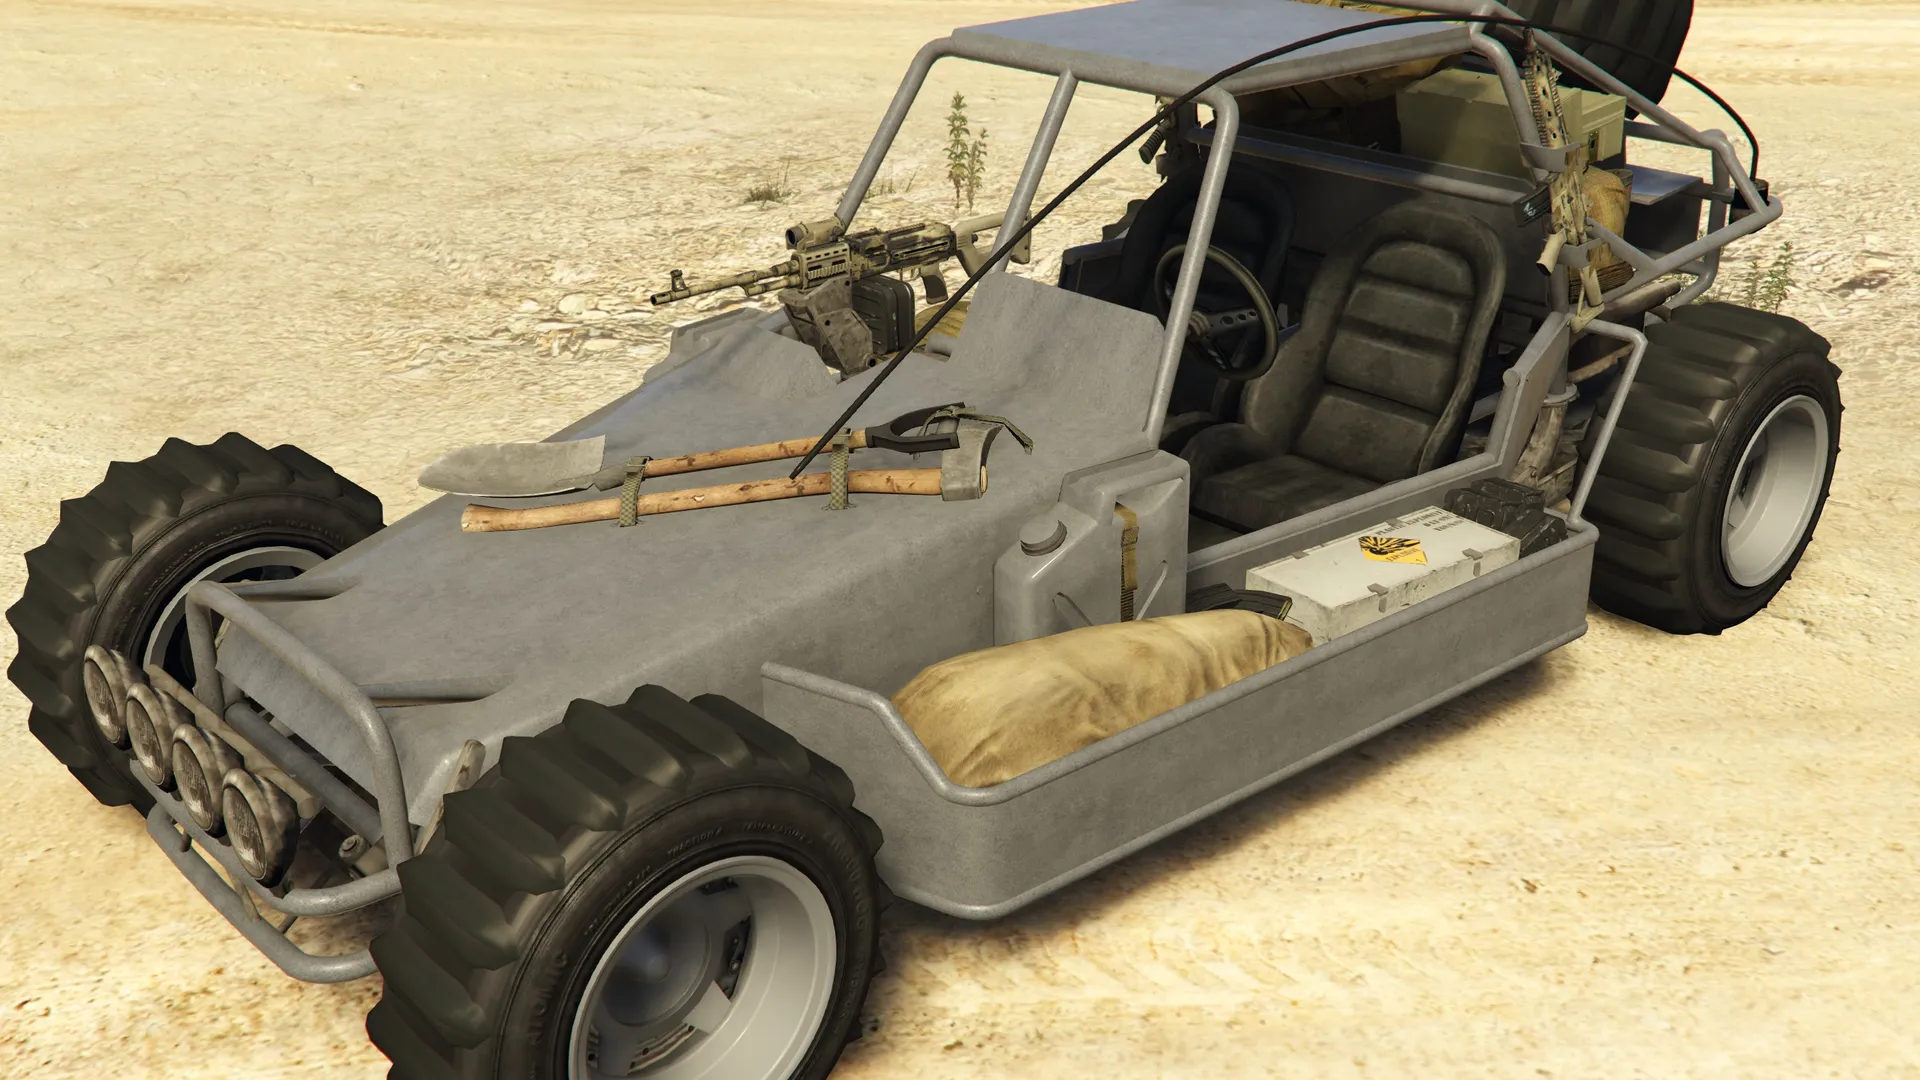
Vehicle info: Dune FAVs fitted with a passenger-operated minigun and proximity mines.
Drop-off points: four per vehicle in any order, plus a fifth revealed after those are done.
Time: 15 minutes (22:30 solo).
Enemies: Los Santos Triads in Dubstas if you sell as a CEO, the Lost MC on bikes as an MC President, spawning after the first drop-off.
Tactics: take the chasers out as soon as they spawn; outrunning them just makes the group respawn further up the road, often in front of you. Slow buggies, many drops, and constant harassment make this the worst solo roll in the pool. On a multi-vehicle sale, most players reroll it. After the fifth drop-off, everyone must leave the area before time runs out to complete the sale.
Insurgent with Merryweather Ambush
Vehicle info: up to three armored Insurgent Pick-Up Customs.
Drop-off points: five, each defended by Merryweather troops (bikes, Mesas, Insurgent Pick-Ups, with Buzzards at the later drops).
Time: 30 minutes (45 solo). The final ambush has no timer, so once the last drop is reached you can finish the fight at your own pace.
Tactics: every vehicle visits every drop-off and each ambush must be cleared before the next location appears. Solo, you'll be climbing onto the roof turret a lot, so bring plenty of snacks and armor. It pays the same as every other scenario and takes roughly twice as long; on big loads treat it as a reroll candidate too. Once all enemies are down, all players must leave the area to complete the sale.
Additional Advice
Don't blindly follow the GPS. There are off-road shortcuts, and near the destination the route sometimes stops short of the actual marker. When time is tight, check the map yourself.
Partial deliveries still pay. Stock you've already dropped off is banked even if the mission ends badly; only the undelivered portion is lost.
A stuck or flipped cargo vehicle used to mean disaster. The Up-n-Atomizer (sold at Ammu-Nation) nudges any vehicle free and pays for itself many times over.
Rolled a mission you hate? Switch sessions from the pause menu. You lose a small slice of stock (community testing puts it around 3%, a couple of units on a big load) and can restart the sale for a fresh roll.
Selling in Public Sessions
Since July 2022 the safest option is simply not to: sell missions work in invite-only, friends, and crew sessions, where nobody can touch your cargo. For most players that should be the default.
The one reason to sell in public is the High Demand bonus: extra money on top of the sale that scales with the number of players in the session outside your organization. Community testing puts it around 2 to 2.5% of the sale value per rival player, so a full GTA$ 1,050,000 sale in a busy session can carry a six-figure top-up, if the cargo survives.
If you do sell in public, the goal is never to fight over your cargo. It is to make sure nobody realizes a sale is happening at all:
Read the session first. A lobby busy grinding its own businesses is far safer than one with a scrolling kill feed.
Plan a route that steers wide of other players. Most attackers are opportunists who won't chase cargo that isn't nearby.
Watch the minimap closely, and go dark before anyone gets close. When a player starts drifting toward your route, or you have no choice but to cut through a busy downtown, call Lester for Off the Radar (GTA$ 500) to hide your blip for one minute, then activate the CEO Ghost Organization ability (GTA$ 12,000) for another three minutes of cover. Ghost Organization hides the cargo and mission blips too, not just your dot. Time the pair well and rival players never even know the truck rolling past them is a sale.
If trouble finds you anyway, leave before you lose everything. Switching sessions (or closing the game) before the sale fails returns your undelivered stock minus a small penalty, the same few percent as a reroll, rather than costing you the whole load.
Keep the trade-off math in mind: a destroyed full load is GTA$ 1,050,000 gone; the bonus is a fraction of that. When in doubt, take the invite-only sale.
The Ammu-Nation Contract
Added in The Criminal Enterprises update (July 2022), the Ammu-Nation Contract is a small bonus sell that too many bunker owners ignore.
Once your bunker is producing, your staff periodically load surplus weapon parts onto a Duneloader parked outside. Those parts are production overflow: delivering them does not touch your sellable stock. Drive the truck to a randomly chosen Ammu-Nation store within 15 minutes, fighting off a couple of ambush waves on the way, and you're paid GTA$ 50,000.
A new contract becomes available every in-game day (48 real minutes), and it's always a single vehicle, so it's completely solo-friendly. Run it whenever your bunker staff give you the nod and it quietly adds an easy GTA$ 50,000 at a time on top of your normal sales.
Bunker Sell Mission FAQ
Can you do bunker sell missions solo or in an invite-only session?
Yes to both. Since The Criminal Enterprises (July 2022) every resupply and sell mission works in invite-only, friends, and crew sessions, and selling 25 units or less guarantees a single vehicle any solo player can deliver.
Should I sell to Blaine County or Los Santos?
Los Santos, almost always. The far delivery pays 50% more (GTA$ 10,500 per unit instead of GTA$ 7,000 with a fully upgraded bunker) for a longer but rarely harder drive.
Can a full bunker be sold solo?
Sometimes, but not reliably. Full stock spawns up to three vehicles, and some rolls can't be finished alone even with the 50% solo time bonus. Solo players should sell at 25 units, or accept some session-switch rerolling.
What happens if my delivery vehicle is destroyed?
Only the stock in that vehicle is lost, and anything already delivered stays paid. If a sale is going wrong, switching sessions before it fails returns your undelivered stock minus a small penalty.
Is the High Demand bonus worth a public session?
Only if the session looks calm and you can defend the load. The bonus is a few percent of the sale per rival player, while a destroyed full load costs GTA$ 1,050,000. Invite-only selling is the sensible default.
Does the Ammu-Nation Contract use up my stock?
No. It ships surplus parts that are separate from your sellable stock, so it's free money on a 48-minute cooldown.