
Cluckin' Bell Farm Raid: Payout, All 6 Missions and Solo Tips
Follow @gtabossgg on X for weekly updates and guides.
Follow on XThe Cluckin' Bell Farm Raid pays the host GTA$ 600,000 for the first finale completed each weekly period, and GTA$ 400,000 for every repeat that week. If you searched for the cluckin bell farm raid payout and found GTA$ 500,000, you found an old answer: that figure has not been current since the payout rework that split rewards into a weekly first-clear bonus and a lower repeat rate. What has not changed is the best part: the raid costs GTA$ 0 to start, needs no property, and all six missions can be played solo. This guide covers the full payout structure, how to unlock Vincent, every mission in order, and how to earn the Silent approach for the finale.
On this page
Quick facts
Fact | Value |
|---|---|
Host payout | GTA$ 600,000 first finale of the weekly period, GTA$ 400,000 for repeats that week |
Crew payout | GTA$ 40,000 per member per completion (reported) |
Buy-in | GTA$ 0, no property or setup fee |
Players | 1–4, fully soloable |
Missions | Six: Slush Fund, four setups, Scene of the Crime finale |
Cooldown | Roughly 45 minutes to an hour after the finale |
One-time awards | GTA$ 250,000 as leader, GTA$ 250,000 as crew member |
Added | March 7, 2024, as part of The Chop Shop update |
How the payout works in 2026
The finale, Scene of the Crime, pays the host GTA$ 600,000 the first time it is completed in a weekly period. Run it again before the week rolls over and the host gets GTA$ 400,000 per completion instead. The weekly period resets every Thursday, so a host who clears the finale once a week always collects the full GTA$ 600,000.
This structure came in with a game-wide payout rework that gave a list of thirteen heists and missions a boosted first-completion-of-the-week reward, and Rockstar's own patch notes led that list with "Cluckin' Bell Farm Raid – Scene of the Crime". The bonus applies separately to each activity on the list, so clearing another boosted heist that week does not touch your Cluckin' Bell bonus.
Before that update, the finale paid a flat GTA$ 500,000 to the leader and GTA$ 50,000 to each associate, every run. That is the number most older guides still quote. The practical read: an occasional player who hosts once a week now earns more than before (GTA$ 600,000 versus the old GTA$ 500,000), while back-to-back grinders earn less per repeat. Crew members are reported to receive GTA$ 40,000 per completion under the current structure.
Setup missions pay a modest amount on top, but Rockstar does not publish figures for them and they vary; the money is in the finale.
How to start the Cluckin' Bell Farm Raid
There is nothing to buy and nothing to own first. The raid is technically a Robbery Contract, a contact-mission strand rather than a launchpad heist, which is exactly why there is no heist board, no property requirement, and no buy-in. We could not find any rank gate documented anywhere either, so new players should simply wait for Vincent's call and try it.
To unlock it, be in Freemode (not inside an apartment or business) and wait for a phone call from Vincent Effenburger, the ex-casino security man you may remember from the Diamond Casino Heist. Once he calls, a V blip appears at Vespucci Police Station; meet him there to begin Slush Fund. The strand was added on March 7, 2024 as part of The Chop Shop update.
All six missions in order
The raid is six missions: an intro job, four setups, and the finale.
# | Mission | Role |
|---|---|---|
1 | Slush Fund | Intro, unlocks the strand |
2 | Breaking and Entering | Setup |
3 | Concealed Weapons | Setup (either order with Hit and Run) |
4 | Hit and Run | Setup (either order with Concealed Weapons) |
5 | Disorganized Crime | Setup, decides your finale approach |
6 | Scene of the Crime | Finale, Silent or Aggressive |
Concealed Weapons and Hit and Run both unlock after Breaking and Entering and can be played in either order; Disorganized Crime needs both done. Every mission supports 1–4 players with no minimum above one, so the whole strand is genuinely soloable start to finish.
After the finale there is a cooldown of roughly 45 minutes to an hour before the host can run the raid again, and it gates the whole strand: you cannot immediately restart Slush Fund either.
Slush Fund
Vincent's opening job sends you to a set of money-laundering businesses to steal cash from each, then deliver it to his lockup. Solo or in a pair you get two locations; three and four-player crews get three and four. Expect light resistance that picks up once you start grabbing the money. It is a straightforward smash-and-collect, and finishing it opens up the rest of the strand, plus the Gauntlet Interceptor for purchase and Vincent's Dispatch Work on the side.
Breaking and Entering
This setup collects the raid's tech: steal a laptop from a Cluckin' Bell employee, take a hacking device from a Terrorbyte, then hijack a freight train. If you have never dealt with one, our Terrorbyte guide covers what that truck is in normal circumstances; here it is simply a target. One caution: the mission fails if the Terrorbyte is destroyed, so disable or clear it rather than throwing explosives at it.
Concealed Weapons: which location to pick
You choose one of three loadout locations, each held by a different gang, and each with a different weapon package and armor tier:
Location | Site | Loadout | Armor |
|---|---|---|---|
A | Marabunta Grande hideout | Compact Rifle, Combat Pistol, Mini SMG, Crowbar, Molotovs | Light |
B | The Professionals' yacht | Heavy Rifle, Heavy Shotgun, Tactical SMG, Pipe Bombs | Medium |
C | Militia military airport | MG, AP Pistol, Combat Shotgun, Grenades | Heavy |
There is no single best pick; it is a trade-off. Location B is close to the city and carries a strong all-round loadout, which makes it the convenient choice: Location A yields the loadout only, forcing a second stop for gear; B has both in one place. Location C is the one to consider if you want its shotgun for the finale (it is reported to come suppressed, which matters on a Silent run) and you are comfortable clearing a more spread-out site at range, with the heaviest armor as the reward. There is an award, All The Sides, for stealing all the weapons and the gear in a single run, so sweep the site before you leave.
One planning note that affects this choice: hitting the same gang in both Concealed Weapons and Hit and Run increases security at whichever site you visit second. If you can, take your weapons and your getaway vehicles from different gangs.
Hit and Run
The same three gang sites hold the getaway vehicles, and again you pick one location. The vehicle pool includes the Moonbeam Custom, Tulip, Impaler LX, Jugular, Sugoi, Raiden, Terminus, Patriot Mil-Spec, and Squaddie. Stealing extra vehicles beyond the one you need adds a small cash bonus per car, but most players will not find it worth the added time; there is, however, a Fly The Coop award for taking every getaway vehicle in one run if you want the completionist clear. Remember the second-visit rule from above: if you already raided this gang for weapons, expect more guns pointed at you here.
Disorganized Crime: earn the Silent approach here
This is the setup that decides how your finale plays, so do not rush the ending. First you locate the Cluckin' Bell Cartel Garage by hacking the cartel's delivery vans (two on a solo run); the hack progresses while you stay inside the marked field around the van on the minimap, so match the van's speed rather than chasing it.
At the garage, three things decide the finale: sabotage the four delivery trucks by hand (blowing one up alerts the cartel outright), clear the guards without leaving a witness to raise the alarm, and wipe the CCTV footage before you leave. Get all three and you earn the Silent approach, then drive the loaded Flatbed to Vincent's lockup. Miss any one of them and the finale locks to Aggressive.
Completing Disorganized Crime as leader also unlocks the trade price on the Benson (Cluckin' Bell), the Cluckin' Bell-liveried box truck.
Scene of the Crime: the finale
The finale runs the same beats on either approach: get into the Cluckin' Bell factory, steal cocaine from two storage areas using the key card, hack the office computer, then use the hacking device to find the safe code, empty the safe, then fight or slip your way out to the getaway vehicle and deliver to Vincent's lockup.
The approach changes how it starts and how it feels:
Silent: you begin concealed inside a delivered crate. This is the demanding version: guards to route around or quietly drop, and the stealth holds until the alarm sounds late in the job (taking the safe contents is reported to trigger it). One route-specific trap: breaking the office lock alerts the cartel and ends the stealth run; use the keys route. Players who run it in first person report that the tighter camera makes indoor stealth movement noticeably easier.
Aggressive: you arrive by train and fight through the front. Louder, simpler, and the better first-run choice if you would rather learn the factory layout without managing detection.
Either way, expect a police chase on the drive out; shake the cops before the lockup. Finishing the finale as leader unlocks the trade price on the Gauntlet Interceptor.
Solo play and how long it takes
Everything above works solo. Rockstar's own Career Progress challenges treat a sub-45-minute leader run as a top-tier objective, so read that as the speedrun bar, not the typical time: a practiced solo player fits the whole strand well inside an hour, while a first run with travel and unfamiliar layouts takes noticeably longer. On the Enhanced version (PS5, Xbox Series X|S and PC), those Career Progress tiers pay out Cluckin' Bell cosmetics, and Tier 4 adds GTA$ 150,000 and 5,000 RP. The sub-45 run is only one of Tier 4's three objectives; the others are earning GTA$ 5,000,000 from the raid and clearing Scene of the Crime with all nine setup-equipment choices.
A few solo-specific notes:
The setups are low-pressure and forgiving alone; the Silent finale is the only part that seriously punishes mistakes. Pick Aggressive for your first solo clear if in doubt.
Between missions you return to Freemode and Vincent calls with the next job. If the next mission marker refuses to appear, players report that fully restarting GTA Online fixes it, while simple session-hopping often does not.
The cooldown lands after the finale and blocks the host from relaunching the strand, so if you want the weekly GTA$ 600,000 first-clear on a specific run, host that one.
One-time awards and unlocks
Beyond the finale payout, two one-time cash awards are still live:
The Cluckin' Bell Farm Raid: GTA$ 250,000 for completing the raid as leader.
Pecking Order: GTA$ 250,000 for completing it as a crew member.
Stack those with the weekly-boosted finale and the math for a new player is unusually good: your first hosted run on a fresh weekly period banks GTA$ 600,000 plus the GTA$ 250,000 award, GTA$ 850,000 total, for zero money invested. Join a friend's raid afterwards and the crew-side award adds another GTA$ 250,000 on top of your cut.
The strand also feeds the leader's garage: Slush Fund unlocks the Gauntlet Interceptor for purchase, Disorganized Crime unlocks the Benson (Cluckin' Bell) trade price, and the finale unlocks the Gauntlet Interceptor trade price. Full specs and prices live on the vehicle pages linked above.
Is the Cluckin' Bell Farm Raid worth running?
For a new or returning player, yes, and it is arguably the best zero-capital start in the game right now: no property, no fee, no rank wall that we could find, and a six-figure finale from day one. Our beginner's roadmap covers what else to prioritise in your first hours.
For established grinders, the weekly structure is the deciding factor. Host it once a week for the GTA$ 600,000 first-clear, then judge repeats at GTA$ 400,000 against your other options; our solo money making guide ranks it against the rest of the solo earners. The same payout rework that boosted this raid's weekly first-clear also trimmed Cayo Perico's target values and buffed the older heists' setup rewards, so the gap between Cluckin' Bell and the traditional grinds is narrower than launch-era guides suggest.
FAQ
How much does the Cluckin' Bell Farm Raid pay in 2026?
The host earns GTA$ 600,000 for the first finale completed in the weekly period and GTA$ 400,000 for further completions that week. Crew members are reported to earn GTA$ 40,000 per completion. First-time one-time awards add GTA$ 250,000 as leader and GTA$ 250,000 as crew.
Why did the payout drop from GTA$ 500,000?
A payout rework replaced the old flat GTA$ 500,000 with a GTA$ 400,000 base plus a GTA$ 600,000 first-completion-of-the-week bonus that resets every Thursday. Hosts who run it once a week actually earn more than before; only rapid repeats pay less.
Do you need a property or a buy-in to start it?
No. Setup cost is GTA$ 0, no property is required, and we could not find any rank requirement documented. Being a contact-mission strand rather than a heist, it skips the heist board entirely.
Can you complete the Cluckin' Bell Farm Raid solo?
Yes. All six missions support 1–4 players with a minimum of one, so the whole strand, finale included, can be done alone.
How many missions are there and in what order?
Six: Slush Fund, then Breaking and Entering, then Concealed Weapons and Hit and Run in either order, then Disorganized Crime, then the Scene of the Crime finale.
How do you get the Silent approach for the finale?
Do all three during Disorganized Crime: sabotage the delivery trucks by hand rather than blowing them up, leave no witnesses, and wipe the CCTV at the Cluckin' Bell Cartel Garage. Missing any one locks the finale to the Aggressive approach.
How long is the cooldown before you can run it again?
Roughly 45 minutes to an hour after the finale, and it applies to the whole strand: the host cannot restart Slush Fund until it clears.
Related content
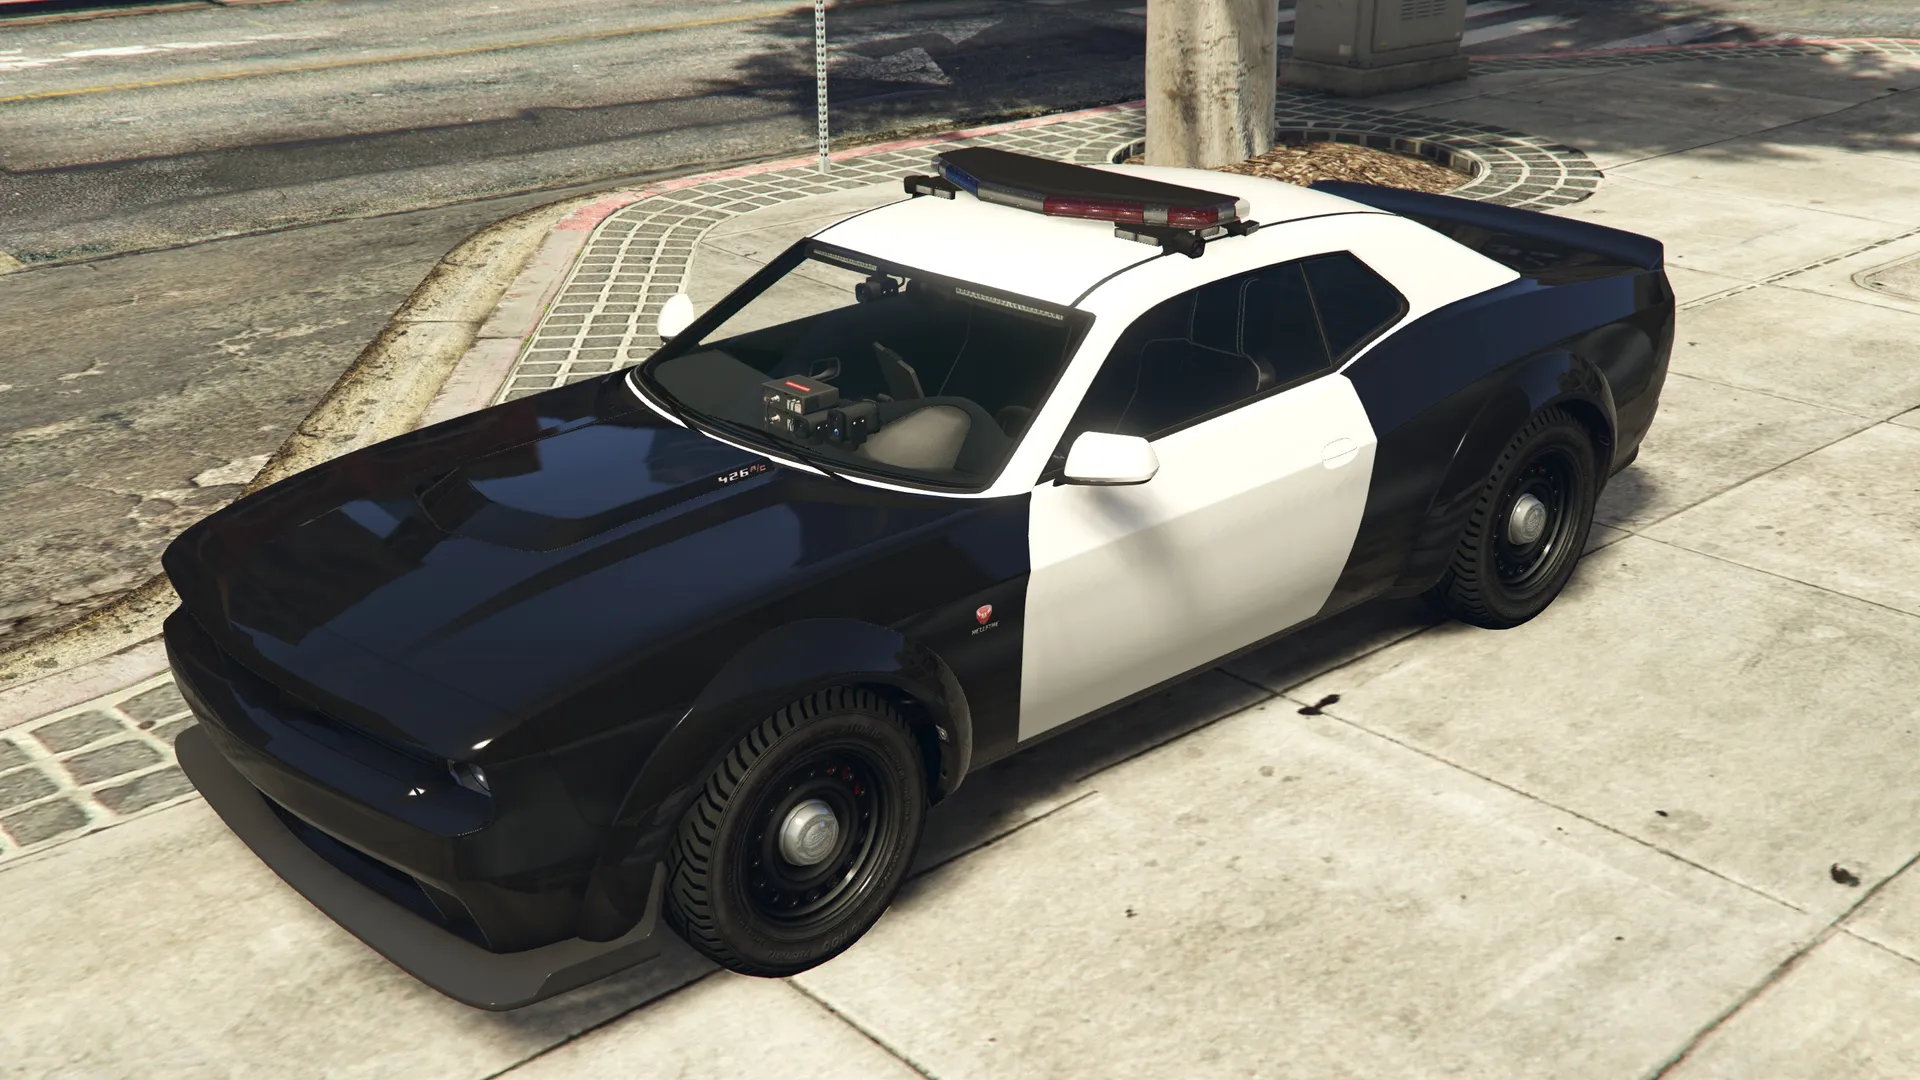
Bravado Gauntlet Interceptor
Emergency · $5,420,000
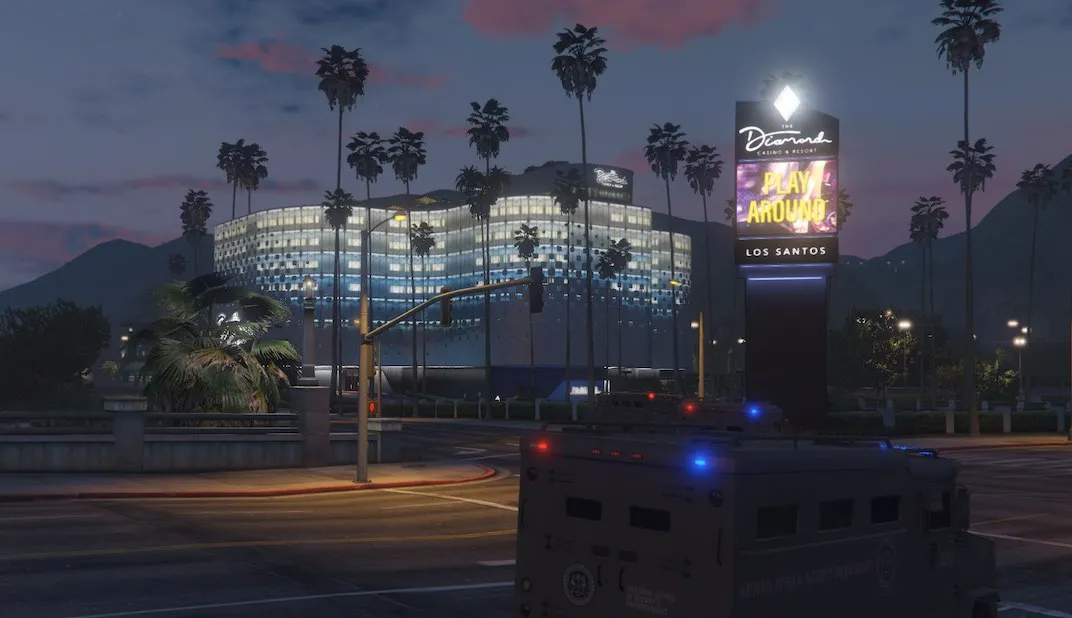
The Fastest and Easiest Way to Complete the Diamond Casino Heist
July 15, 2026
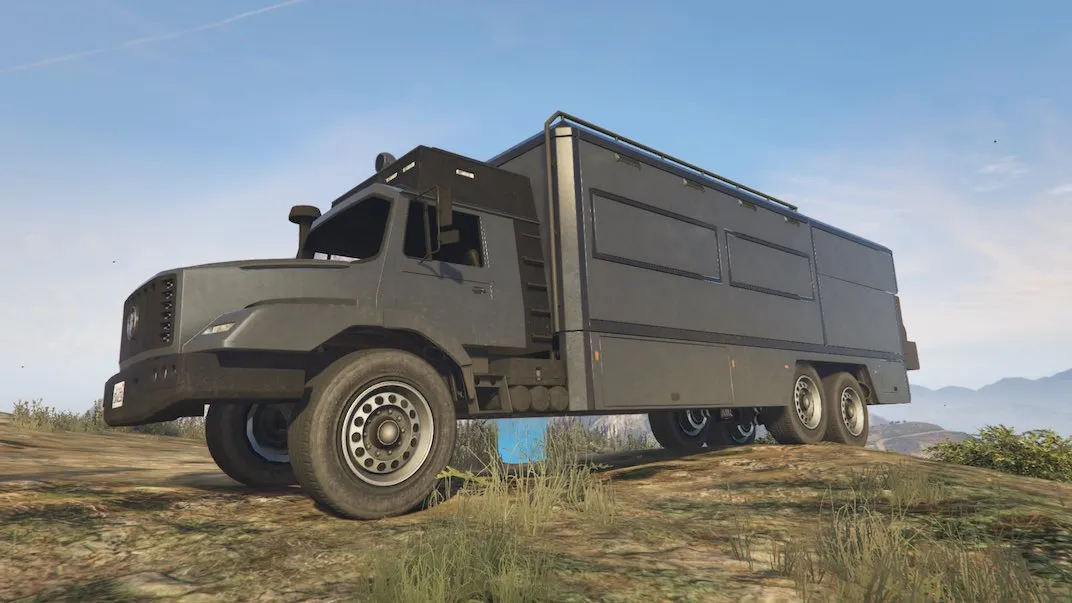
Everything You Need to Know About the Benefactor Terrorbyte in GTA V Online
July 9, 2026
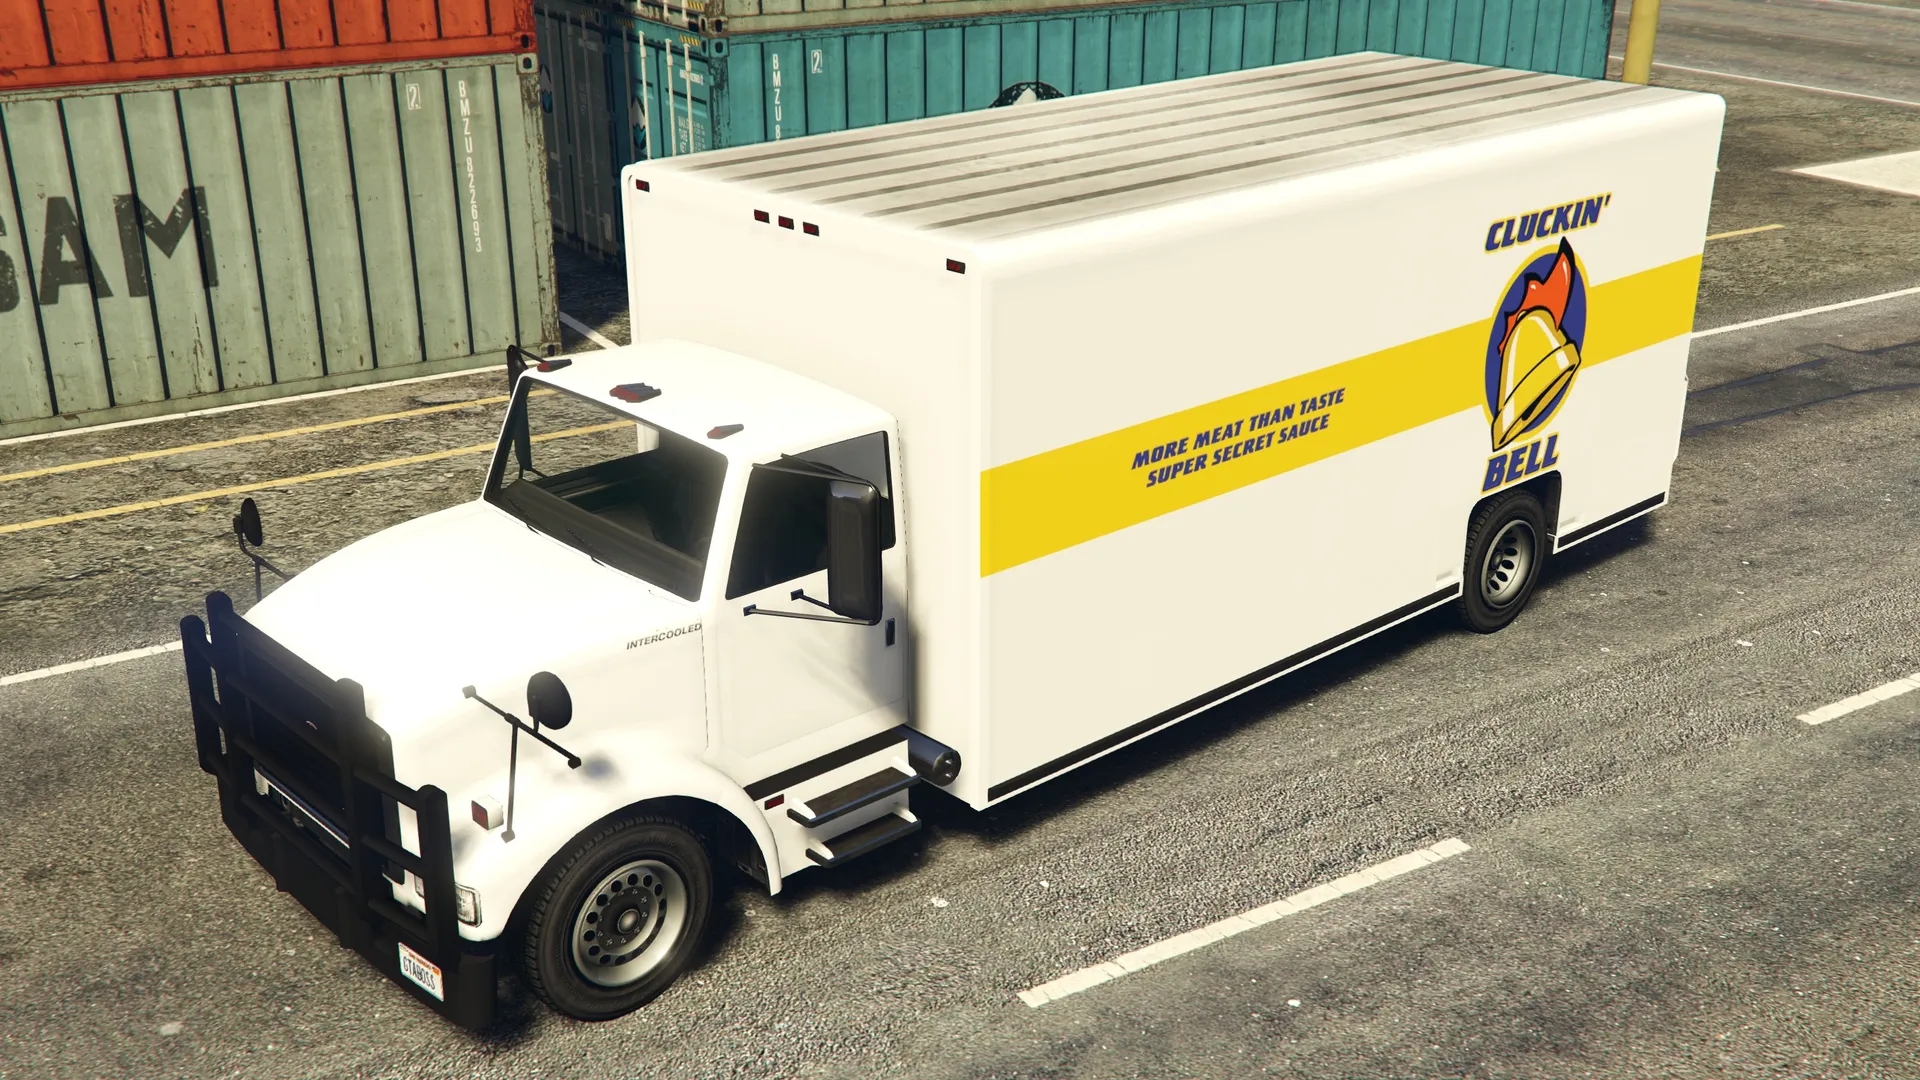
Vapid Benson (Cluckin' Bell)
Commercial · $685,000
GTA Online Beginner's Roadmap (2026): From New Character to Your First Million
August 22, 2026
Best Solo Money Making in GTA Online (2026)
August 21, 2026