
Everything You Need to Know About the Cayo Perico Heist Part 1: Intel in GTA V Online
Follow @gtabossgg on X for weekly updates and guides.
Follow on XThe Cayo Perico signal box spawns at the Communications Tower, on the hill between El Rubio's compound and the crop fields, and it moves around the tower every playthrough. Hacking it is one of only three things Gather Intel forces on a repeat run, alongside reaching the tower and finding the primary target on the compound's CCTV.
Everything else you can scope, from loot stacks to infiltration points, is optional: skippable on a basic run, required only for specific routes and the Elite Challenge. This guide covers the signal box properly (where it spawns, the fastest routes to the tower, how the hack works, and what to do when the box seems to be missing), then works through every scopeable category, what each one unlocks in the finale, and which finds carry over to future heists.
On this page
Quick facts
Quick facts | Details |
|---|---|
Mission | Heist Prep: Gather Intel, a freemode scoping mission |
Prerequisite | Kosatka submarine (GTA$ 2,200,000 base) as CEO, VIP or MC President |
Launched from | The Heist Planning Table on the Kosatka's bridge |
Cost | Free on your first playthrough; GTA$ 100,000 upfront on repeats |
Mandatory objectives (repeat runs) | Reach the Communications Tower, hack the signal box, find the primary target on CCTV |
Signal box location | Moves around the Communications Tower every playthrough; usually up the structure |
Persists between heists | Infiltration points, escape points, compound entry points, the drainage tunnel |
Re-rolls every heist | Primary target, secondary loot, equipment spawns, signal box position |
Re-scoping | Free and repeatable until you start the finale; never re-rolls the primary target |
Solo-friendly | Yes |
How to start Gather Intel
You need a Kosatka submarine to run the Cayo Perico Heist at all: buy one from Warstock Cache & Carry for GTA$ 2,200,000, register as a CEO, VIP or MC President, and start Gather Intel from the Heist Planning Table in the middle of the sub's bridge. Our Kosatka guide covers which upgrades are worth it. One thing that is not worth buying for the heist: the Sonar Station. It is a treasure-hunting upgrade, and it is not the sonar deflector you steal during the Kosatka approach prep. Two different things with confusingly similar names.
Your first playthrough is free to set up. Every repeat costs GTA$ 100,000 upfront at the Kosatka, and paying it within 48 minutes of Pavel's text after a finale is what arms Hard Mode for the next run.
You do not choose how you travel to the island for scoping. Every approach vehicle on the heist board is a finale option, and none of them is usable during Gather Intel:
First playthrough: a scripted trip. You meet English Dave at the LSIA private terminal, fly in as the DJs' tour manager and end up at the beach party.
Every repeat: Pavel sends you to steal a Velum 5-Seater from El Rubio's smugglers somewhere in Blaine County (known spots include Grapeseed, Procopio Beach and Lago Zancudo), then you fly it to a marker south of Terminal and arrive posing as a smuggler.
The Kosatka's fast travel cannot take you to Cayo Perico (every destination is on the San Andreas coast), the periscope only shows the sub's own surroundings while surfaced (and the sub never gets anywhere near Cayo), and the island cannot be free-roamed outside missions. If a guide tells you to take the Sparrow or Toreador to scope the island, it is wrong.
What you actually have to scope
On a repeat run, exactly three acts are compulsory: get to the Communications Tower, hack the signal box, and locate the primary target through the compound's CCTV. That is the entire minimum. You can then leave and start preps.
Your first-ever playthrough forces a longer tutorial checklist on top: scoping the North Dock, photographing the waterway, finding one secondary target, photographing the bolt cutters and the control tower, and marking one compound entry point on CCTV.
Everything else is optional, but "optional" does not mean pointless. The honest framing is: optional for finishing the heist, required for specific routes and for the Elite bonus.
No scoped drop zone means the Annihilator Stealth approach cannot be selected at all.
No drainage tunnel found means the Cutting Torch prep never appears on your board, which locks out the tunnel route entirely.
No scoped secondaries makes the Elite Challenge's full-loot-bags requirement a blind scavenger hunt.
The good news: the valuable finds persist. Infiltration points, escape points, compound entry points and the drainage tunnel stay unlocked for every future heist. Loot positions, equipment spawns, the primary target and the signal box all re-roll each playthrough.
Where is the signal box in Cayo Perico?
The signal box is a small switchbox at the Communications Tower, which sits on a hill between El Rubio's compound and the crop fields. There is no fixed spawn spot: the box respawns around the tower every heist playthrough, which is why the objective literally says "Search the communications tower for the signal box".
If you are wondering where the signal box spawns in Cayo Perico, the practical answer is: it moves, so you search. Start at the tower and work your way up the structure, checking each platform as you go; every reliable account describes finding it somewhere up the tower rather than lying at your feet. No canonical spawn list exists anywhere, so ignore any guide that claims to have one.
One hazard while you search: a manned sniper tower stands directly east of the Communications Tower, so keep an eye on it during your approach.
How to get to the Communications Tower
The tower is climbable on foot and no vehicle is required, but the route depends on which run you are on.
First playthrough (you start at the beach party). Exit the party to the south without being spotted, then work toward the compound and wait for Pavel's instructions before heading for the tower. The chokepoint is the security checkpoint south of the party: hug the corner by the cliff in the bushes, wait until the foot guard walks away and the tower guard faces the ocean, then run the gate when no jeeps are near. From there, stick to open grass and the coastline up past the crop fields to the tower hill.
Repeat playthroughs (you start at the airstrip). The fast route is the bike checkpoint jump, and it works like this:
Take the bike and line up left of the small building before the mid-island checkpoint. You are not spotted waiting there, so take your time. Aim at the slope between the two palm trees on the far left.
Read the guards on the pause-screen map, not the minimap. Overlapping vision cones on the minimap make it easy to misjudge who is looking where.
Only one guard matters here: the one up the checkpoint's own watchtower (not the sniper tower over by the Communications Tower). He rotates north, then southwest, then southeast. Set off the moment he turns southeast; if he is already facing southeast when you arrive, wait out a full rotation rather than gambling.
Lean back into the slope, then lean forward once airborne to level the landing.
Ride straight to the Communications Tower. It is the only compulsory stop on the island.
Prefer no bike? Sticking to the left of the island near the cliffs, on foot or wheels, keeps you away from most patrols on the way to the tower.
Getting off the island fast. Once you have what you need, deliberately ending your presence on the island returns you to the airstrip, and plenty of players get caught on purpose as a fast travel. Two caveats: it does not end the mission (you still have to visit your pilot at the airstrip to leave), and the bike that spawned for you is confiscated if you get booted.
One idea to bury now: parachuting from the tower into the compound does not work. You can parachute off the tower to reach fenced-off areas of the island, but the compound is protected during scoping, and getting too close teleports you straight back to the party or the airstrip.
How to hack the signal box (the VOLTlab puzzle)
The signal box hack is a matching puzzle: three numbers on the left, three symbols on the right that multiply by 10, 2 and 1, and a Target Voltage at the top. Assign each number to one multiplier so that the results add up to the target. Multiply, then add: there is no subtraction or division involved.
Since you are placing three numbers into three slots, there are only six possible combinations, so even brute-forcing it is quick. The faster method: solve the ×10 slot first. Pick the number that lands closest to the target without going over when multiplied by 10, then close the remaining gap with the ×2 and ×1 slots. The layout randomises on each attempt, so learn the method, not the answer.
Take your time. No timer is documented for this hack in the live game, failing it carries no recorded penalty, and the claim that a failed hack alerts the guards is false (that rumour comes from a different mechanic, where destroying too many cameras raises the alarm). It cannot touch your Elite Challenge either; Elite is judged entirely on the finale.
Completing the hack unlocks the compound's CCTV through the Sightseer app on your phone, from anywhere on the island. That feed is how you find the primary target. Worth knowing: the same VOLTlab system is also used at the airstrip's Control Tower during the finale, which is why the two towers get mixed up in so many guides.
Signal box not spawning?
If the signal box seems to be missing, the most likely explanation is that you are ahead of the mission script. The objective is gated on Pavel's dialogue: he has to instruct you to find the Communications Tower before the box becomes interactable. If you sprint to the tower before that trigger fires, there is nothing to hack yet. Wait for Pavel, then search.
Two more mundane explanations: you are on the wrong level (the box moves around the tower every playthrough, so check every platform, not just the one it was on last time), and if you already hacked it earlier in this heist setup, the CCTV access should persist and the objective will not re-issue.
There is no verified fix beyond that. Session-hopping and cancel-and-restart remedies circulate, but none is documented to work for this objective, so we are not going to pretend otherwise.
Finding the primary target on CCTV
You never photograph the primary target. After the signal-box hack, open the Sightseer app, cycle the compound's camera feeds and find the target; on your first run you will also check the office feed for the access route. That is the third and final mandatory piece of intel.
The primary target is always in the basement vault beneath the office. It is never in the office, a safe room or the wine cellar (the wine cellar holds secondary loot). The only thing that varies is the container, and the container is fixed by which target you rolled: Bearer Bonds and the Madrazo Files sit in the vault safe, everything else is in the glass display case. That distinction matters because it decides your one variable mandatory prep: safe targets need the Safe Code, glass-case targets need the Plasma Cutter.
Primary target | Normal | Hard Mode | Container |
|---|---|---|---|
Sinsimito Tequila | GTA$ 400,000 | GTA$ 440,000 | Glass case |
Ruby Necklace | GTA$ 560,000 | GTA$ 616,000 | Glass case |
Bearer Bonds | GTA$ 616,000 | GTA$ 677,600 | Vault safe |
Pink Diamond | GTA$ 910,000 | GTA$ 1,001,000 | Glass case |
Panther Statue (event only) | GTA$ 1,900,000 | GTA$ 2,090,000 | Glass case |
Madrazo Files (first run only) | GTA$ 1,100,000 | n/a | Vault safe |
One caveat covers the last two rows, and it has a single cause: the July 2026 figures that surfaced cover only the four repeatable targets. The Madrazo Files appear only on your first-ever run and can never appear again; the Panther Statue is event-gated and unpredictable, only entering the rotation when Rockstar runs a Panther event, on terms that have varied between events. For both, the figures above are the last published values rather than confirmed current ones, so treat them as historic and do not plan around either.
What you will roll on repeat runs. Since the July 2026 update, target appearance rates for repeated completions refresh on a weekly cadence instead of the old 72-hour window. Repeating the heist within the same weekly period gives you this distribution:
Target on a repeat run (same weekly period) | Chance |
|---|---|
Sinsimito Tequila | 80% |
Ruby Necklace | 10% |
Bearer Bonds | 8% |
Pink Diamond | 2% |
After the weekly reset (in practice, Thursday, when the rest of GTA Online resets; Rockstar's own wording is just "weekly period"), the high-value targets return to the rotation. The reset is keyed to completions of the finale, not to scope-outs.
Do not re-scope hoping for a better target. Repeating Gather Intel never re-rolls the primary; it only reveals intel you missed. To re-roll, you have to cancel the heist: call Pavel while you are outside the Kosatka, wait for his callback, then set up again at the planning table. Cancelling reportedly refunds the GTA$ 100,000 setup fee, but player reports conflict on that, so treat it as unconfirmed.
For what each target actually pays after fees, and the fastest solo route through the finale, see our Cayo Perico max-payout guide.
Scoping secondary loot
Secondary loot comes in five types: cash, weed, cocaine, gold and artwork. Island lock-ups only ever hold cash, weed or cocaine; gold and artwork spawn exclusively inside the compound, located through CCTV rather than photos. The positions are fixed across runs, but what sits at each position re-rolls every playthrough.
Scoping secondaries is not required. Unscoped loot still spawns in the finale, it just is not marked on your map. In practice you scope it anyway if you care about the Elite Challenge, because full loot bags are one of its criteria, and hunting unmarked stacks mid-finale is how Elite attempts die.
Two rules for scoping it well:
Photograph each stack separately. A group shot of two stacks only registers one of them. If two tables appear in one photo and only one registers, take a second photo focused on the other.
Check the main docks have enough loot before you commit to an Elite run. Sometimes they will not, and the fallback is the airstrip area, which reliably has plenty but adds time.
Loot type | Per-stack value | Bag space per stack | Solo access |
|---|---|---|---|
Gold | GTA$ 295,500–300,000 | 66.7% | No (two-player door) |
Cocaine | GTA$ 178,200–182,250 | 50% | Yes |
Artwork | GTA$ 141,750–162,000 | 50% | Office spawns only |
Weed | GTA$ 117,450–121,500 | 37.5% | Yes |
Cash | GTA$ 70,875–74,925 | 25% | Yes |
The solo-access column matters at scoping time: everything in the compound's storage rooms sits behind a dual-keycard door that physically requires two players (more on that in the keycards section below), so a solo player fills bags from island lock-ups, plus one or two paintings if they happen to spawn in the office. Cocaine is the best solo fill at two stacks per bag. One island-side catch, reported by a single source: two of the island lock-ups have steel shutters that need two players, one holding a lever open while the other collects, so a solo player should not count on every lock-up being reachable.
Worth knowing for the finale: El Rubio's office holds a wall safe with up to GTA$ 99,000. It does not consume bag space and is available solo or in a team.
Points of interest and equipment
Six POI types fill the intel checklist, and none of them is mandatory. Here is what each one actually does for you:
Point of interest | Finds needed | What it does in the finale |
|---|---|---|
Control Tower | 1 (fixed site at the airstrip) | Marks where you disable the island's air defences. Required for any air escape (ignore the warning and you get shot down) and for five of the support-crew options |
Power Station | 1 (fixed site near the airstrip) | Marks where two circuit breakers kill island CCTV and shrink guard night-vision cones |
Bolt Cutters | 4 | Silently open lock-up padlocks, plus the Control Tower and Power Station gates. The Cutting Torch fully substitutes for them |
Grappling Equipment | 4 | Enables the North Wall and South Wall compound climbs, picked up opportunistically mid-finale |
Guard Clothing | 4 | Slows detection on the island; paired with the Supply Truck it becomes the Big Con drive-in through the Main Gate |
Supply Truck | 1 of 5 spots | Only useful paired with Guard Clothing. One of its five spots is inside the compound, visible only on CCTV |
On the Power Station: treat the blackout as an island-side buff only. The compound reportedly keeps its power on throughout, and the same account says the blackout is already over by the escape.
Cutting powder is the odd one out: it is not on the POI counter and is not scoped at all. You pick up the box and carry it to a water-tower hatch, which weakens that run's guards (worse accuracy, slower reactions). It is intel-phase only; once the finale starts, the chance is gone.
Two things scoping does not touch, despite what older guides say: the three Disruption preps (weapons, armor, air support) are always available regardless of what you scope, and "air defences" is not a prep at all; you deal with them at the Control Tower during the finale.
All 8 infiltration points
There are eight infiltration points, unchanged since the heist launched, and three of them are handed to you automatically. Each one binds you to specific approach vehicles on the finale board:
Infiltration point | Approach vehicle | How you get it |
|---|---|---|
Airstrip | Velum 5-Seater only | Automatic on first arrival |
HALO Jump | RO-86 Alkonost only | Automatic on first arrival |
West Beach | Kosatka only | Automatic on reaching the party |
North Dock | Kosatka, Longfin, Kurtz 31 Patrol Boat | Photo (forced in the first-run tutorial) |
Main Dock | Kosatka, Longfin, Kurtz 31 Patrol Boat | Photo |
North Drop Zone | Annihilator Stealth only | Photo |
South Drop Zone | Annihilator Stealth only | Photo |
Drainage Tunnel | Kosatka only, plus the Cutting Torch prep | Dive to it (no photo) |
The drop zones are the ones people skip and regret: without at least one scoped drop zone, the Annihilator Stealth approach cannot be selected at all, no matter what preps you have done. All infiltration points persist once found, so one thorough scoping run sets you up for every future heist.
There is no "north dock tunnel", by the way. The first-run objective to photograph the waterway is the North Dock scope; the only tunnel on Cayo Perico is the drainage tunnel behind the compound.
Escape points
There are four escape points, and you never need to scope any of them: two arrive free (the Airstrip is added automatically, and the Kosatka appears with its approach), and the two docks ride along with their infiltration scopes.
Escape point | Vehicle | Requirement |
|---|---|---|
Airstrip | Dodo seaplane, or your Velum if you flew it in | Air defences must be disabled first |
North Dock | Any boat | Comes with the North Dock infiltration scope |
Main Dock | Any boat | Comes with the Main Dock infiltration scope |
Kosatka (north coast) | Kosatka | Only available if the Kosatka was your approach vehicle |
Two traps here. First, the Kosatka escape is not a universal fallback: it only exists if your crew leader approached in the Kosatka, so do not plan an air infiltration around "we'll just swim to the sub". Second, any air escape without disabling the air defences gets you shot down; the game warns you, and it means it.
Compound entry points
There are six ways into El Rubio's compound, but only two of them can be selected on the finale planning board. The rest are switched to on the fly during the finale, if you have picked up the right equipment:
Entry | Requirement | Board-selectable? |
|---|---|---|
Main Gate (Aggressive) | Demolition Charges; the alarm is raised and cannot be undone | Yes |
Drainage Tunnel | Cutting Torch prep | Yes |
Main Gate again (Big Con drive-in, second method on the same gate) | Vetir Supply Truck plus guard uniforms for the whole crew | No, opportunistic |
North Wall / South Wall | Grappling hook picked up on the island | No, on the fly |
North Gate / South Gate | Numeric code looted from a guard | No, on the fly |
Note the gates take a code, not a keycard; nothing about entering the compound involves a card. During scoping, five of the six entry points are marked through CCTV, the drainage tunnel is proximity-only, and the Main Gate should be added for you automatically when you reach the compound. Entry points persist once found.
The drainage tunnel: find it once, keep it forever
The drainage tunnel is the single highest-value optional find in the entire mission. You do not photograph it and it never shows up on CCTV: you dive to it in the water behind the compound, Pavel narrates the discovery, and it registers simultaneously as an infiltration point and a compound entry point.
Finding it is also what makes the Cutting Torch prep appear on your board at all. No tunnel, no torch, no tunnel route, ever. And since the tunnel persists forever once found, this is a one-time dive that permanently expands every future heist's options. If you scope exactly one optional thing beyond the mandatory three, make it this.
Cayo Perico keycards: finale only, never intel
Keycards exist in the Cayo Perico Heist, but only in the finale. Nothing keycard-related is ever scoped, photographed or found during Gather Intel. There are exactly two, both are needed at the same time, and a solo player can never use them.
The mechanic: the compound's best secondary loot (gold, paintings, extra cash) sits behind dual-keycard doors. One card is on Strickler's desk in the office, the other is dropped by a guard in the compound, and two players must swipe simultaneously to open the doors. That is why solo runs are limited to island lock-ups plus any office paintings.
Three things people confuse with keycards:
Gate codes. The North and South Gate entries need a numeric code looted from a guard, not a card.
The set of keys. A guard-dropped keychain that opens the underground gates and two shortcut gates between the Main Gate courtyard and the mansion tower.
The office drawer key. A small key from the Sleeping Guard random event back in San Andreas, which opens a drawer on the office desk and persists across heists.
If you are certain you photographed keycards during scoping in some other heist, you are thinking of the Diamond Casino Heist, whose mandatory Vault Keycards prep also involves two cards. Different heist, different mechanic. Reaching Cayo's primary target involves no card at all: the basement is behind a fingerprint scanner, handled by the Fingerprint Cloner prep.
Detection, the Valkyrie and repeat scoping
How many times can you get caught during Gather Intel? Honest answer: nobody knows the current number. The old limit was four detections, but that figure is from before July 2022, when Rockstar raised it, saying players "can get caught more times before being kicked off the island" without ever publishing the new limit. Any guide quoting a specific count is quoting the pre-2022 value.
Getting caught teleports you back to where you started: the beach party on a first-strand run, the airstrip on repeats. Get apprehended repeatedly and you are ejected from the island entirely, back to Vespucci Beach. You cannot use weapons during scoping, so this is a pure sneaking exercise.
A surveillance Valkyrie helicopter joins the island's patrol later in the mission (accounts tie its launch to locating the primary target, or simply to time spent on the island), and if it spots you, you are ejected immediately, no strikes. Do not linger once you have what you came for, and do not approach the Valkyrie on its compound helipad either, which ejects you instantly.
On repeatability: Gather Intel is free to repeat as often as you like while the heist strand is active, right up until you start the finale. Re-scoping only fills in what you missed; it never re-randomises the primary target, and intel you have already found is not re-shown. Yes, you do have to gather intel on every playthrough (the tower, the box and the primary re-roll every time), but the persistent finds mean a repeat scope-out takes minutes, not an hour.
FAQ
Do you have to gather intel every time you do the Cayo Perico Heist?
Yes, but only the minimum: reach the Communications Tower, hack the signal box and find the primary target on CCTV. Infiltration points, escape points, compound entries and the drainage tunnel persist from earlier runs, so repeat scope-outs are short.
Where is the signal box in Cayo Perico?
At the Communications Tower, on the hill between El Rubio's compound and the crop fields. It moves around the tower every playthrough, so search the structure and work upward; there is no fixed spawn spot.
How many times can you get caught during Gather Intel?
Undocumented. The often-quoted "four times" is the pre-July-2022 limit; Rockstar raised it in the Criminal Enterprises update and never published the new number.
Are there keycards in the Cayo Perico intel phase?
No. Keycards are finale-only: two of them, one on Strickler's desk and one on a guard, swiped simultaneously by two players to open the compound's storage rooms. Nothing about them is scoped.
Does re-scoping change the primary target?
No. To re-roll the target you must cancel the heist by calling Pavel while outside your Kosatka, wait for his callback, then set up again.
What is Pavel's cut in the Cayo Perico Heist?
2% of the take, on every run including the first. The separate 10% fencing fee applies to repeat runs only.
Can you free-roam Cayo Perico?
No. The island is only visitable in missions and the scripted beach-party trips. It does hold more money than the heist, though: see our Cayo Perico daily treasure chests guide.
Does failing the signal box hack alert the guards?
No. That rumour comes from a different mechanic (destroying too many cameras). A failed hack has no documented penalty, and it cannot affect the Elite Challenge, which is judged entirely on the finale.
Related content
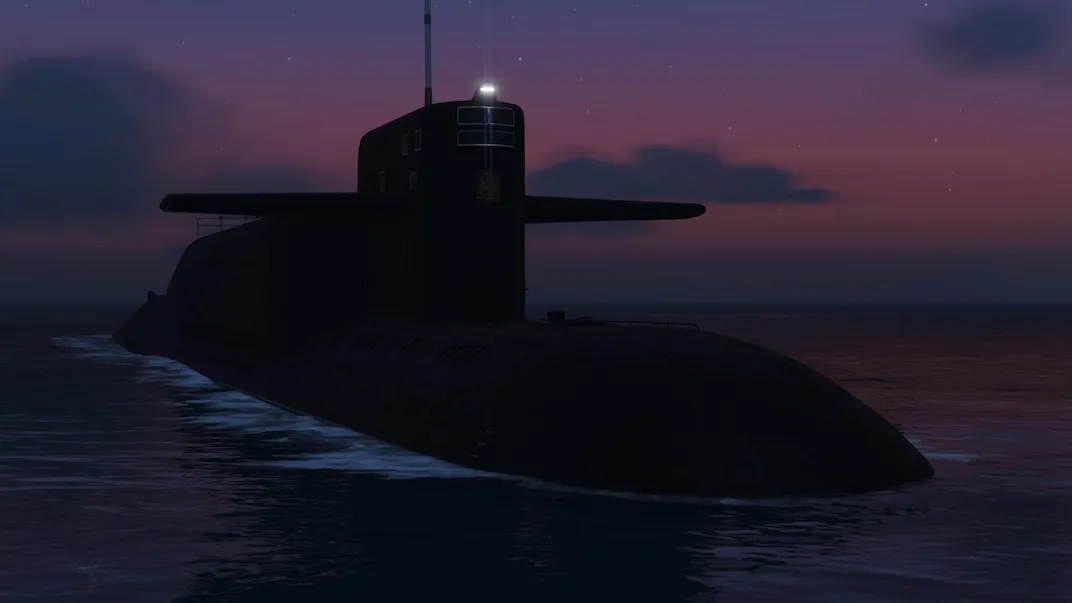
Everything You Need to Know About the Kosatka Submarine in GTA Online
August 21, 2026

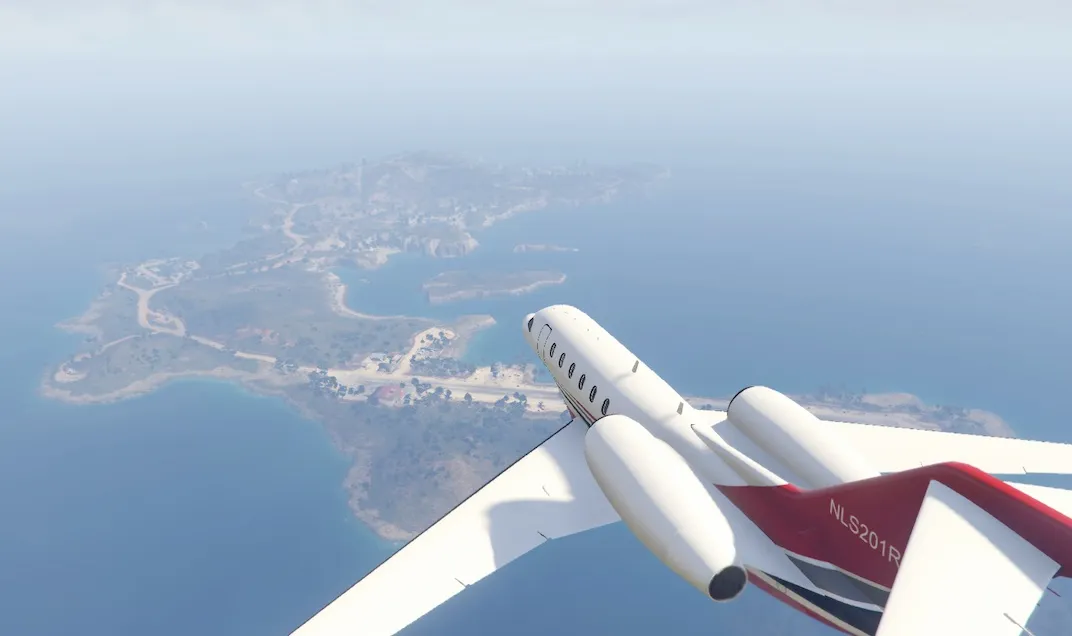
JoBuilt Velum 5-Seater
Planes · $1,323,350
How to Complete the Cayo Perico Heist Quickly, Solo, and With Max Payout in GTA V Online
August 21, 2026
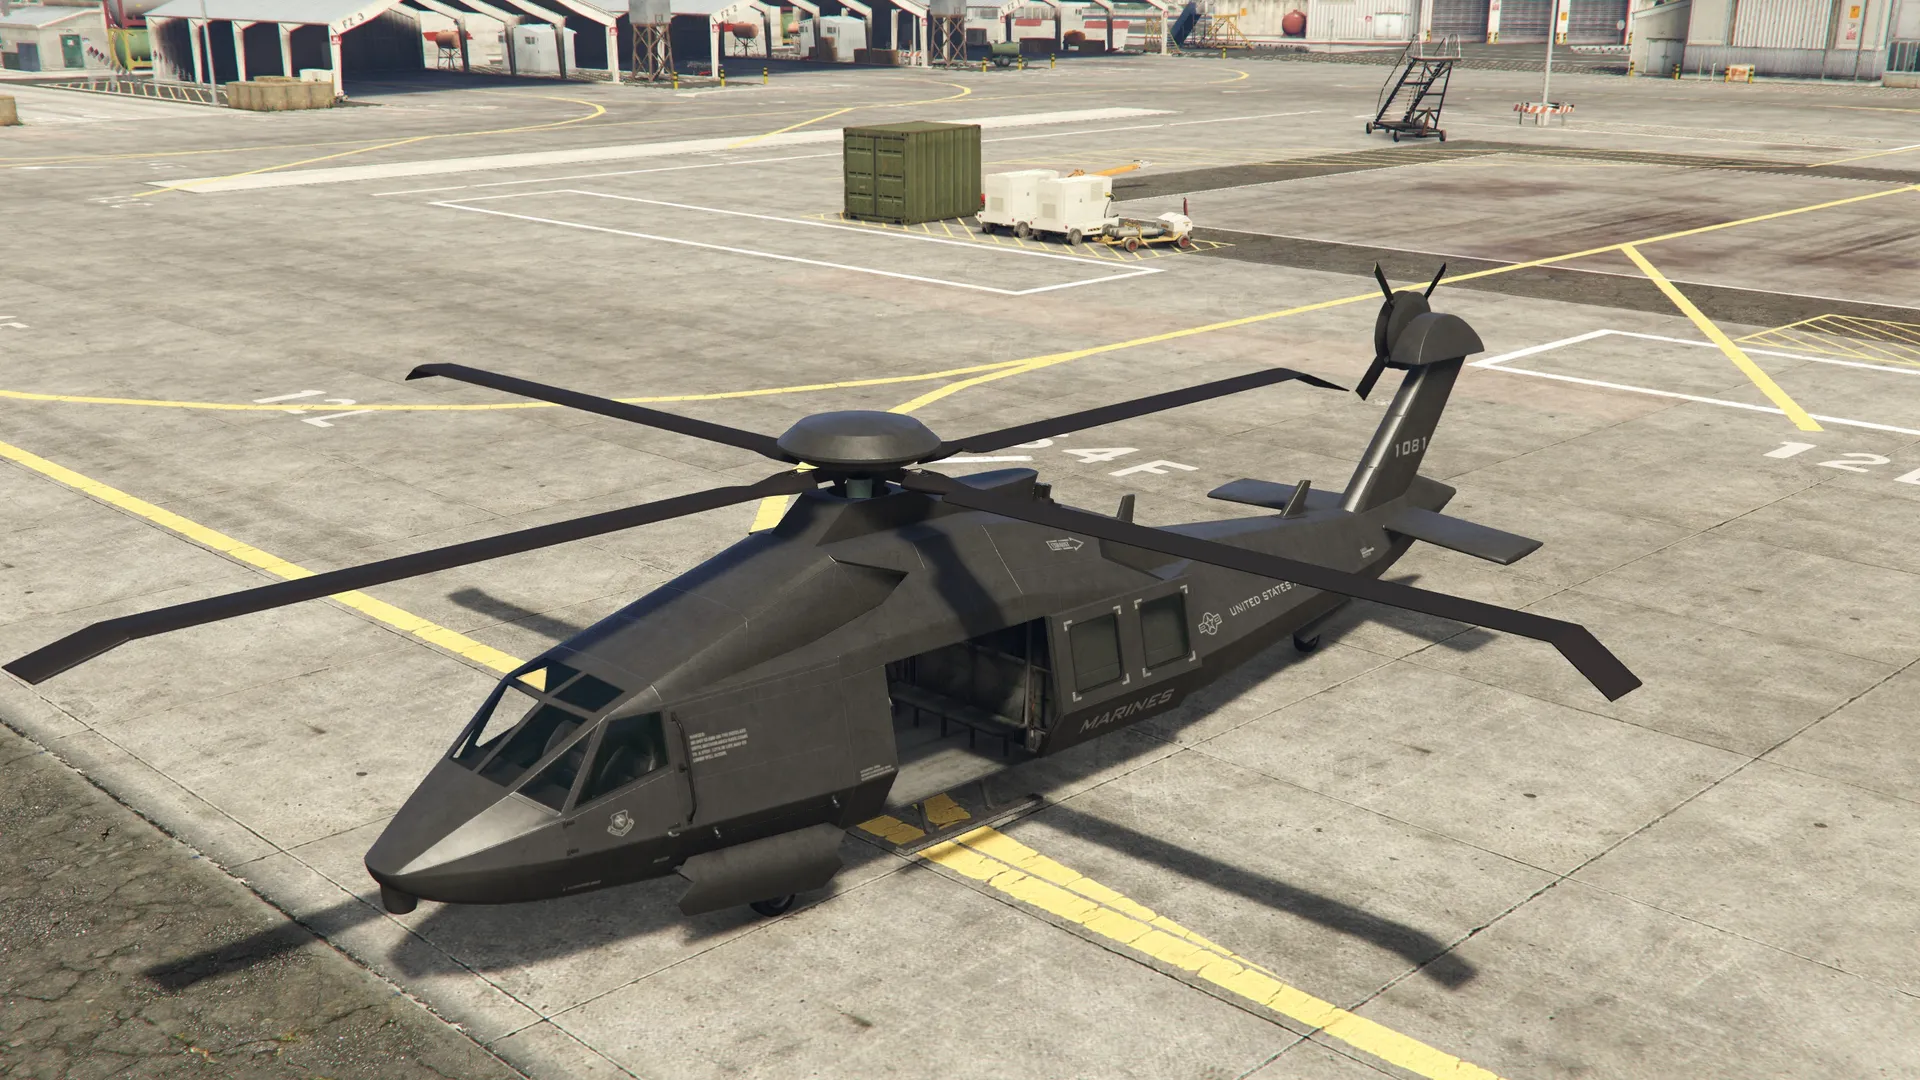
Western Company Annihilator Stealth
Helicopters · $3,870,000
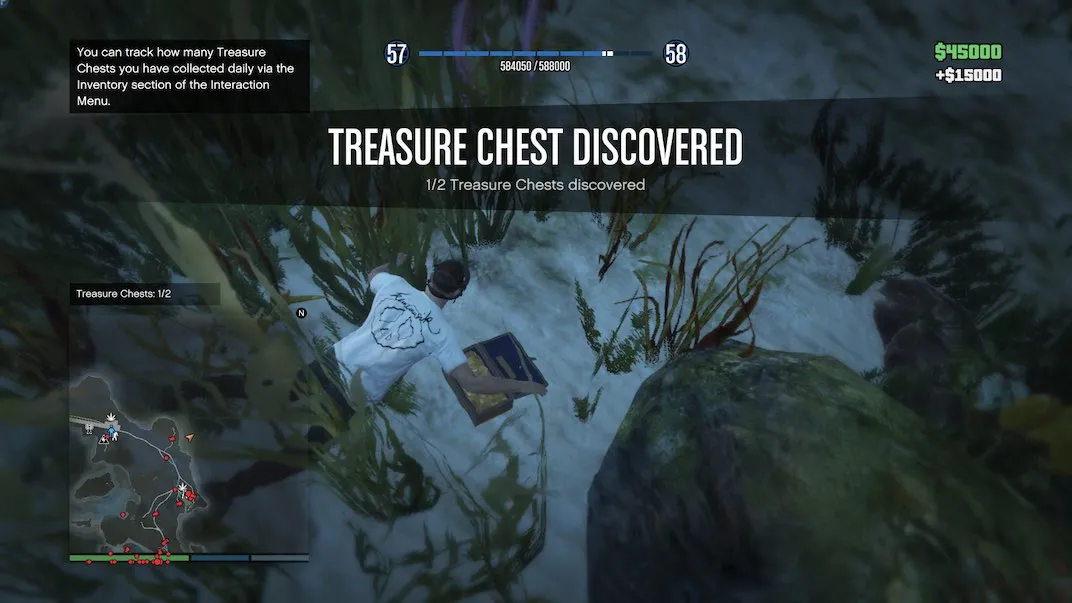
How to Get the Daily Treasure Chests from Cayo Perico in GTA V Online
October 25, 2021