
The Doomsday Heist Complete Walkthrough- Act 1: The Data Breaches
Follow @gtabossgg on X for weekly updates and guides.
Follow on XAct 1 of the Doomsday Heist, The Data Breaches, currently pays GTA$ 877,500 on Normal and GTA$ 1,096,875 on Hard, split between a crew of 2 to 4 players. To start it you need a Facility, a registered CEO/VIP or MC leader, and a flat GTA$ 25,000 setup fee. This Doomsday Heist Act 1 walkthrough covers every mission from the first prep to the finale, plus the current payouts and the Elite Challenge.
The Doomsday Heist is the biggest heist chain in GTA Online: three acts, each with its own preps, setups and finale, escalating all the way to a nuclear crisis. Act 1 is the entry point, and it is arguably the easiest of the three once you know what each mission wants from you. When you are done here, the story continues in our walkthroughs for Act 2: The Bogdan Problem and Act 3: The Doomsday Scenario.
On this page
Act 1 Quick Facts
Fact | Value |
|---|---|
Finale payout (Normal / Hard) | GTA$ 877,500 / GTA$ 1,096,875 |
Weekly first-run bonus (Normal / Hard) | GTA$ 1,072,305 / GTA$ 1,340,381 |
Setup cost | GTA$ 25,000 |
Mission count | 3 preps, 3 setups, 1 finale |
Players | 2–4 setups and finale; preps solo up to 4 (CEO/VIP) or 8 (MC) |
Required property | Facility (GTA$ 1,250,000 – GTA$ 2,950,000) |
Equipment buy-out (first purchase) | GTA$ 94,500 |
Elite Challenge reward | GTA$ 50,000 |
How to Start the Doomsday Heist
Three things gate the Doomsday Heist, and missing any one of them is the usual reason the heist "won't start":
Own a Facility. Buy one from Maze Bank Foreclosures. There are 9 locations, priced from GTA$ 1,250,000 in Paleto Bay up to GTA$ 2,950,000 at Land Act Reservoir. Every Facility runs the same heist missions with the same upgrades available, so pick on budget and location, not features. Our Facility guide compares all 9 locations.
Be a leader. You must be registered as a CEO/VIP or an MC President to launch the heist. If the option is greyed out, register first.
Pay the setup fee. Since The Criminal Enterprises update in 2022, each act costs a flat GTA$ 25,000 to set up, Act 1 included.
Once you own the Facility, Lester calls to introduce the heist. Head to the planning room downstairs, pay the fee, and Act 1 appears on the screen. The acts unlock in order, so you play Act 1 first, then Act 2, then Act 3; once you have finished Act 3, you can replay the acts in any sequence.
Prep missions can be run solo or with up to 4 players as a CEO/VIP organization, and a motorcycle club can bring up to 8. Setup missions and the finale need a minimum of 2 players and support up to 4. There is no Easy difficulty for the finale: you choose Normal or Hard, and Hard pays 1.25 times as much.
How Many Setups Does Act 1 Have?
Act 1 consists of exactly 7 missions: 3 prep missions, 3 setup missions and the finale. Each prep feeds directly into its setup, so you always run them in pairs:
Prep mission | Unlocks this setup |
|---|---|
Paramedic Equipment | Dead Courier |
Deluxos | Signal Intercepts |
Akula | Server Farm |
Preps are freemode jobs where you go out and steal the required equipment. You have two ways around running one yourself: steal the equipment from a rival organization instead, or buy it outright, though the price climbs with each shortcut you take: GTA$ 94,500 for the first buy-out, GTA$ 168,750 for the second and GTA$ 202,500 for the third, a total of GTA$ 465,750 if you buy all three. One serious catch: buying equipment stops the heist leader progressing the Doomsday Heist challenges, so if your crew is chasing All In Order or Criminal Mastermind, run every prep. Preps take place in public sessions, so expect other players to be around; an armored or weaponized vehicle makes them much smoother.
Prep 1: Paramedic Equipment
The opening prep is as simple as they come: source an ambulance and deliver it to your Facility.
The mission marks an ambulance location on your map, but you do not have to drive out to it. Open your phone, dial 911, and select Paramedic. An ambulance will drive right to you; take it from the responders, lose the wanted level that taking it earns you, and deliver it to the Facility. Calling one in is almost always faster than chasing the marked spawn.
Keep the ambulance intact on the drive back. A wrecked delivery means a restart, and this mission is not worth running twice.
Setup 1: Dead Courier
Dead Courier splits your crew into two teams with very different jobs, so agree on roles before you launch.
The Paramedic team takes the ambulance from Prep 1 to the Los Santos County Coroner's office. Head into the morgue and search the bodies for a USB stick. It will not be there: the data is on a laptop upstairs, and by the time you reach it your cover is blown. Fight your way to the laptop, start the download, and expect the police to take an interest while it runs. Once you have the data, retrace your route out of the building, clearing resistance as you go.
The Recovery team goes after the courier's escort: a black Savage attack helicopter that has been stolen by the opposition. Follow it to El Burro Heights, take out the crew holding it, and recover both the intel and the Savage itself. Treat that helicopter gently. It has to survive the mission, so favor precise fire on the guards over explosives anywhere near the airframe.
Then the two jobs converge: the Recovery team flies the Savage back to the Coroner's office to extract the Paramedic team. Once everyone is aboard, lose the cops together and deliver the Savage to the drop-off to wrap the setup.
Prep 2: Deluxos
This prep has you stealing four Deluxo time-machine lookalikes from a guarded mansion, and it is the longest of the three preps.
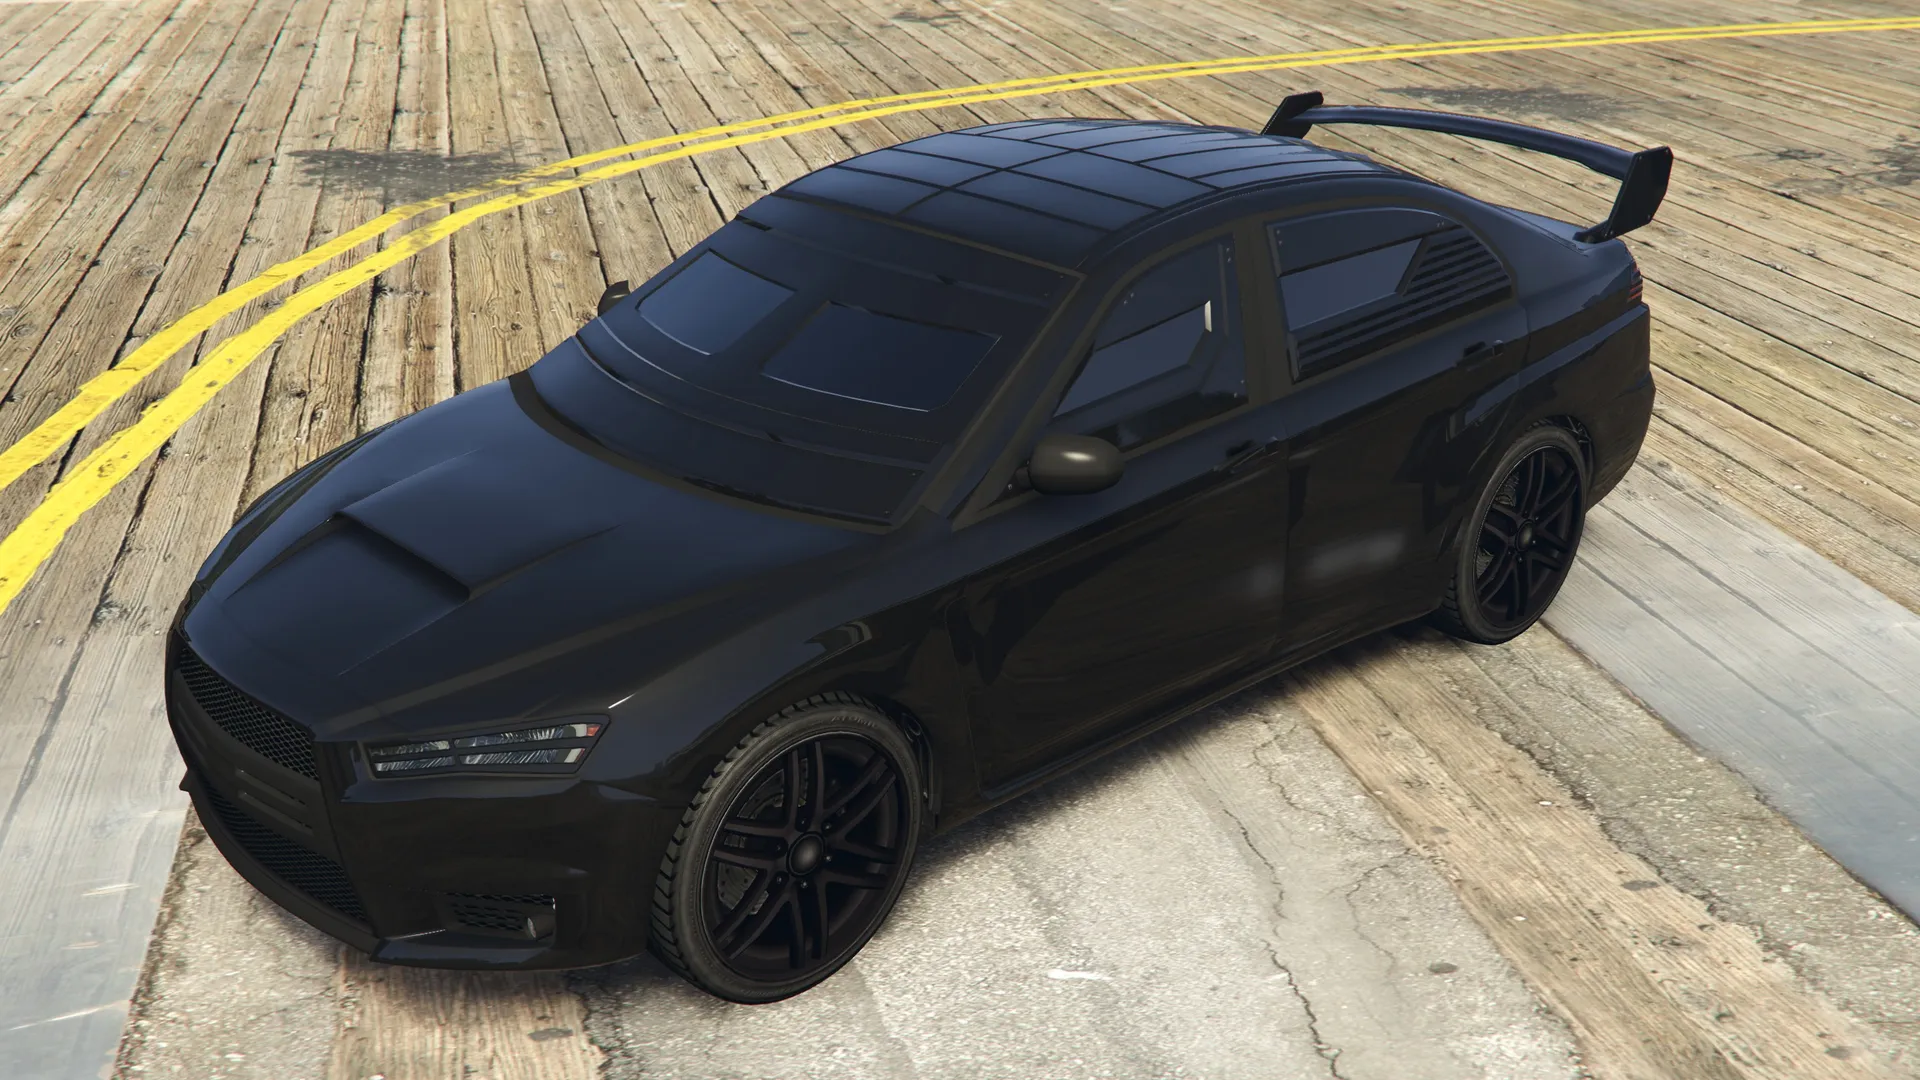
The mansion spawns in the Richman, Rockford Hills or Vinewood Hills area and is crawling with security. Clear the guards outside and find the head of security; he carries the key to the garage where the Deluxos are stored. An armored or weaponized vehicle trivializes this fight: the Armored Kuruma lets you shoot from near-total cover, and a Buzzard clears the grounds from the air in seconds.
Grab the key, open the garage, and be ready: more guards wait inside. Take a Deluxo, drive it to Los Santos Customs for a respray, then deliver it to the Facility. Repeat until all four are home.
Two things to know before you start. First, stealing the Deluxos broadcasts your position to the session, and since preps only run in public sessions, your best defense is picking a quieter, emptier one. Second, this is four full delivery loops, so bringing a friend or two to run parallel deliveries cuts the mission time dramatically.
Setup 2: Signal Intercepts
Now the Deluxos pay off. The whole crew mounts up and chases down a series of moving targets across Los Santos, hacking each one and then destroying it.
The first wave is four vans scattered around the city. Drive within range of a van and hold position while the hack runs; the occupants will shoot back, so approach from the front where their fire cannot reach you, or just sit in something armored. Hack, destroy, move to the next.
The second wave is four boats. Switch the Deluxo to hover mode and skim out over the water. Same routine: stay in range until the hack completes, then sink the boat.
The final target is a plane taking off from Los Santos International Airport, and this is the moment your Deluxos unlock full flight. Chase the plane down and hold formation within hack range. Enemy helicopters will try to break you off, so if you have the numbers, put one player on the plane hack and let the others handle the escorts. Once the hack lands, shoot the plane down and deliver the Deluxos to the drop-off to finish.
Prep 3: Akula
The final prep sends you into Fort Zancudo to find and steal the Akula stealth helicopter. Expect heavy resistance, so top up snacks and armor before you go, and bring your own aircraft: you will want a fast exit.
Fly to Fort Zancudo and make your way into the control tower. Park your aircraft right outside the door; you will be leaving in a hurry. Climb to the top floor and download the flight data to reveal the Akula's location. The download blows your cover, so fight your way back down the tower the way you came, get to your aircraft, and take off before the base fully mobilizes.
Head to the Akula's location and clear out the small security detail guarding it. Take the helicopter and fly it back to the Facility. You will pick up a wanted level on the way home, but police helicopters are far slower than the Akula, so just fly low and fast until the stars clear, then deliver it.
Setup 3: Server Farm
Server Farm is the stealth mission of Act 1 and the one most crews ask about, mostly because of its hacking minigame. Stock up on snacks and armor, then load into the Akula.
Infiltration. Fly the Akula to the N.O.O.S.E. facility and land on the roof; the Akula is exactly why this insertion works. Head down the ladder and work your way around to the rear parking lot without raising the alarm. Suppressed headshots are the rule here: you want to keep stealth as long as possible, and pairs of guards need synchronized takedowns, so call your shots with your teammates, and take out cameras before they spot you.
The access codes. You cannot get into the server farm without the access codes, and they are on the head of security. In the rear parking lot, take cover and wait for him to appear; he arrives with a guard escort. Drop them both quietly, take the codes from his body, then enter the building through the rear Server Farm entrance.
The hacking minigame. Inside are four marked server terminals, so split the terminals between you, staying in stealth and watching for guards and cameras along the way. The hack itself is a node-matching puzzle: you connect nodes to find the correct sequence, correct connections lock in, and wrong paths reset. You get four failed attempts before the alarm goes up. The rescue trick: if you are sitting on three fails, back out of the hack and restart it. You lose your locked-in connections, but your fail counter resets and you get a fresh randomized puzzle instead of an alarm.
Exfil. Completing the hacks alerts the base no matter how clean you were. Fight back toward the exit along the route you came in, hugging the walls and sides of rooms to limit incoming fire, and only stopping for direct threats. Outside, heavy resistance stands between you and the Akula; clear it with whatever heavy firepower you brought, climb the ladder to the roof, and fly the Akula out to the drop-off at Sandy Shores to finish the setup.
Act 1 Finale: The Data Breaches
The finale takes the whole crew to the IAA's secret base underneath the Satellite Relay Station in the Grand Senora Desert. There is no team split here: everyone fights through together, and everyone gets a turret at the end. If you are prepared, this is the easiest finale of the three acts. An armored car for the drive up, ideally the Armored Kuruma, makes the opening even safer.
Clear the exterior. Drive to the Satellite Relay Station and eliminate the hostile forces holding the surface. Secure the perimeter, then head inside.
Fight down through the base. The base has been overrun, and you need to clear it floor by floor. Work down the stairs toward the interrogation room level, checking corners and covering each other; resistance is heaviest through this stretch. Keep descending to the bottom floor and finish clearing it, then head back up to the interrogation room level and push through the double doors into the War Room.
Man the turrets. In the War Room, every player takes a gun camera and gets control of a missile turret. Rain fire on the assault outside and keep an eye on the IAA Defenses health bar; by all accounts, letting it empty fails the finale, so prioritize whatever is doing damage to the base. Once you have broken the attack, the survivors turn and flee, and the finale winds down: pick off the runners if you like, and Act 1 is done. The payout hits your account, and Act 2: The Bogdan Problem unlocks on your Facility screen.
Act 1 Payout: The Data Breaches
The Act 1 finale currently pays GTA$ 877,500 on Normal and GTA$ 1,096,875 on Hard (Hard pays 1.25 times Normal). These numbers moved recently: Title Update 1.73 on July 14, 2026 cut Doomsday finale payouts, then a server-side background update on July 16, 2026 raised them again, described as correcting the payouts to their originally intended values. Act 1 now sits 10% below its pre-update level of GTA$ 975,000 on Normal and GTA$ 1,218,750 on Hard.
Difficulty | Standard payout | First run of the week |
|---|---|---|
Normal | GTA$ 877,500 | GTA$ 1,072,305 |
Hard | GTA$ 1,096,875 | GTA$ 1,340,381 |
Keep in mind these figures are crew totals, before cuts. The finale needs 2 to 4 players and every crew member takes a minimum 15% cut, so as host you keep at most 85% of the numbers shown above.
That "first run of the week" column is the weekly completion bonus. The first time the host completes the Act 1 finale in the current weekly period (which resets on Thursday), it pays roughly 1.22 times the standard payout. Run it again in the same week and you drop back to the standard amount. One genuine bright spot: that GTA$ 1,072,305 first-run figure on Normal is actually higher than the old pre-update standard payout of GTA$ 975,000.
The flat GTA$ 25,000 setup fee is the only cost you have to pay on top of owning the Facility, and the July 2026 update also raised the GTA$ rewards paid by the Doomsday setup missions themselves to 1.25 times their previous amounts, so the grind between prep and finale puts a little more back in your pocket than it used to. Unlike Act 3, the Act 1 finale has no vehicle-choice bonus (that mechanic is Act 3's, where the crew's Barrage-or-Khanjali pick adds a bonus).
Elite Challenge and Bonus Awards
The Data Breaches has its own Elite Challenge worth an extra GTA$ 50,000 on top of the finale payout. You need to hit all three conditions in a single playthrough of the finale:
Condition | Requirement |
|---|---|
Time | Complete the finale in under 5:30 |
Kills | 78 kills |
Deaths | Nobody gets wasted |
The time limit is the real constraint, so a crew going for Elite should skip looting around, push aggressively through the interior, and burn down the turret phase fast. The kill target sounds high but comes naturally if everyone is shooting; the no-deaths rule is what punishes a careless push, so armor up and use cover.
Beyond the Elite Challenge, the Doomsday Heist carries a set of larger completion awards, including the famous Criminal Mastermind II, III and IV bonuses. The mechanic: complete all three acts in order, on Hard, with the same team of 2, 3 or 4 players, without anyone dying across the entire run. Those payouts stack across the whole heist chain rather than Act 1 alone, so treat Act 1 as the warm-up leg and protect your no-death streak from mission one. Remember that buying prep equipment blocks the leader's challenge progress, so a Mastermind crew steals everything the honest way.
Act 1: The Data Breaches FAQ
Is The Data Breaches the Doomsday Heist?
The Data Breaches is Act 1 of the Doomsday Heist, the first of its three acts. Each act has its own preps, setups and finale, and each finale pays out separately.
Why can't I start the Doomsday Heist?
The usual blockers: you do not own a Facility, or you are not registered as a CEO/VIP or MC President. Buy a Facility from Maze Bank Foreclosures, register as a leader, and pay the GTA$ 25,000 setup fee in the Facility's planning room.
How many setups does Doomsday Act 1 have?
Seven missions total: 3 prep missions (Paramedic Equipment, Deluxos, Akula), 3 setup missions (Dead Courier, Signal Intercepts, Server Farm) and the finale.
Can you do Doomsday Act 1 with 2 players?
Yes. Setups and the finale support 2 to 4 players, and preps can even be done solo. The payout figures in this guide are crew totals: the host sets the cuts, with a minimum of 15% per member, so a 2-player crew keeps bigger individual shares than a full team.
Do I have to do the prep missions?
Not necessarily. Each prep's equipment can also be stolen from a rival organization, or bought outright: GTA$ 94,500 for the first buy-out, rising to GTA$ 168,750 and then GTA$ 202,500 for the second and third. Buying equipment stops the heist leader progressing the Doomsday Heist challenges, though, so award hunters should run every prep.
Do the Doomsday acts have to be played in order?
Yes, on your first run: Act 1 unlocks Act 2, which unlocks Act 3. After you complete Act 3, you can replay any act in any order.
How do I get the Act 1 Elite Challenge?
Finish the finale in under 5:30 with 78 kills and no deaths, all in the same playthrough. It pays a bonus GTA$ 50,000.
Related content
The Doomsday Heist Complete Walkthrough Act 2: The Bogden Problem
August 21, 2026
The Doomsday Heist Complete Walkthrough Act 3: Doomsday Scenario
August 21, 2026

Facility
Setup from $1,250,000
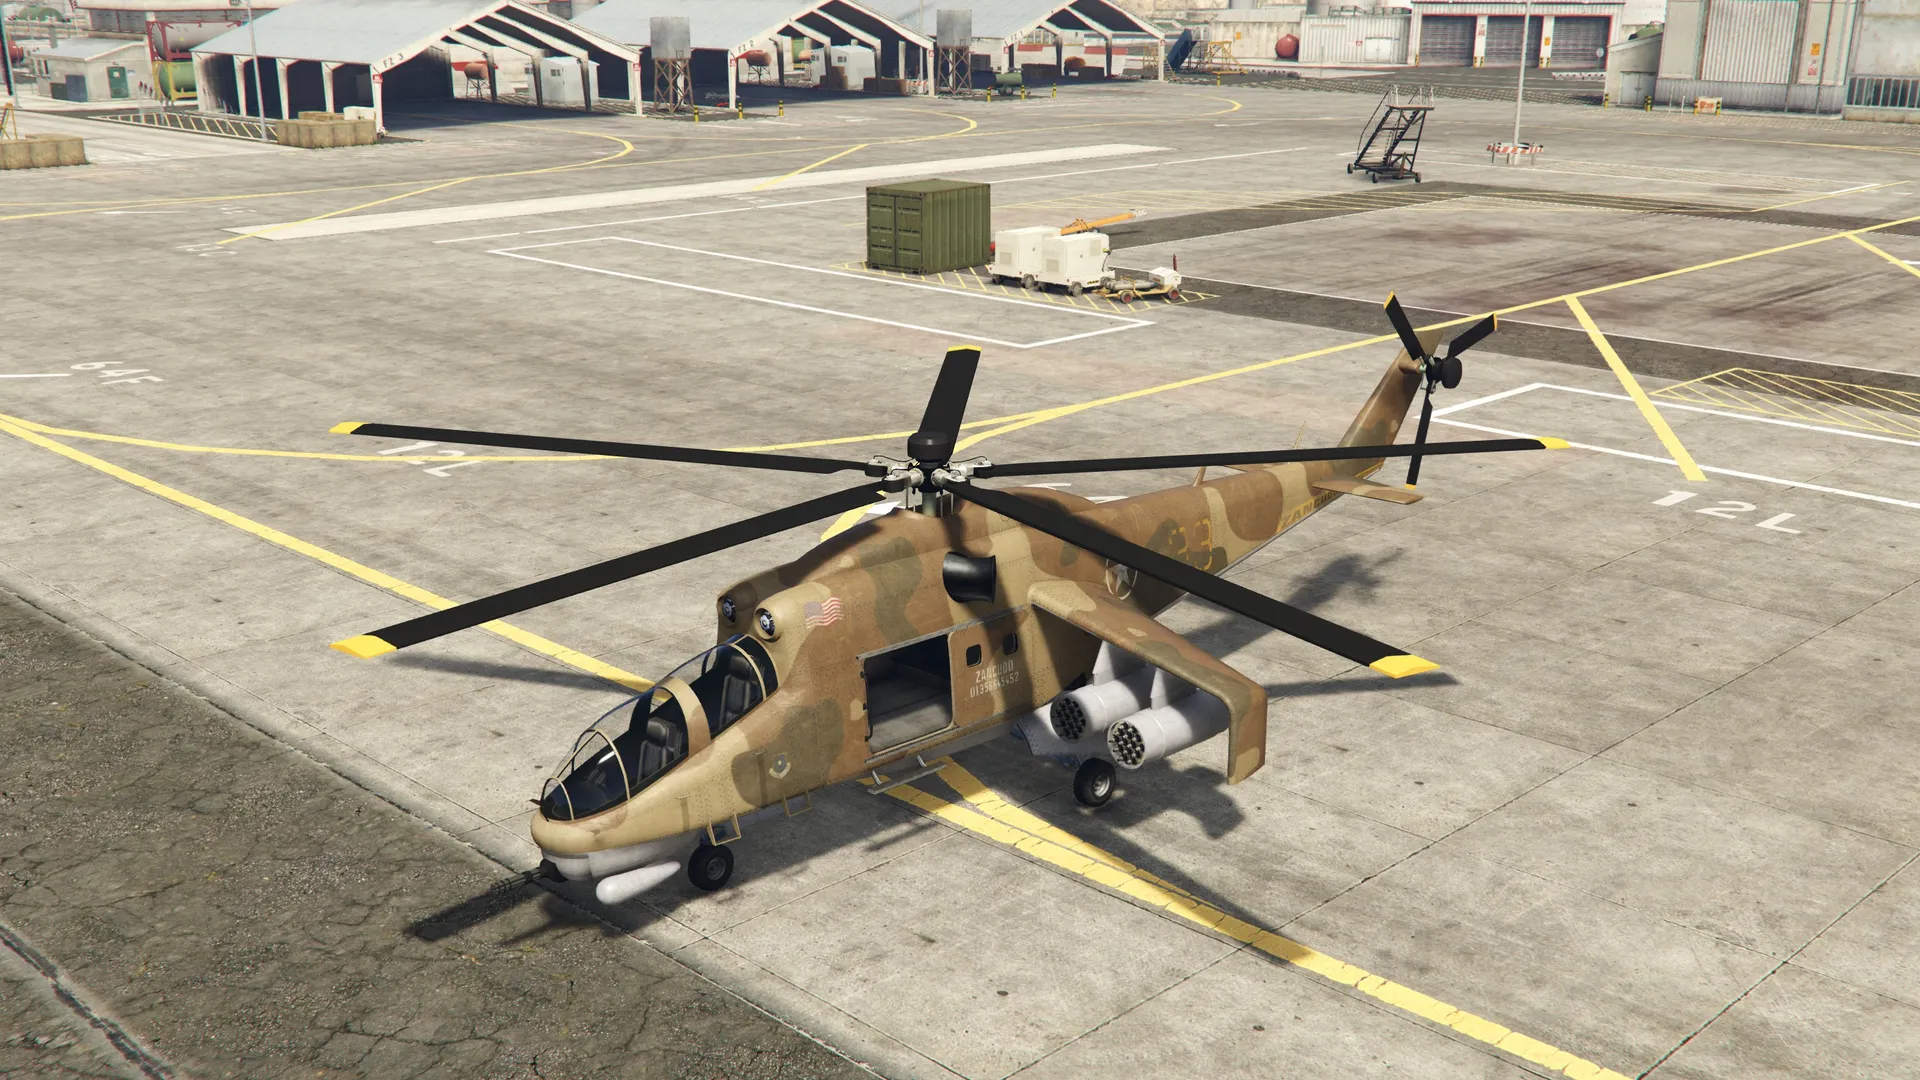
Savage
Helicopters · $2,593,500
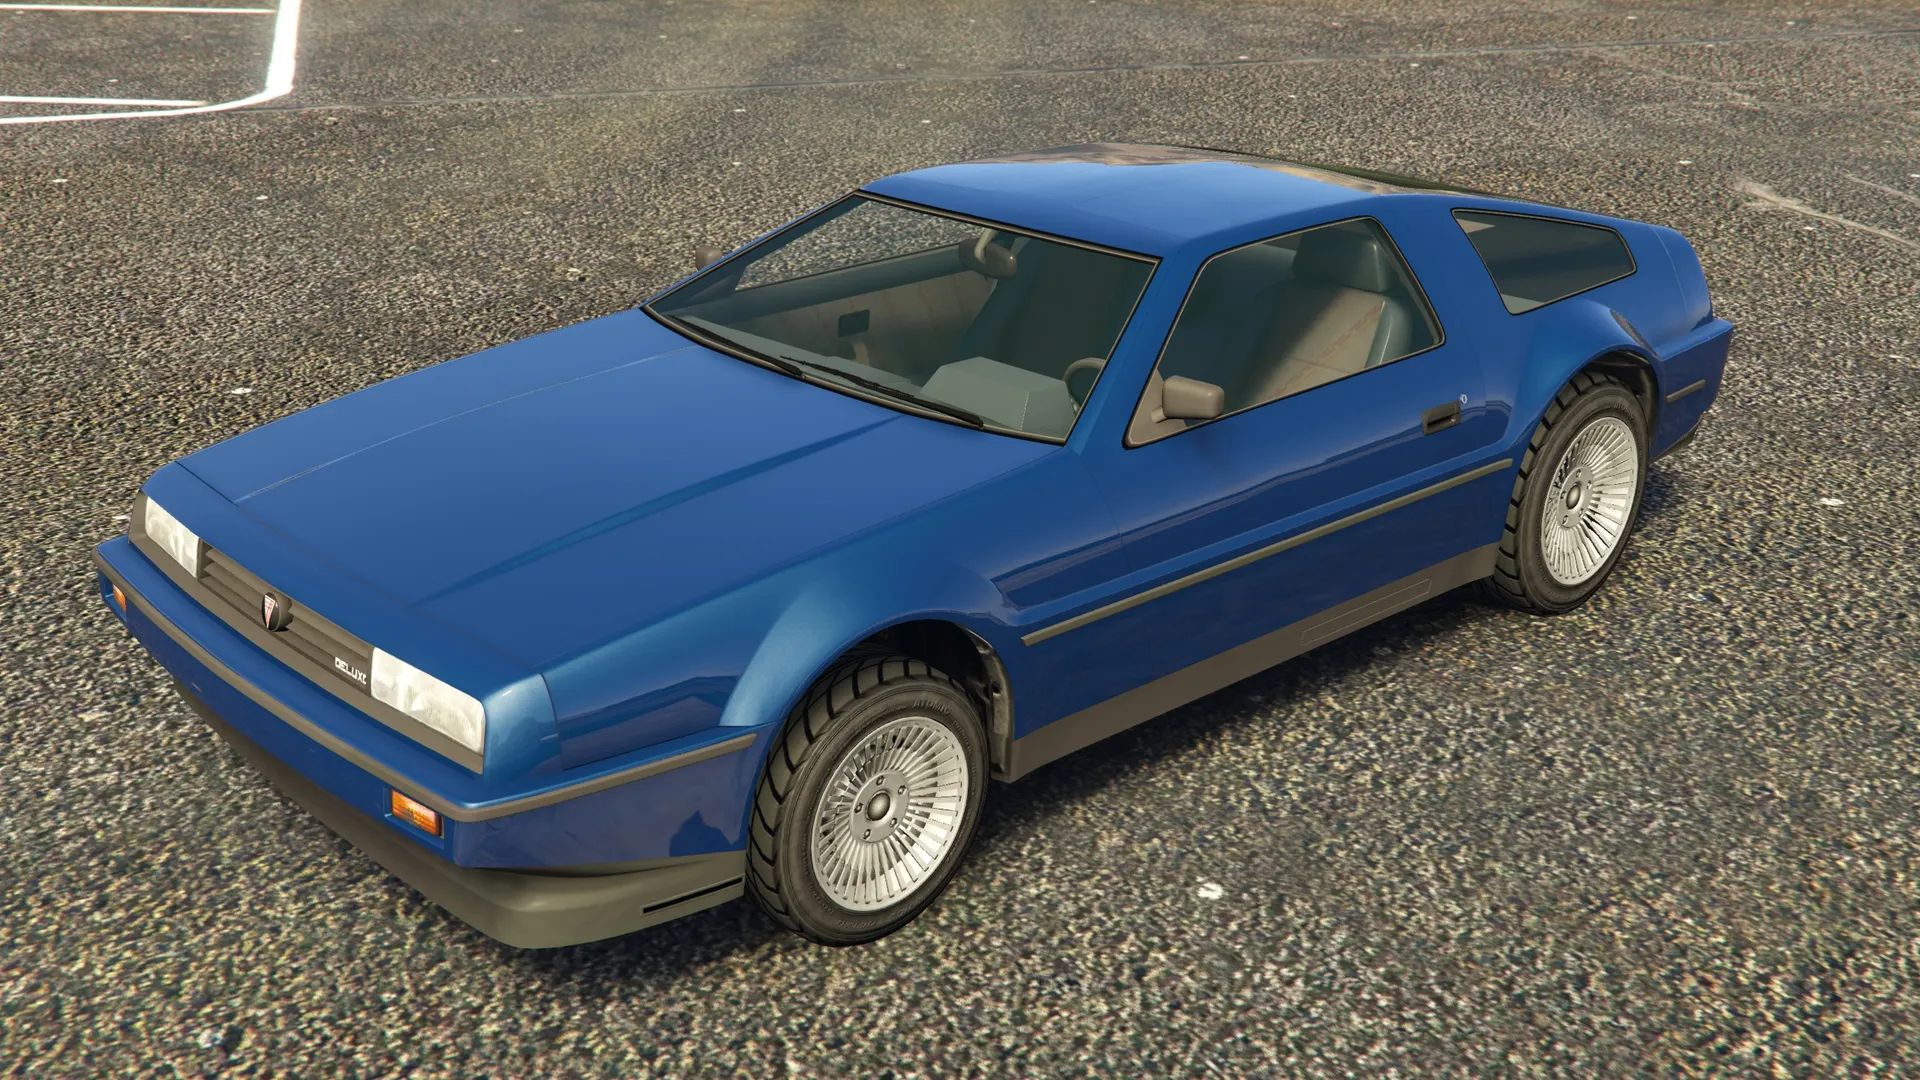
Imponte Deluxo
Sports Classics · $5,750,000
Karin Kuruma (Armored)
Sports · $698,250