
The Doomsday Heist Complete Walkthrough Act 2: The Bogden Problem
Follow @gtabossgg on X for weekly updates and guides.
Follow on XAct 2 of the Doomsday Heist, The Bogdan Problem, currently pays GTA$ 1,282,500 on Normal and GTA$ 1,603,125 on Hard, and it unlocks once you finish Act 1: The Data Breaches. This Bogdan Problem walkthrough covers all 5 preps, 4 setups and the submarine finale, plus the current payouts and the Elite Challenge.
Act 2 is where the Doomsday Heist gets serious. You steal an Avenger, arm a fleet of Strombergs, and end the act by boarding a Russian submarine underwater to confront Bogdan himself. It is a step up from Act 1 in both difficulty and payout, and it feeds directly into the finale act, covered in our walkthrough for Act 3: The Doomsday Scenario.
On this page
Act 2 Quick Facts
Fact | Value |
|---|---|
Finale payout (Normal / Hard) | GTA$ 1,282,500 / GTA$ 1,603,125 |
Weekly first-run bonus (Normal / Hard) | GTA$ 1,567,215 / GTA$ 1,959,019 |
Setup cost | GTA$ 25,000 |
Mission count | 5 preps, 4 setups, 1 finale |
Players | 2–4 setups and finale; preps solo up to 4 (CEO/VIP) or 8 (MC) |
Required property | Facility |
Equipment buy-out (first purchase) | GTA$ 94,500 |
Elite Challenge reward | GTA$ 50,000 |
How to Start Act 2
The requirements are the same ones that gated Act 1: you need a Facility, you must be registered as a CEO/VIP or MC President, and each act costs a flat GTA$ 25,000 to set up from the Facility's planning room. If you still need the property, our Facility guide compares every location, and the full launch checklist lives in the how-to-start section of our Act 1: The Data Breaches walkthrough.
The one extra requirement Act 2 adds: you cannot jump straight into it. The Doomsday acts unlock in order, so The Bogdan Problem only appears on your planning screen after your crew has completed the Act 1 finale. Preps can be run solo or with up to 4 players as a CEO/VIP organization, or up to 8 as a motorcycle club; setups and the finale need 2 to 4 players.
How Many Setups Does The Bogdan Problem Have?
The Bogdan Problem runs 10 jobs in total: 5 prep missions, 4 setup missions and the finale. Every setup is unlocked by its own prep, with the last setup needing two:
Prep mission | Unlocks this setup |
|---|---|
Keycards | Avenger |
ULP Intel | Rescue ULP |
Riot Control Van | Salvage Hard Drives |
Strombergs + Torpedo ECU | Submarine Recon |
One point of confusion worth clearing up front, because Act 2 has two van-theft preps that players constantly mix up. In Keycards, you steal a Police Riot van from NOOSE officers responding to a gas-station robbery; the keycards inside are what get you into the LSIA hangar for the Avenger setup. In Riot Control Van, you deliberately start a riot so that a Gruppe Sechs RCV shows up, then steal that; it feeds the Salvage Hard Drives setup. Different vans, different missions, different setups.
As in Act 1, preps are freemode jobs, so you can steal each prep's equipment from a rival organization instead of running the mission, or buy it outright. Buy-outs get pricier each time: GTA$ 94,500 for the first, then GTA$ 114,750, GTA$ 135,000, GTA$ 155,250 and GTA$ 175,500, a total of GTA$ 675,000 if you buy all five. Buying equipment also stops the heist leader progressing the Doomsday Heist challenges, so award-hunting crews run every prep. Preps are restricted to public sessions, so pick a quieter, emptier session and bring something armored or weaponized.
Prep 1: Keycards
The keycards you need are inside a Police Riot van, and the van is parked at a gas station where NOOSE is actively responding to a robbery. That means you arrive to a firefight already in progress, with more police inbound.
Roll up in something that can take fire, punch a hole through the NOOSE line, and get into the riot van. The Armored Kuruma is ideal for the approach, since you can thin the crowd from behind bulletproof glass before making the swap. Once you are in the van, your job is to lose the wanted level and deliver it to the Facility.
Two things to respect on the drive home. First, the van is armored but not indestructible; a few explosions will total it and force a restart, so do not linger in front of anything firing rockets. Second, losing the heat is easier if you break line of sight and sit still somewhere covered (a tunnel works well), or simply call Lester to clear the stars. Deliver the van and the Avenger setup unlocks.
Setup 1: Avenger
The keycards get you into a Merryweather hangar at LSIA, where the Mammoth Avenger is waiting. Getting it out is one of the harder setups in the act, so load up on snacks, armor and ammo before you launch.
Shortly after you enter the hangar, Merryweather cuts the power and the whole building goes dark for an ambush. This is the part that wipes unprepared crews: enemies keep shooting while you are half blind. Night vision helps enormously here, so switch it on the moment the lights die, and use muzzle flashes to spot shooters up in the rafters.
Your objective in the dark is the backup generators, up on the gantries above the hangar floor. Fight your way up, restart the generators to bring the lights back, then sweep the remaining resistance on the hangar floor. With the building clear, board the Avenger and fly it to the drop-off marked on your map, a beach up near Paleto Bay. Come the finale, it will be your air-support platform over the submarine.
Prep 2: ULP Intel
One of the shortest preps in the act. A group of drug dealers is sitting on intel about Agent ULP, and you need to take it off them.
Head to the marked dealers and take them out; doing so reveals the apartment where the intel is stashed. Drive over, clear the handful of dealers inside, grab the duffel bag and run it back to the Facility. A fast weaponized aircraft turns the whole mission into a few minutes of travel time, and there is no delivery vehicle to baby, so this is one to knock out quickly between the bigger jobs.
Setup 2: Rescue ULP
Agent ULP is being held at the Grand Banks Steel Foundry, and this setup splits your crew into two teams to get him out. Sort roles before launch, and make sure the entry team is fully stocked on snacks and armor.
Team 1 goes inside. Clear the foundry floor, push upstairs, and locate ULP, who is held at gunpoint. Drop his captor, then escort him back out along the route you came in. Resistance keeps flowing in during the exit, so move from cover to cover rather than sprinting for daylight.
Team 2 holds the vantage point. From the lookout position, your job is overwatch: stop reinforcements from entering the building behind Team 1, and thin out anything massing near the exits. A good Team 2 is the difference between a clean extraction and Team 1 getting pinned in a doorway with ULP in tow.
Once ULP is out of the building, get him to the getaway vehicle and run the gauntlet to the drop-off, with Team 2 covering the pursuit. Delivering him completes the setup.
Prep 3: Riot Control Van
This is the other van prep, and it works backwards: instead of finding an RCV, you make one come to you by starting a riot.
Head to the marked area and throw tear gas into the crowd to kick things off, then keep the riot going with your fists. Keep weapons holstered during the brawl; the goal is chaos, not a body count. Once the riot is big enough, Gruppe Sechs sends in the RCV to break it up, and that is your cue.
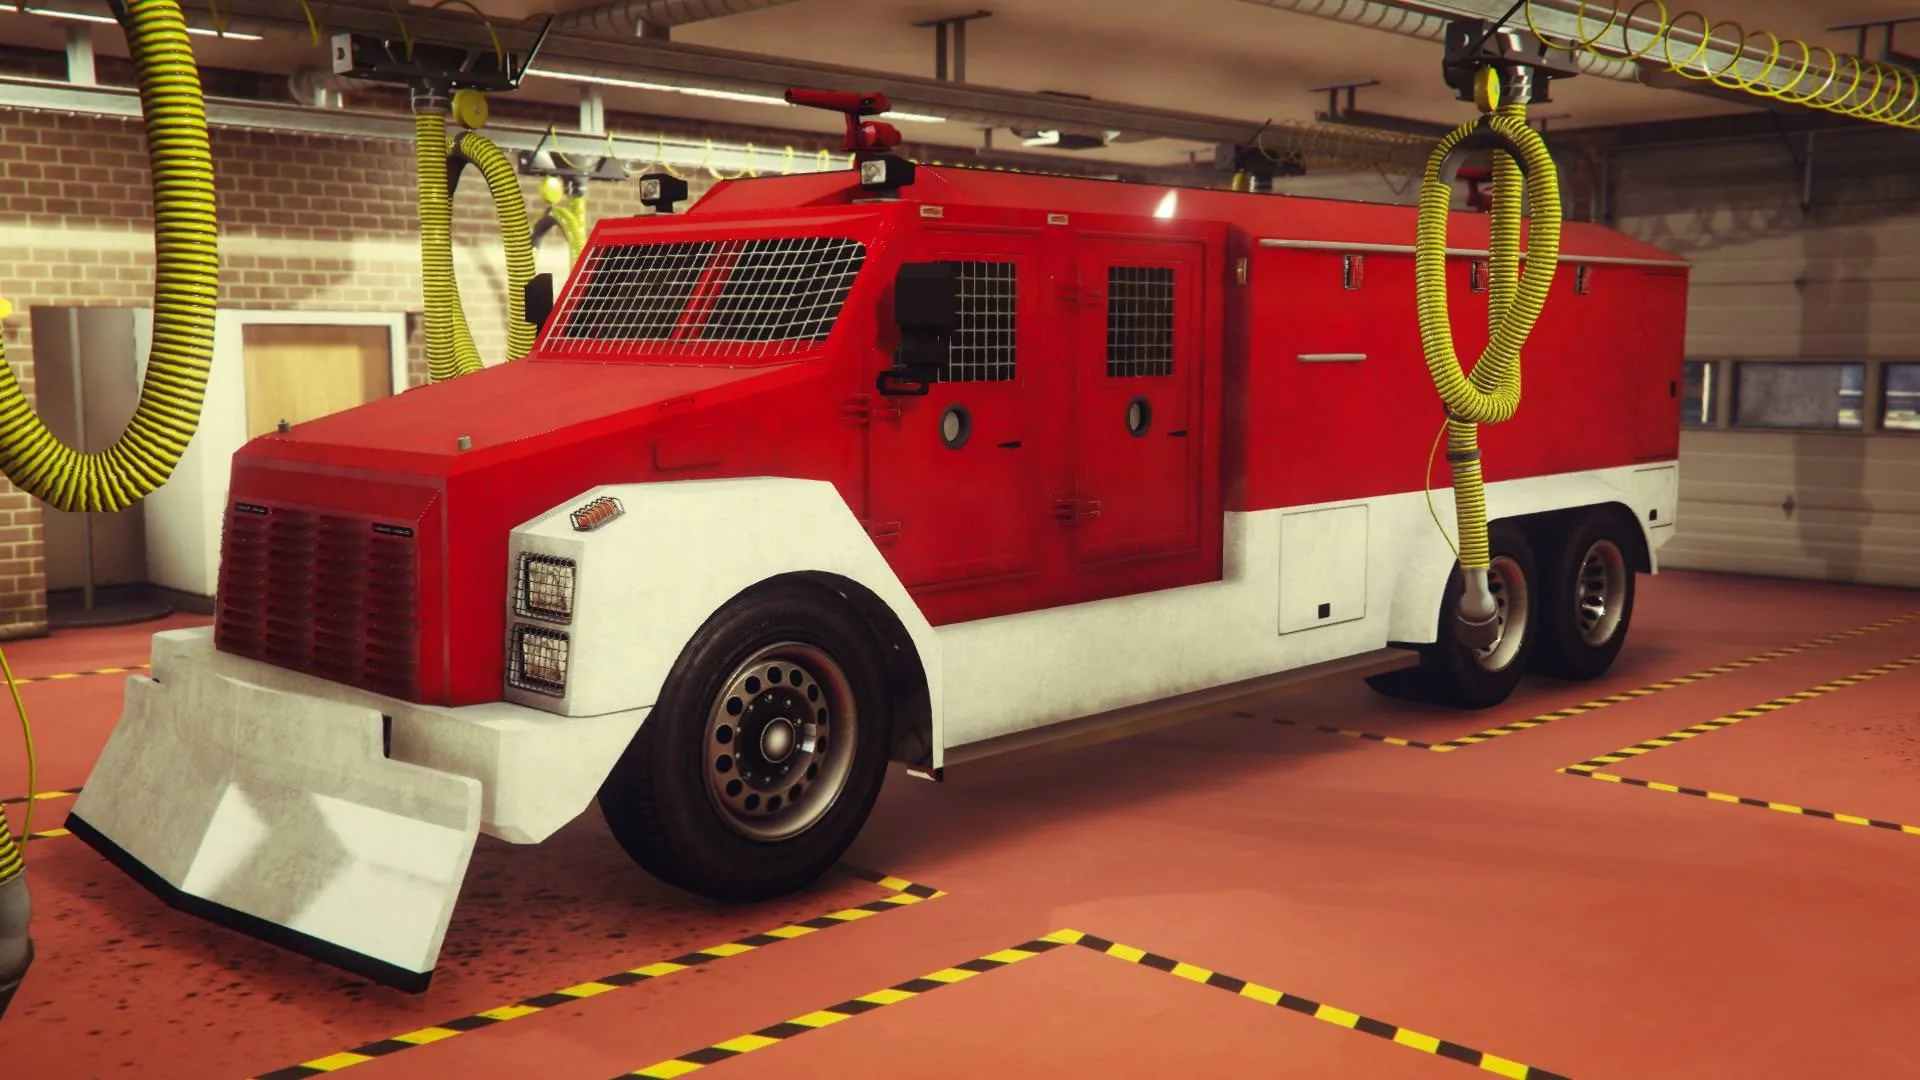
Jump into the RCV and you immediately pick up a 3-star wanted level. Lose it however you like, on the road or with a call to Lester, then deliver the van to the Facility. Its water cannon is about to become the key tool of the next setup.
Setup 3: Salvage Hard Drives
The hard drives you need are inside burning vans spread across 4 sites: Stoner Cement Works, La Mesa, Cypress Flats and Elysian Island. The mission is timed and the sites get harder as you go, so this setup rewards a crew that has its roles straight.
The RCV operator drives the riot van and works the water cannon. The cannon does two jobs at once: it puts out the van fires, and it knocks down and staggers the enemies defending each site. Hose the fires first, and sweep the cannon across attackers whenever they bunch up.
The salvage crew follows behind, finishes off the staggered enemies and pulls the hard drives from the doused vans. Let the cannon lead and the shooters clean up; trying to clear each yard with gunfire alone burns clock you do not have.
A useful rhythm for each site: extinguish everything first, then collect. At the final site, putting out the last fire stops the countdown entirely, so once the flames are dead you can clear the yard at your own pace and walk the last drives out. Deliver everything and the setup is done.
Prep 4: Strombergs
The submarine assault needs submersible cars, so this prep sends you hunting four Ocelot Strombergs riding on the backs of delivery trucks across the map. The catch: decoy trucks share the same map icon, so not every truck you chase is carrying one.
You have two workable approaches. Split the crew up and check trucks in parallel, or put someone in an aircraft to fly the routes and identify the real carriers from above. When you check a truck, the map tells you what you found: a real carrier stays marked as a valid target, while a decoy's marker drops off the map.
Once you have a real one, deal with the driver, take the truck and deliver it to the Facility. You repeat that loop four times, which is why this prep is dramatically faster with friends running deliveries in parallel. All four Strombergs home means the first half of the Submarine Recon requirement is met.
Prep 5: Torpedo ECU
Strombergs without torpedoes will not get you through what is coming, so the final prep sends you offshore to a barge carrying two Electronic Control Units, the parts that arm the Strombergs' torpedo systems.
The barge is heavily defended on deck, and enemy helicopters may join the fight as you work; you can shoot them down or simply stay mobile and evade them. A weaponized aircraft with homing missiles makes the approach far cleaner, and with two ECUs to carry, a second player halves the ferrying.
Clear the defenders, board the barge, grab both ECUs and head straight back to the Facility. With the Strombergs armed, the last setup unlocks.
Setup 4: Submarine Recon
The final setup is the shakedown run for your armed Strombergs, and it is easier than everything you just did to earn it.
It opens on land: take the Strombergs to North Chumash and destroy the convoy you find there. With the Strombergs' weapons, the convoy does not last long.
Then it goes underwater. Both teams drive into the sea near Paleto and switch the Strombergs into submersible mode. The approach to the submarine is seeded with sea mines, so clear a path with your torpedoes before moving in. Once the water is safe, each team scans its assigned target; the submarine scan walks you along the hull, roughly bow to stern, until the recon data is complete.
Scans done, surface and head to the drop-off. One habit worth building now, because the finale punishes forgetting it: switch the Stromberg out of submersible mode when you reach land, or you will be sitting on the shoreline going nowhere.
Act 2 Finale: The Bogdan Problem
The finale is the Bogdan submarine mission itself: one team boards a Russian sub underwater while the other flies air support. This split is fixed, so decide who does what before you launch, and stock up, because both jobs are under constant fire.
The sub team takes Strombergs out to sea, dives, and boards the submarine (the Ramius) through a hatch at the stern. From there it is a room-by-room fight through the hull: down the stairs, through the crew areas, clearing resistance as you push toward the lower decks.
Find the contact. On the lower deck, your objective is a prisoner held in the sub's brig under guard. If you are stuck wandering the corridors, keep descending and follow the objective marker to the brig, take out the guard, and interrogate the prisoner. Lean on him and he gives up what you need to move on the control room. Keep him alive: the contact dying fails the finale.
The control room. Head back up to the control room, photograph the intel laid out on the table, then plug the Cliffford USB into the console. That triggers the cutscene where the act's double-cross plays out, and the submarine is set to destruct.
The Avenger team, all this time, is holding the airspace above the sub, fending off waves of enemy aircraft with the Avenger's turrets. This is not a passive escort job: if the Avenger goes down, the heist fails, so keep the turrets working and do not trade hits carelessly.
The extraction. After the cutscene, the sub team is back in the water as the submarine goes down, and the Strombergs are gone with it. Swim up, get aboard the Avenger with the rest of the crew, and take off for the hangar at LSIA. Enemy attack choppers come after the Avenger on the flight over, so shoot them down from the turrets or just keep flying: after enough distance they stop chasing. Touch down at the hangar and The Bogdan Problem is complete, the payout lands, and Act 3: The Doomsday Scenario unlocks on your Facility screen.
Act 2 Payout: The Bogdan Problem
The Act 2 finale currently pays GTA$ 1,282,500 on Normal and GTA$ 1,603,125 on Hard, the middle payout of the three Doomsday acts.
Difficulty | Standard payout | First run of the week |
|---|---|---|
Normal | GTA$ 1,282,500 | GTA$ 1,567,215 |
Hard | GTA$ 1,603,125 | GTA$ 1,959,019 |
These figures are crew totals, before cuts. With 2 to 4 players on the finale and a minimum 15% cut per crew member, the host walks away with at most 85% of the numbers above, which is one reason smaller crews are popular for this act.
The "first run of the week" column is the weekly completion bonus: the first time the host completes the Act 2 finale in the current weekly period (it resets on Thursday), the payout rises to roughly 1.22 times the standard amount. Later runs in the same week pay the standard figure.
On the cost side, the flat GTA$ 25,000 setup fee is the only mandatory spend beyond owning a Facility, plus buy-out costs from GTA$ 94,500 (rising with each purchase) for any prep you skip. And this finale has no vehicle-choice bonus (that mechanic is Act 3's, where the crew's Barrage-or-Khanjali pick adds a bonus). What Act 2 gives you instead is unlocks: completing its missions earns you trade prices on the RCV and the Stromberg, which is a discount on buying those vehicles for keeps, not extra heist money.
Elite Challenge
The Bogdan Problem's Elite Challenge pays an extra GTA$ 50,000 on top of the finale payout. All three conditions have to land in the same playthrough:
Condition | Requirement |
|---|---|
Time | Complete the finale in under 15:00 |
Vehicle damage | 5% or less |
Deaths | Nobody gets wasted |
The vehicle damage condition means keeping your mission vehicles near-pristine through the whole finale, so the Avenger team especially should fight smart rather than soak hits while the sub team works. The no-deaths rule turns any careless corridor push inside the sub into a wasted run, so armor up, use cover, and treat every doorway as defended. And the clock runs across the whole finale, so learn the sub's layout before you make a serious Elite attempt.
The Bogdan Problem FAQ
How many setups does the Bogdan Problem have?
Ten jobs in total: 5 prep missions (Keycards, ULP Intel, Riot Control Van, Strombergs, Torpedo ECU), 4 setup missions (Avenger, Rescue ULP, Salvage Hard Drives, Submarine Recon) and the finale.
Can you do the Bogdan Problem with 2 players?
Yes. Setups and the finale support 2 to 4 players, and the finale's two-team split works fine as one player per team. The payouts in this guide are crew totals, so with a minimum 15% cut per member, a duo keeps far bigger individual shares than a full crew of four.
How long does the Bogdan Problem take?
There is no fixed duration, since prep and setup times vary wildly with your crew and session. The finale itself is the best anchor: a well-practiced crew clears it inside the 15-minute Elite Challenge window, while a first run through the submarine will take noticeably longer.
What is the Bogdan glitch?
The "Bogdan glitch" refers to a heist-replay exploit, and we do not cover exploit methods. Using replay exploits puts your account at risk of action from Rockstar. The legitimate route to extra money here is the weekly first-run bonus, which pushes the Hard payout to GTA$ 1,959,019 on the host's first run of the week.
Do I have to do Act 1 before the Bogdan Problem?
Yes. The Doomsday acts unlock in order, so Act 2 only becomes available after your crew completes Act 1: The Data Breaches. Once you have finished Act 3, you can replay any act freely.
Related content
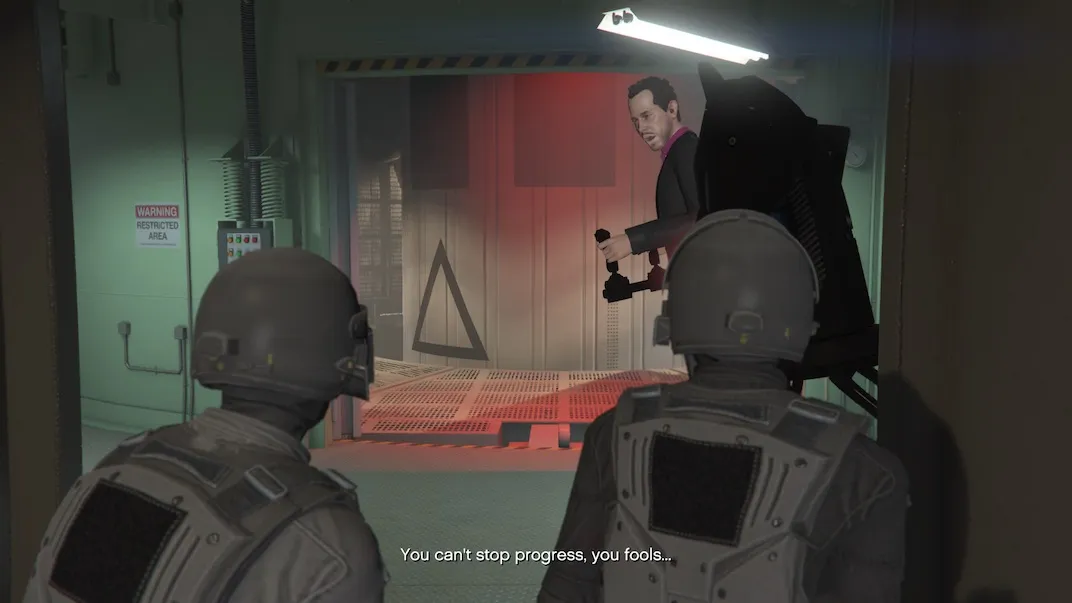
The Doomsday Heist Complete Walkthrough Act 3: Doomsday Scenario
August 21, 2026

Facility
Setup from $1,250,000
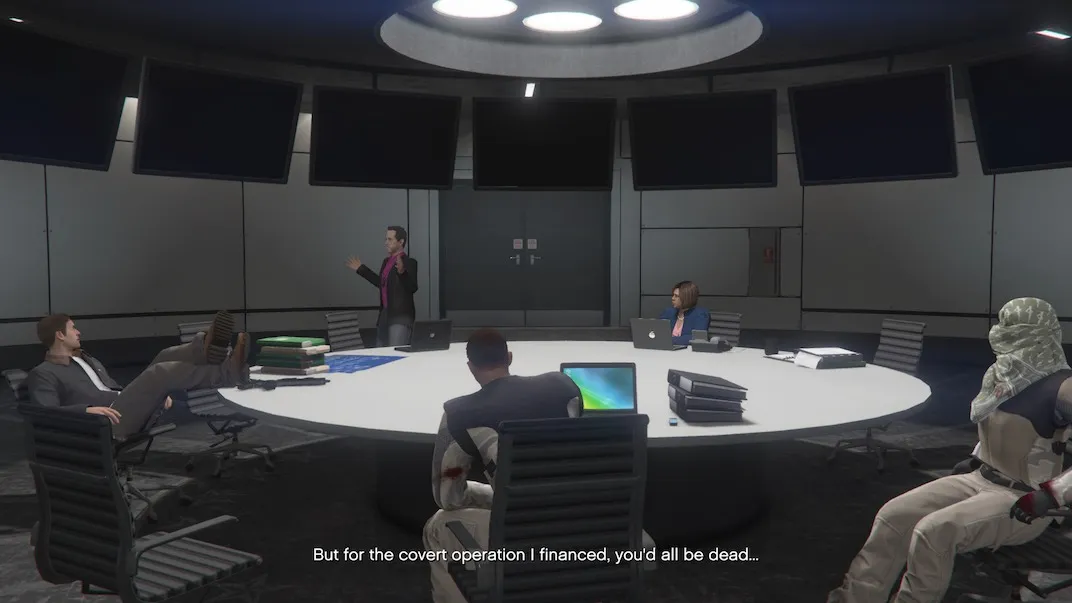
The Doomsday Heist Complete Walkthrough- Act 1: The Data Breaches
August 21, 2026
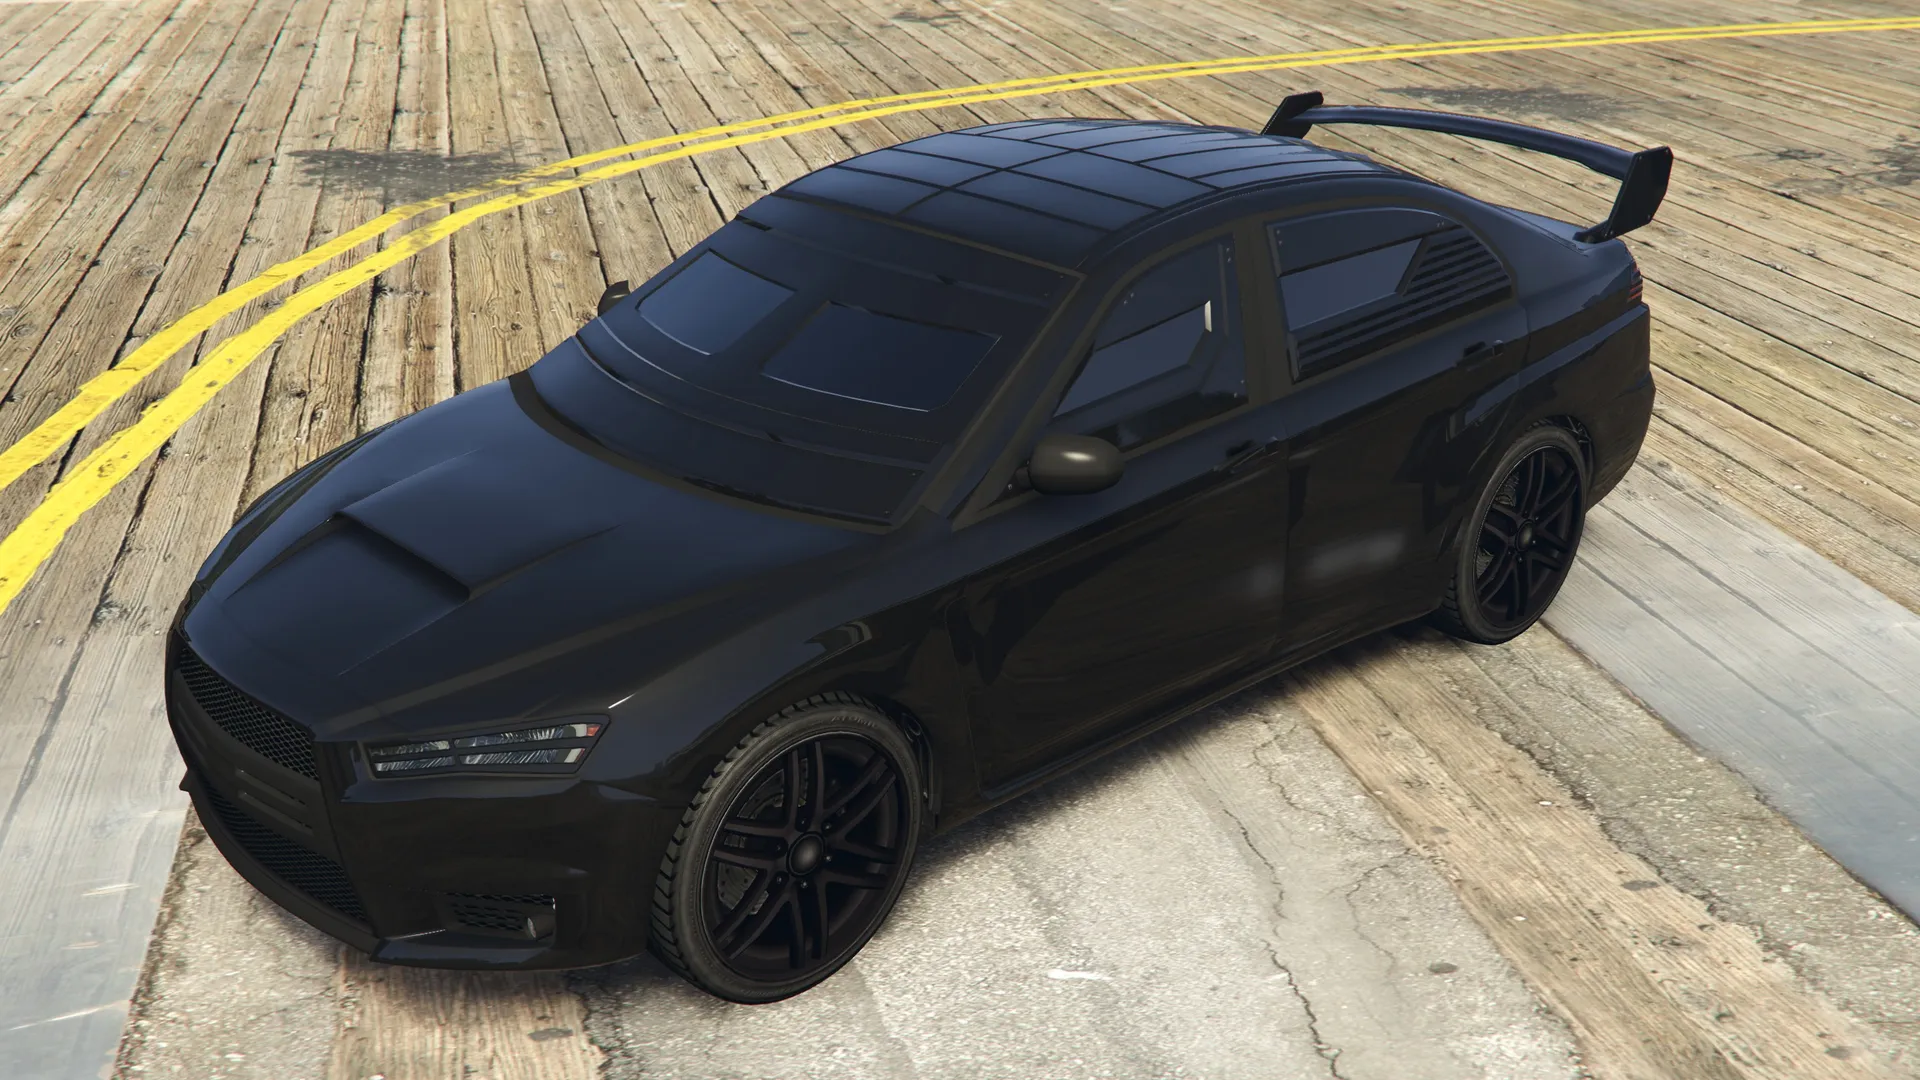
Karin Kuruma (Armored)
Sports · $698,250
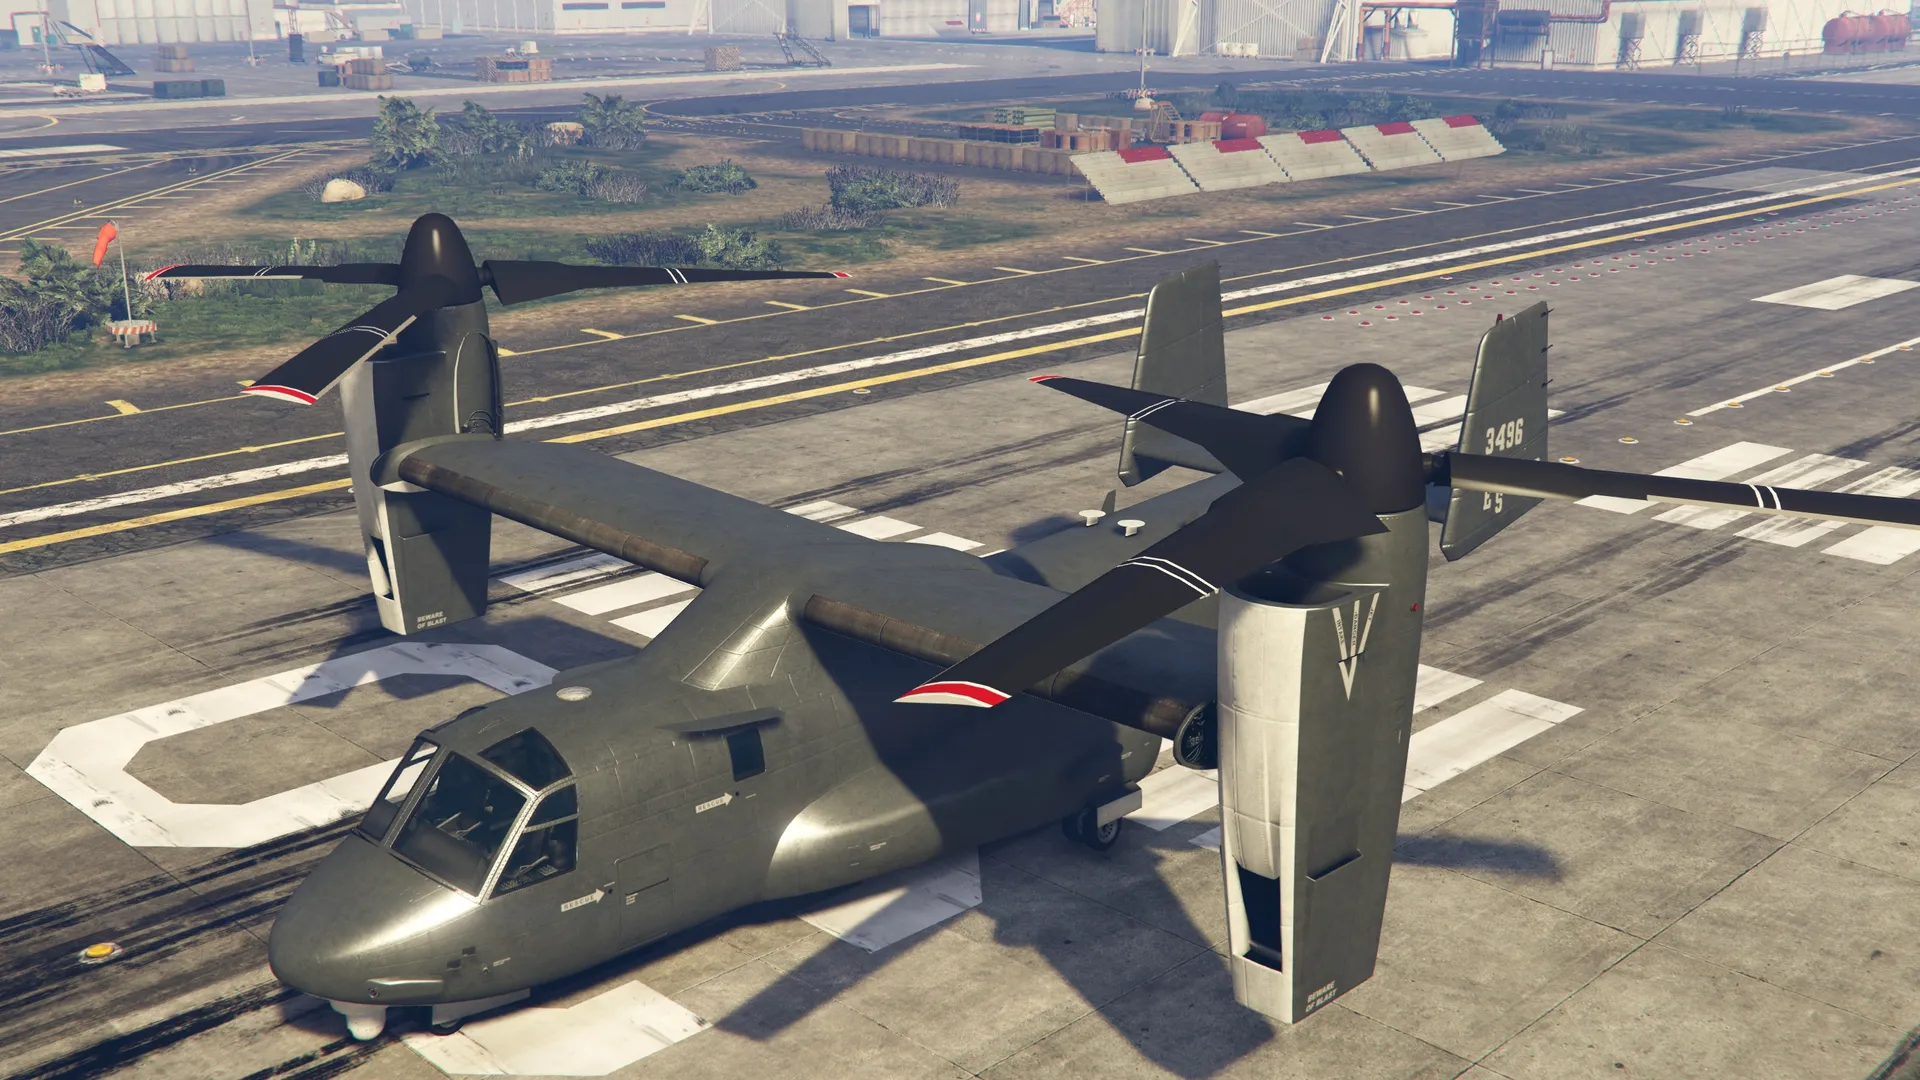
Mammoth Avenger
Planes · $3,450,000
RCV
Emergency · $3,125,500