
The Doomsday Heist Complete Walkthrough Act 3: Doomsday Scenario
Follow @gtabossgg on X for weekly updates and guides.
Follow on XAct 3 of the Doomsday Heist, The Doomsday Scenario, currently pays a crew total of GTA$ 1,620,000 on Normal and GTA$ 2,025,000 on Hard, before cuts, the biggest payout in the heist chain. It is the series finale, unlocked by finishing Acts 1 and 2, and this Doomsday Heist Act 3 walkthrough covers every prep, setup and finale phase, plus the payouts and the Elite Challenge.
It pays even better once per week: the first time the host completes the Act 3 finale in the current weekly period (which resets on Thursday), the payout rises to roughly 1.22 times the standard amount, GTA$ 1,979,640 on Normal or GTA$ 2,474,550 on Hard. Act 3 is also the longest act, with 12 jobs standing between you and Avon Hertz, so settle in: this guide walks all of them in order.
On this page
Act 3 Quick Facts
Fact | Value |
|---|---|
Finale payout, crew total (Normal / Hard) | GTA$ 1,620,000 / GTA$ 2,025,000 |
Weekly first-run bonus (Normal / Hard) | GTA$ 1,979,640 / GTA$ 2,474,550 |
Setup cost | GTA$ 25,000 |
Mission count | 6 preps, 5 setups, 1 finale |
Players | 2–4 for setups and finale, 1–4 for preps |
Required property | Facility |
Equipment buy-outs (six preps) | GTA$ 94,500 for the first, rising to GTA$ 202,500 for the sixth (GTA$ 857,250 total) |
Finale vehicle bonus | Barrage GTA$ 100,000 / Khanjali GTA$ 50,000 |
Elite Challenge reward | GTA$ 50,000 |
How to Start Act 3
The requirements have not changed since Act 1: you need a Facility, you must be registered as a CEO/VIP or MC President, and the act costs a flat GTA$ 25,000 to set up from the Facility's planning room. Our Facility guide compares every location if you still need the property, and the full launch checklist lives in the how-to-start section of our Act 1: The Data Breaches walkthrough.
The one gate specific to Act 3 is progression: The Doomsday Scenario only appears on your planning screen after your crew has completed the Act 2 finale, since the acts unlock in order. Preps can be run with 1 to 4 players; setups and the finale need at least 2 and support up to 4.
How Many Setups Does Act 3 Have?
Act 3 is the longest act in the Doomsday Heist, at 12 jobs total: 6 prep missions, 5 setup missions and the finale. Each setup is unlocked by a prep, with the first setup needing two:
Prep mission | Unlocks this setup |
|---|---|
Marked Cash + Recon | Rescue Agent 14 |
Chernobog | Escort ULP |
Flight Path | Barrage |
Test Site Intel | Khanjali |
Onboard Computer | Air Defenses |
Air Defenses is the setup that unlocks the finale itself, so the whole act funnels toward it. As in the earlier acts, preps are freemode jobs, and they are restricted to public sessions, so pick a quieter, emptier one and bring something armored or weaponized. You have two ways around running a prep yourself. You can steal its equipment from a rival organization, though only when a rival is running the same act with that prep active. Or you can buy the equipment outright, at a price that escalates with each purchase: GTA$ 94,500 for the first buy-out, rising through GTA$ 108,000, GTA$ 121,500, GTA$ 148,500 and GTA$ 182,250 to GTA$ 202,500 for the sixth, GTA$ 857,250 if you buy all six. Buying equipment also stops the heist leader progressing the Doomsday Heist challenges, so award-hunting crews run every prep.
Prep 1: Marked Cash
The act opens with a simple smash-and-grab: collect a duffel bag full of cash, which is earmarked for buying Agent 14's freedom.
Grabbing the bag slaps a 4-star wanted level on you, so plan the exit before the pickup. A helicopter or other fast aircraft is the easy answer: land near the bag, grab it, lift off and fly home low. If you would rather not outrun the police at all, a call to Lester wipes the stars and turns the drive back to the Facility into a formality. Deliver the cash and the first half of Rescue Agent 14's requirements is done.
Prep 2: Recon
The second prep is pure legwork. Head to the Pacific Allied Shipyard, the site of the upcoming exchange, and document the area for Lester.
Move between the marked locations and photograph each one with your phone, sending the pictures to Lester as you go. No NPCs shoot at you and there is no delivery vehicle to protect (other players in a public session are still a threat); once the last photo is sent, simply leave the shipyard to complete the mission. Knock this out quickly, because the mission it unlocks is a very different story.
Setup 1: Rescue Agent 14
The buy-back at the Pacific Allied Shipyard goes bad, and this setup turns into the act's first real war. Come in with full snacks, armor and ammo, and an armored vehicle for the approach pays for itself: you can clear the shipyard's outer defenders from behind cover on wheels and save your supplies for what is inside.
Fight through the yard, enter the warehouse through the main northern entrance, and push to Agent 14 to trigger the cutscene. The moment you regain control, get behind the crate in front of you, because the first wave of Juggernauts is cloaked. Switch to the thermal vision you are given for this fight and pick them out by their heat signatures. They carry miniguns that shred anyone caught in the open, so fight this from cover: one player draws a Juggernaut's fire while a teammate flanks or lobs explosives, and focused fire with headshots drops each one much faster than spreading damage around.
More waves of Juggernauts are waiting deeper in the warehouse and along the escape route, mixed in with regular soldiers and enemy helicopters outside. The same discipline wins every time: cover first, bait and flank, concentrate fire. Keep Agent 14 alive as you leapfrog between areas, because losing him ends the run.
Once the last area is secure, escort Agent 14 to the drop-off, keeping a low profile on the way out. Deliver him safely and the setup is complete.
Prep 3: Chernobog
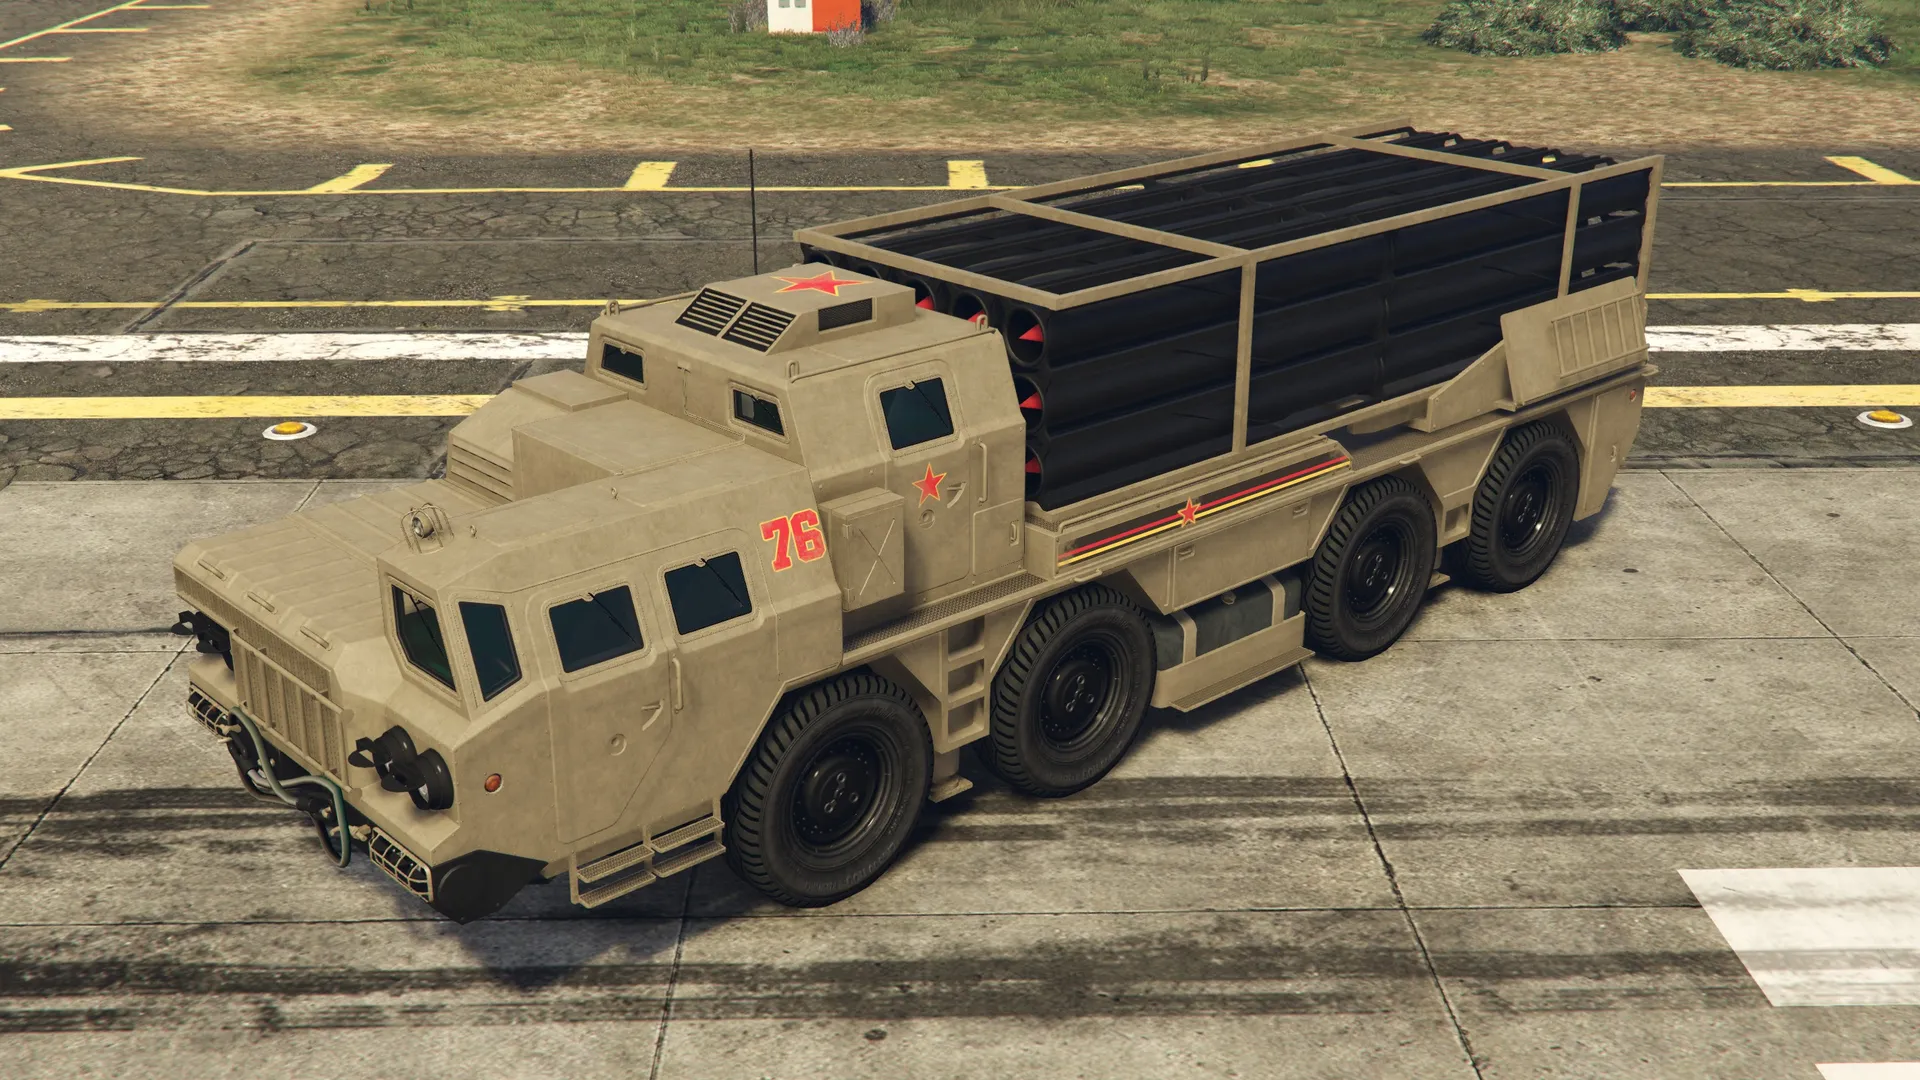
The next setup needs a ballistic missile truck, so this prep sends you to a Merryweather camp to steal a Chernobog.
The camp is held by a heavily armed detail, and an armored or weaponized vehicle makes clearing it far cheaper on snacks and armor. Once the mercenaries are down, the Chernobog's driver bails and runs; ignore him, jump in the truck and go.
Merryweather chases you the whole way home, but the pursuit has no teeth against the truck. Do not stop to fight, just drive it straight back to the Facility and drop it off. Delivering the Chernobog unlocks Escort ULP.
Setup 2: Escort ULP
Now the Chernobog earns its keep: Agent ULP crosses Blaine County by helicopter, and your crew escorts his chopper with the missile truck's launchers the whole way. It starts at the Paleto Bay Construction Yard, where you clear the security detail before the escort begins.
The Chernobog's control scheme is what makes or breaks this setup, so sort roles before you launch. The passenger operates the missile system, and the truck has to be stationary to fire; the driver's job is to reposition between volleys and keep pace with ULP. That rhythm, drive, stop, volley, drive again, is the entire mission, and a driver who keeps stopping in bad spots or falling behind ULP is how the escort fails.
ULP has a health bar, and the enemy helicopters will chip it down fast if the missiles are not flying, so the passenger should prioritize whatever is shooting at him over whatever is shooting at you. The Chernobog itself can soak the attention. Keep the truck close, keep the skies clear, and once you have pushed far enough the attackers break off and the mission completes on its own.
Prep 4: Flight Path
A short assassination prep. Travel to the marked location and identify the target holding the flight path information; when you arrive, he leaves the area, so tail him rather than opening fire in a crowd.
Wait until he is isolated, then take him down with a suppressed weapon to keep things quiet. Collect the briefcase from his body and return it to the Facility. That flight path intel is what puts the next setup's transport helicopter on your radar.
Setup 3: Barrage
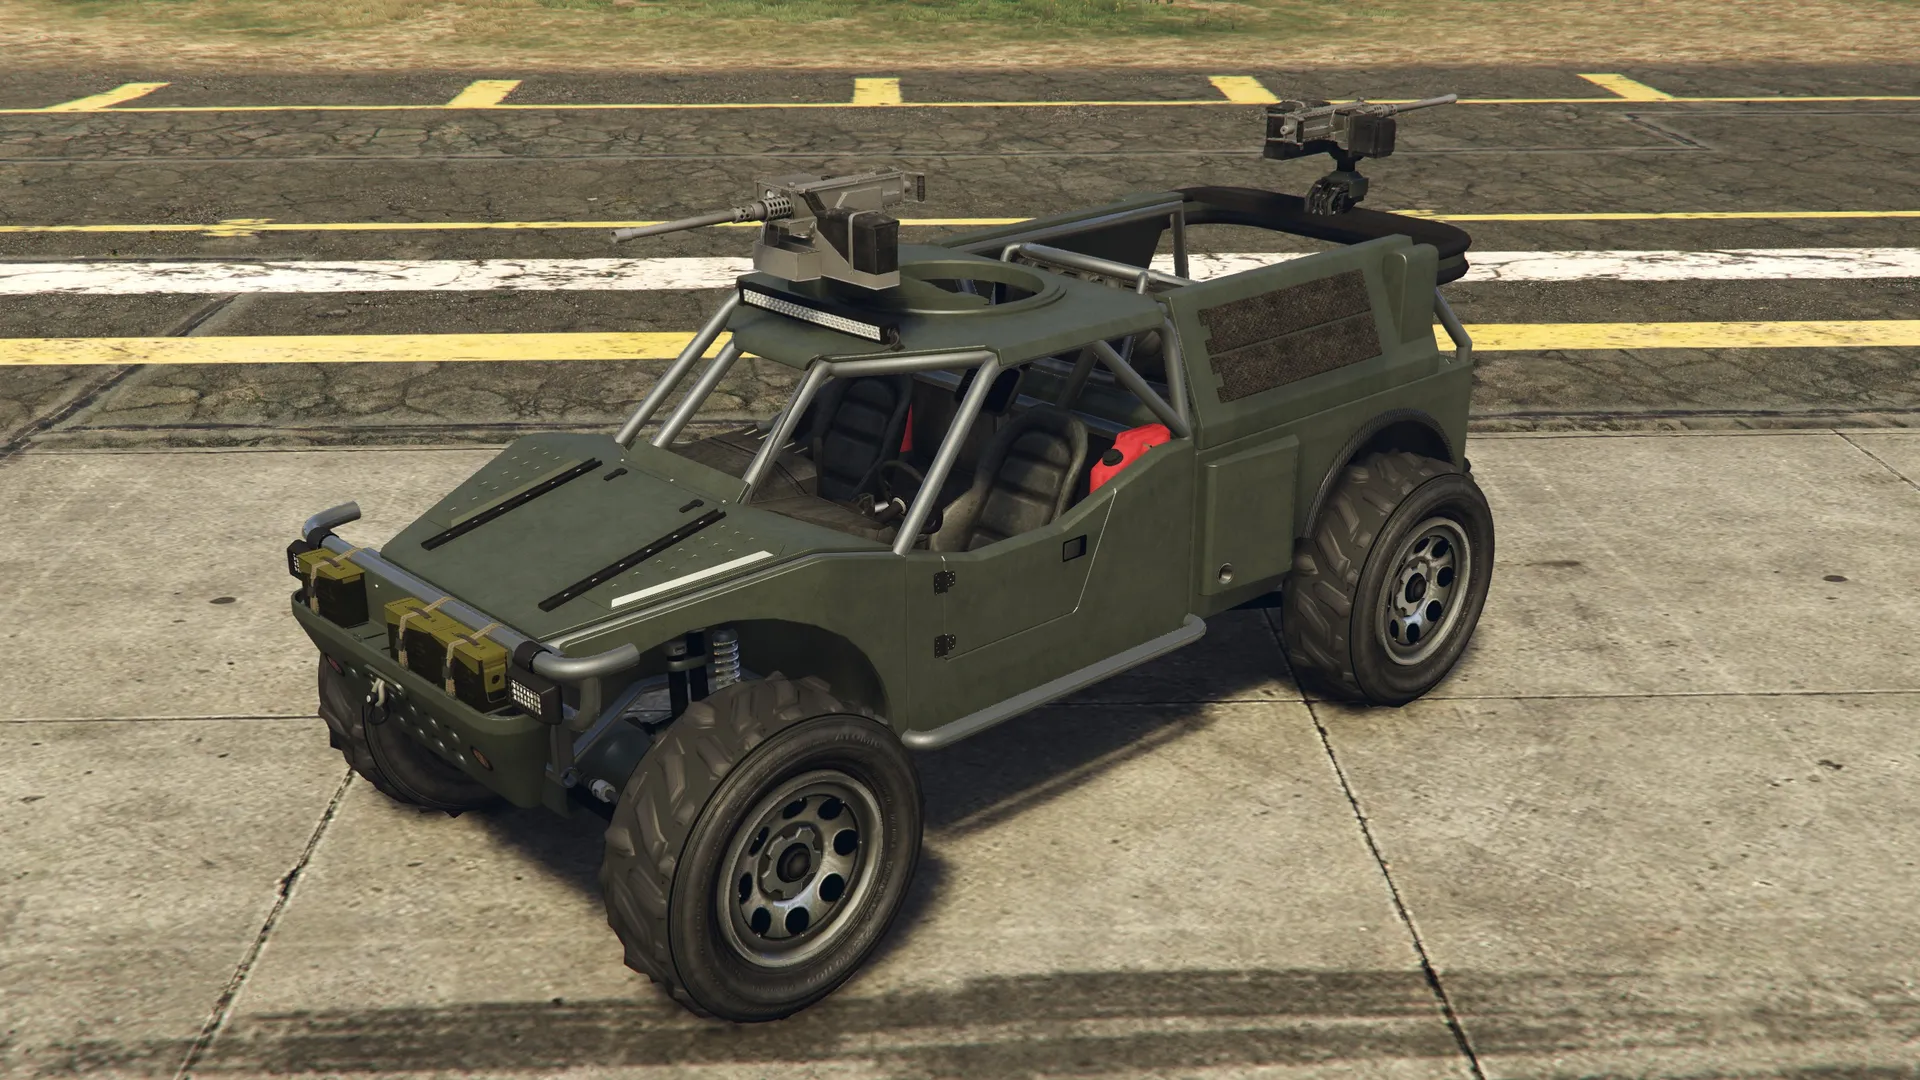
Time to steal the first of the finale's two vehicle options: the HVY Barrage ATV, currently hanging under a transport helicopter near the Galileo Observatory.
Head to the Observatory and bring the transport chopper down; a Heavy Sniper with the rotors as your aiming point makes short work of it. Move to the wreckage and take the Barrage. Crew the vehicle sensibly: the top-mounted gun has a full 360-degree arc, while the rear-facing secondary gun covers a much narrower slice, so in a 2-player crew the gunner belongs on the top mount.
From there, drive the Barrage to the Sandy Shores Airfield and wipe out the operation on the ground, starting with the plane trying to take off from the runway. Expect waves of defenders; the Barrage's firepower handles them, but keep snacks ready if your health dips between waves. With the airfield cleared, run the Barrage down the road to the drop-off to finish the setup.
Prep 5: Test Site Intel
Before you can steal a prototype tank, you need to know where it is being tested. That information sits on a laptop inside a guarded house.
You can play this loud or quiet: storm the property and deal with the attention, or stay in stealth and slip inside, only dropping the guards who stand between you and the lockbox. Either way, grab the laptop with the test site location and drive it back to the Facility. The quiet route is usually faster in practice, since nobody calls in reinforcements over a body they never find.
Setup 4: Khanjali
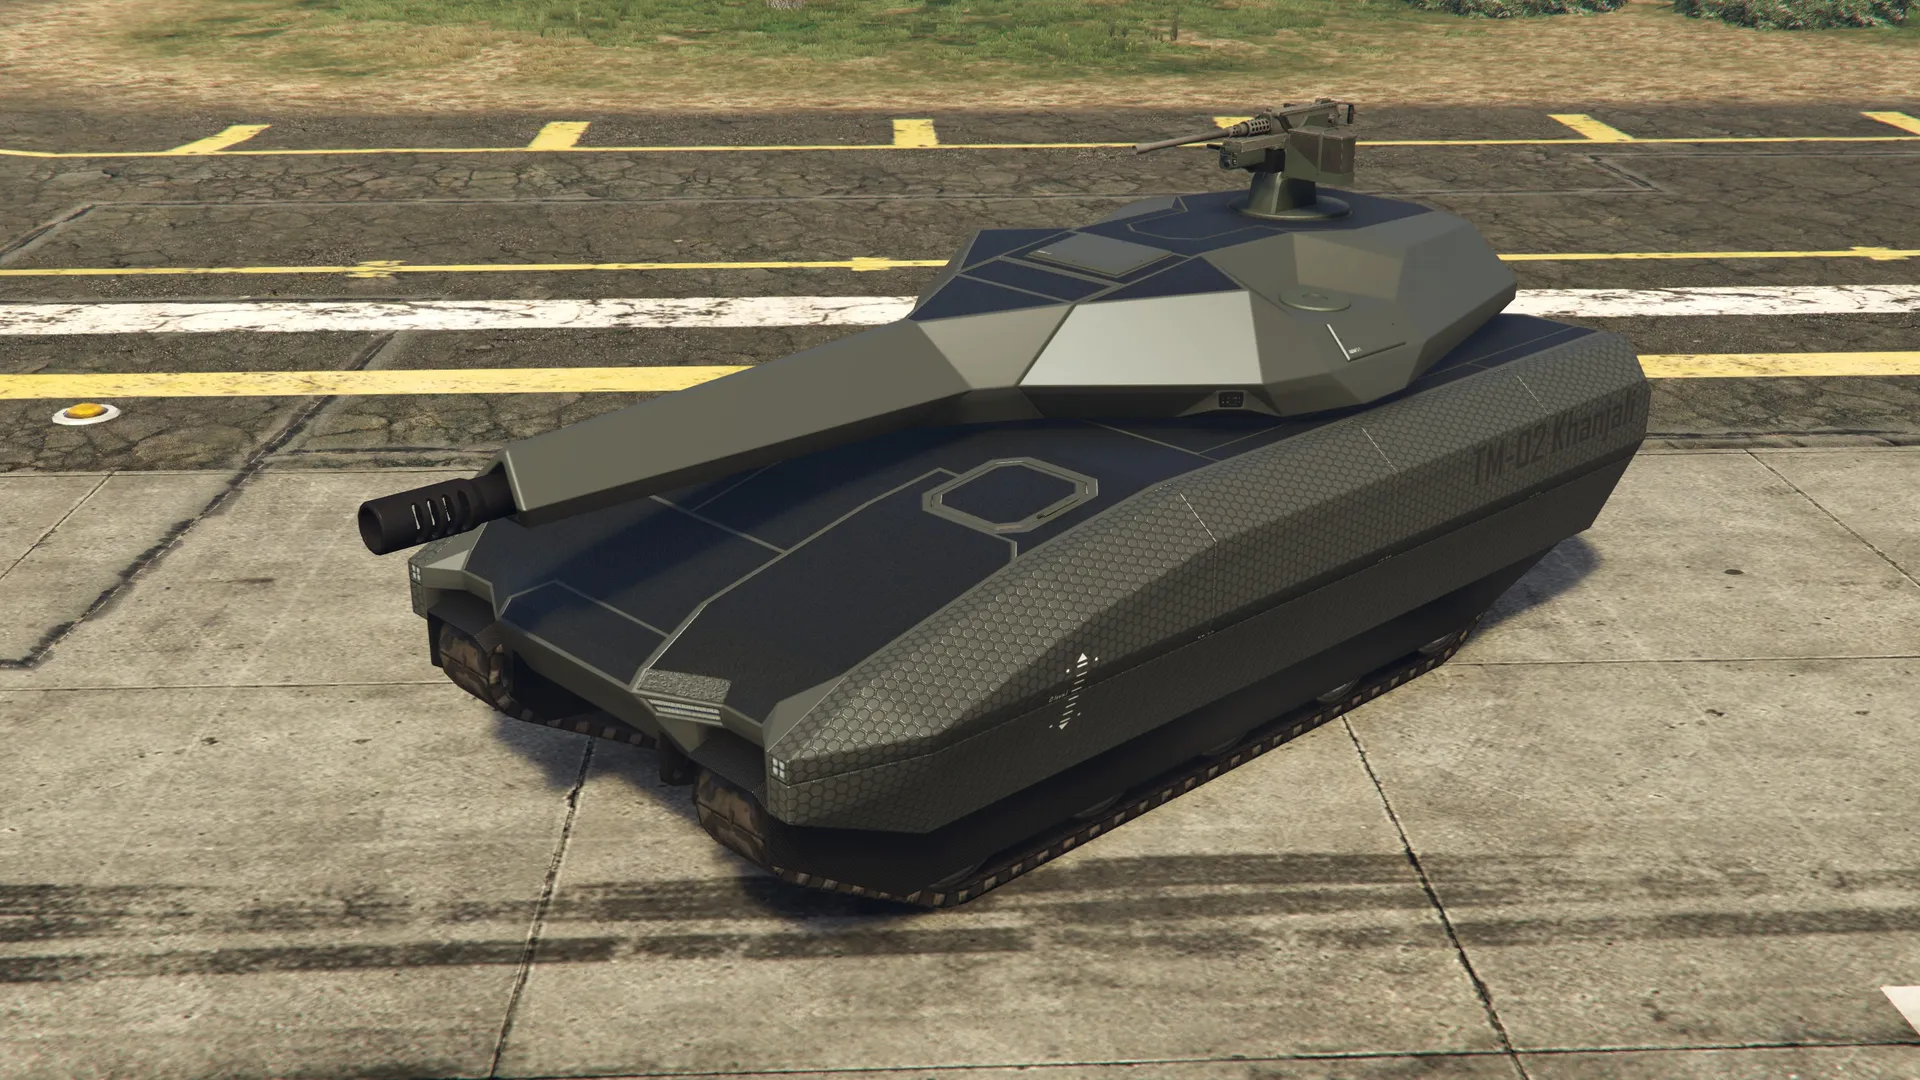
The second finale vehicle is the TM-02 Khanjali, a prototype railgun tank sitting in an aircraft scrapyard.
Clear the scrapyard's perimeter first, then destroy the weapons supply marked on your minimap; grenades or any explosive does the job. Once the marked equipment is down, the Khanjali unlocks and the fun part starts.
The drive to the drop-off is a running battle against helicopters, tanks and infantry, and the Khanjali is built for exactly this. The driver controls the railgun, which one-shots most of what the game throws at you, while other crew members man the mounted machine gun or the grenade launcher. Close to the drop-off, the pursuit gives up and the last stretch is a free drive; just hold your fire around the agents waiting to receive the tank, because friendly casualties at the hand-off mean redoing the final stretch. Worth knowing: Act 3's missions are also credited with unlocking discounted trade prices on several of its vehicles (the Chernobog, Barrage, Volatol, Thruster and the Khanjali), with the Khanjali's credited to this setup for the heist leader, a nice side benefit if you want the tank for keeps.
Prep 6: Onboard Computer
The final prep has you shooting down a prototype Hydra and fishing its onboard computer out of the sea. Bring a weaponized aircraft to chase it, and stock rebreathers before you launch, because the recovery is an underwater job.
How to damage the jet: this is the part that catches most players out. As you close in on the Hydra, your homing lock drops, so missiles fired from range simply stop tracking at the moment you need them. The mission wants you to aim manually: get behind the jet, switch off your reliance on lock-on, and lead your shots with unguided fire until it goes down. Once you know the lock is going to fail on approach, the fight is short.
When the Hydra hits the water, dive down to the cockpit and recover the module. Picking it up spawns an enemy helicopter and starts a countdown, so surface and move fast and low back to shore while a teammate deals with the chopper if needed. If you own the Kosatka, its Avisa mini-sub is a great niche tool for the recovery leg; our Kosatka guide covers it. Back on dry land, run the module to the Facility to finish the prep.
Setup 5: Air Defenses
The last setup before the finale: take a Volatol bomber up from the Sandy Shores Airfield and destroy the 12 SAM turrets scattered around Mount Chiliad, clearing the airspace over Avon's silo.
The whole crew loads into the Volatol, but the pilot carries this mission: they fly the bombing runs and control the payload. The winning technique is to come in low over each turret and glide across it with carpet bombing engaged, which flattens SAM sites far faster than trying to line up individual drops. Enemy helicopters and jets harass you throughout, but they are not a real threat to the Volatol; ignore the choppers, and when a jet lines up behind you, a sharp pull toward the mountain often ends the problem for you.
Once every SAM turret is down, return the Volatol to the Sandy Shores Airfield. That completes the setups, and The Doomsday Scenario finale unlocks.
Act 3 Finale: The Doomsday Scenario
The finale is the longest mission in the Doomsday Heist, a full assault on Avon's Mount Chiliad silo. Max out snacks, armor and ammo before you start; there is no resupply once you are underground.
The vehicle choice at Grapeseed. The whole crew rides in one vehicle, and at Grapeseed you pick which: the Barrage or the Khanjali. The Khanjali is the comfortable pick, slower but far more survivable, and its railgun trivializes the tunnel fight. The Barrage is faster and pays a bigger completion bonus (GTA$ 100,000 versus the Khanjali's GTA$ 50,000; details in the payout section below). Lester quips that the vehicle you leave behind gets sold, but in practice the pick comes down to speed versus survivability, plus that bonus.
The tunnel run. Drive to the tunnel entrance and fight your way down the shaft. Resistance thickens as you go, and waves of Juggernauts hold the far end of the tunnel; in the Khanjali, the railgun deletes them, and no thermal tricks are needed here. At the end of the tunnel, you ditch the vehicle for good.
The on-foot push. From here it is corridors and hangars on foot. Clear steadily, and when the route splits, your objective is to destroy the supply boxes in each hallway. There is no timer running yet, so stay together if you prefer; the hallways reconnect further in, which also opens flanking routes. Shoot the boxes from a distance, because standing next to one when it goes up will kill you. More Juggernauts guard the hallways and the approach to the control center, so keep treating each doorway as defended: cover, focus fire, headshots. Push through to the control center to trigger the cutscene.
The hack: 4 consoles, 20 minutes. This is the hardest stretch of the entire heist. Once you advance, a 20-minute timer starts, and your crew has to hack 4 server consoles before it expires while cloned soldiers respawn endlessly. Put your best hacker on the consoles and everyone else on defense; the shooting never stops, so the defenders' job is to hold a perimeter around each console rather than chase kills. The minigame itself has you steering a beam through data packets while avoiding the firewalls in its path: steady adjustments beat frantic ones, and the defenders buying calm for the hacker is worth more than any minigame trick. Move between consoles as a unit, hack, hold, move again, and the clock is very manageable.
The Orbital Cannon. With all 4 consoles hacked, the clones stop respawning. Clear the room, head upstairs and take control of the Orbital Cannon, then use it to destroy the 4 mobile cloud servers, Brickade trucks driving around the map. Walk your strikes onto each truck and confirm all four kills.
The silo push. Back downstairs, fight through to the silo for the confrontation with Avon. Resistance is heavy the whole way, but by now your crew has cleared worse; move carefully and keep everyone alive, especially if the Elite Challenge is in play.
The Thruster chase. At the silo, Avon escapes on a Mammoth Thruster jetpack, and your crew follows on Thrusters issued right there in the mission (you do not need to own one). In the air, use your homing missiles on the enemy helicopters blocking your lock on Avon, then focus your fire on Avon himself; he only takes a few hits, and once he goes down the fight is over.
The delivery. With Avon down, fly your Thruster to the Galileo Observatory to trigger the final cutscene. The Doomsday Scenario is complete, the biggest payout in the heist chain lands, and the world is officially saved.
Act 3 Payout: The Doomsday Scenario
The Act 3 finale currently pays GTA$ 1,620,000 on Normal and GTA$ 2,025,000 on Hard, the largest payout of the three Doomsday acts. For comparison across the chain, Act 1: The Data Breaches pays GTA$ 877,500 / GTA$ 1,096,875 and Act 2: The Bogdan Problem pays GTA$ 1,282,500 / GTA$ 1,603,125, with the current figures covered in each guide's payout section.
Difficulty | Standard payout | First run of the week |
|---|---|---|
Normal | GTA$ 1,620,000 | GTA$ 1,979,640 |
Hard | GTA$ 2,025,000 | GTA$ 2,474,550 |
These figures are crew totals, before cuts. The finale needs 2 to 4 players, every crew member takes a minimum 15% cut, and so the host keeps at most 85% of the numbers above; a duo splitting 85/15 walks away with far bigger individual shares than a full four. For how this finale stacks up against the other heists, see our GTA Online heist payouts page.
The "first run of the week" column is the weekly completion bonus: the first time the host completes the Act 3 finale in the current weekly period (it resets on Thursday), the payout rises to roughly 1.22 times the standard amount. Later runs in the same week pay the standard figure.
On top of the finale payout sits the vehicle-pick bonus. Both the Barrage and Khanjali setups are required to reach the finale; the bonus is keyed purely to which vehicle your crew picks at Grapeseed. Take the Barrage and the run pays an extra GTA$ 100,000; take the Khanjali and it pays an extra GTA$ 50,000. The mission's reward listing marks this as a VIP/CEO bonus, meaning it goes to the heist leader rather than the crew pool, so if you are debating the pick as a group, know that the reward screen credits it to the leader. Lester's line about the unused vehicle being sold off is just flavor for the same mechanic.
The flat GTA$ 25,000 setup fee is the only mandatory cost beyond owning a Facility, plus buy-out costs from GTA$ 94,500 (rising with each purchase) for any prep you skip.
Elite Challenge
The Doomsday Scenario's Elite Challenge pays an extra GTA$ 50,000 on top of the finale payout. The conditions we can confirm, all in the same playthrough:
Condition | Requirement |
|---|---|
Time | Complete the finale in under 30:00 |
Headshots | 150 headshots |
Deaths | Nobody gets wasted |
Commonly listed alongside these: do not fail a hack. Treat clean hacking as part of the Elite run either way, since a fumbled console costs you clock you cannot afford.
The 30-minute window sounds generous for such a long mission, but the hack phase and the on-foot push eat time fast, so an Elite crew moves with purpose everywhere the game allows it. The headshot target takes care of itself across a mission this long if the crew is aiming high on the endless clone spawns; the no-deaths rule is the real killer, because one careless push into a Juggernaut thirty minutes in erases the whole attempt.
One myth worth putting down: no Elite condition requires picking the Barrage at Grapeseed. Take the Khanjali if it keeps your crew alive; survivability is worth more to the Elite bonus than the vehicle choice ever will be.
The Doomsday Scenario FAQ
How many setups does Doomsday Act 3 have?
Twelve jobs in total: 6 prep missions (Marked Cash, Recon, Chernobog, Flight Path, Test Site Intel, Onboard Computer), 5 setup missions (Rescue Agent 14, Escort ULP, Barrage, Khanjali, Air Defenses) and the finale. It is the longest act of the three.
How many acts are in the Doomsday Heist?
Three: Act 1 (The Data Breaches), Act 2 (The Bogdan Problem) and Act 3 (The Doomsday Scenario). They unlock in order, each with its own preps, setups and separately paying finale, and after finishing Act 3 you can replay any act freely.
How long does Act 3 take?
There is no fixed duration, and the preps and setups vary hugely with your crew and session. The finale is the best anchor: a practiced crew clears it inside the 30-minute Elite Challenge window, while a first run through the silo, the 20-minute hack phase and the Thruster chase will take noticeably longer.
Who gets the Barrage or Khanjali bonus?
The bonus (GTA$ 100,000 for the Barrage, GTA$ 50,000 for the Khanjali) is keyed to the vehicle the crew picks at Grapeseed, and the mission's reward listing marks it as a VIP/CEO bonus, so the reward screen credits it to the heist leader rather than splitting it across the crew.
Can you do Doomsday Act 3 with 2 players?
Yes. Setups and the finale support 2 to 4 players, and the finale is routinely run as a duo. The payouts in this guide are crew totals, so with a minimum 15% cut per member, a duo keeps far bigger individual shares than a full crew of four.
Do I have to do Acts 1 and 2 first?
Yes, on your first run: the acts unlock in order, so The Doomsday Scenario only appears after your crew completes Act 1: The Data Breaches and Act 2: The Bogdan Problem. Once Act 3 is finished, all three acts become freely replayable.
Related content

Facility
Setup from $1,250,000
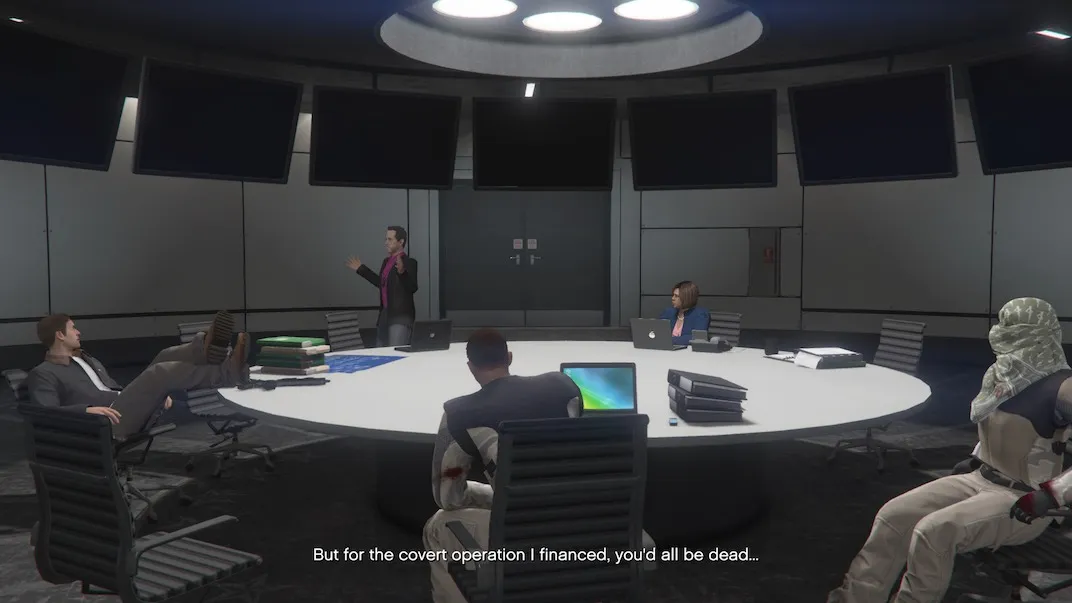
The Doomsday Heist Complete Walkthrough- Act 1: The Data Breaches
August 21, 2026
HVY Chernobog
Military · $1,500,000
HVY Barrage
Military · $2,121,350
TM-02 Khanjali Tank
Military · $3,850,350
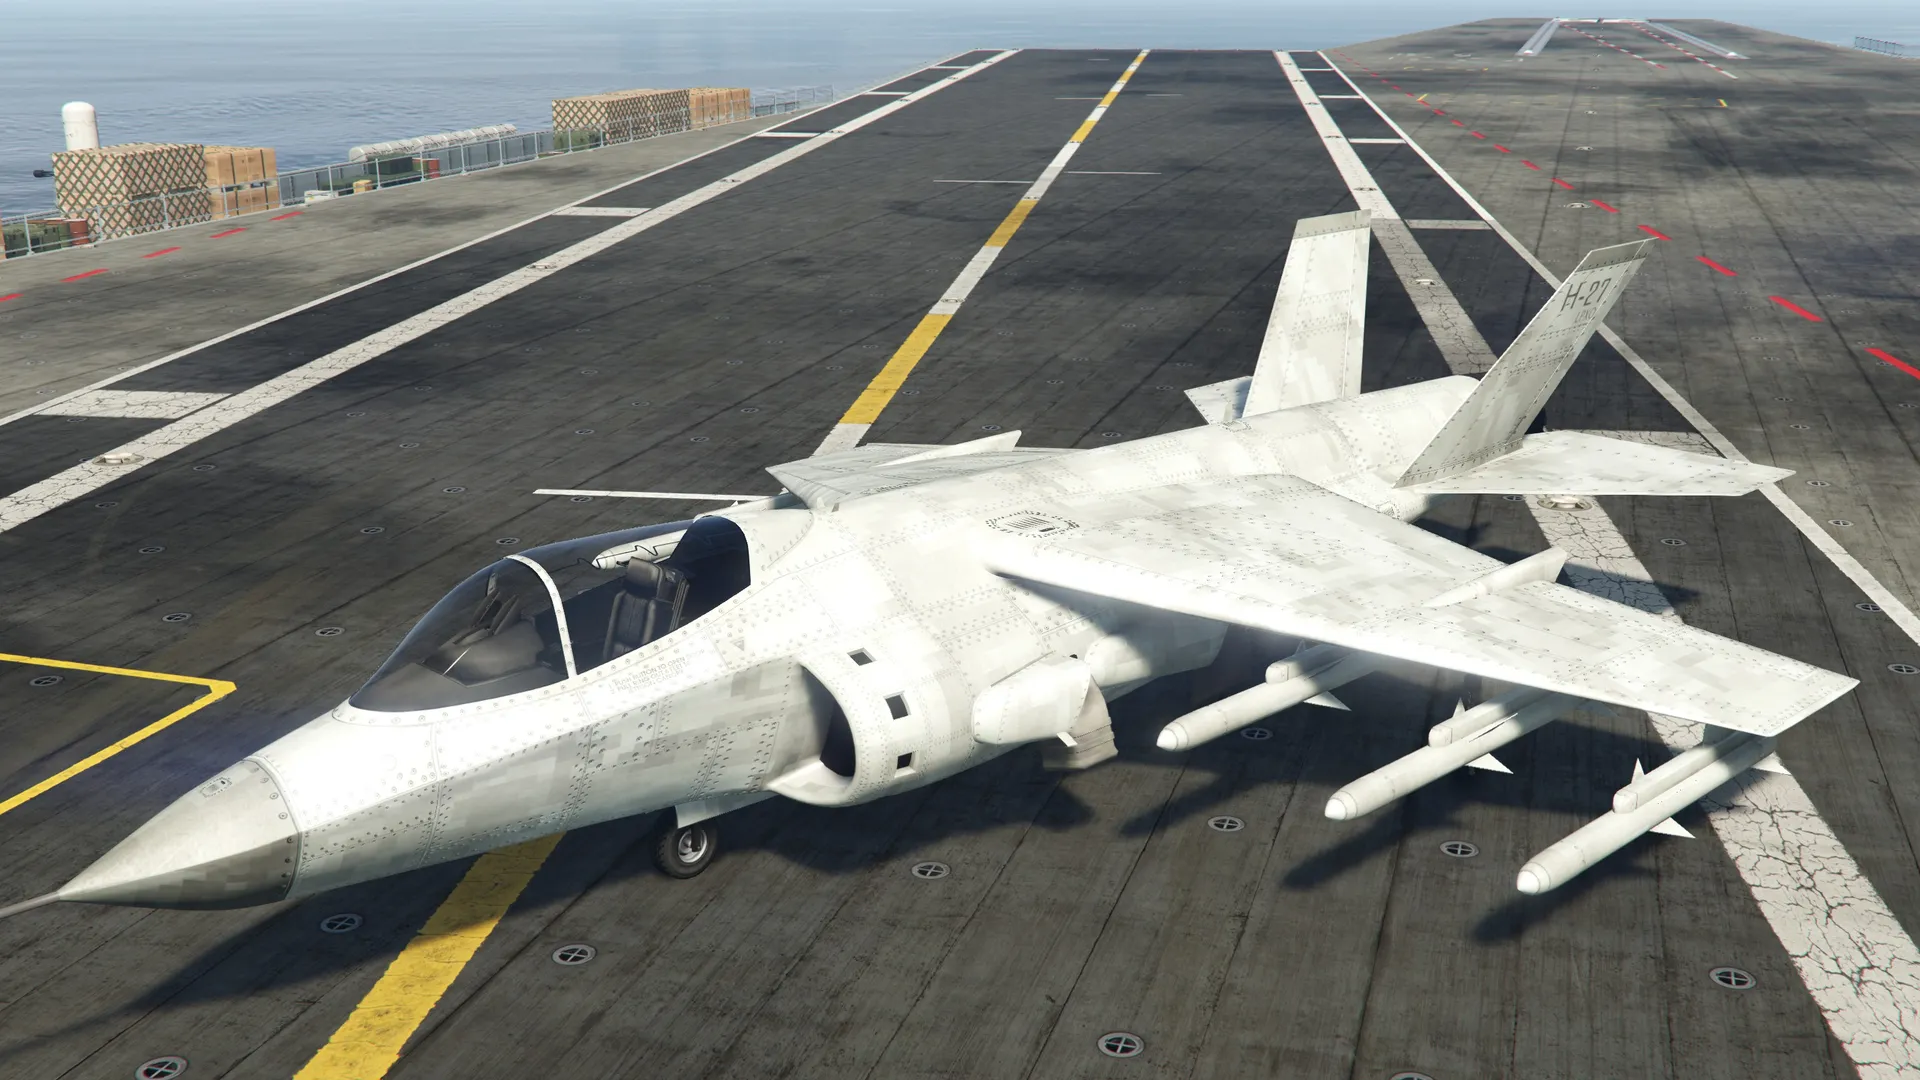
Mammoth Hydra
Planes · $3,990,000