Image credit: GTA Boss Source: GTA Boss
Kortz Center Heist Preps & Scope Out: The Complete Deep Dive
Follow @gtabossgg on X for weekly updates and guides.
Follow on XWork in progress: we are playing the Kortz Center Heist ourselves and updating this guide as we go. Expect new screenshots, videos, and tested numbers as they land.
The Kortz Center Heist is won or lost before you ever set foot in the finale. This deep dive covers every decision on the planning board at your Art Studio: how the scope out works, which Infiltration Gear opens which of the four entry points, every mandatory and optional prep, the Extras, and how your choices change the money. New to the heist? Start with our overview of everything you need to know about the Kortz Center Heist, then come back here to plan your run. When your board is ready, the Kortz Center Heist finale walkthrough takes over from there.
On this page
Kortz Center Heist Preps at a Glance
Kortz Center Heist preps | Details |
|---|---|
Heist HQ | The Art Studio in a Mansion |
Players | 1–4 |
Mandatory preps | Five (plus the Scope Out) |
Optional preps | Five, unlocked by scoping |
Entry points | Four |
Loadouts | Street, Security, or Military |
Getaway vehicles | Manchez, Armored Caracara, or Annihilator Stealth |
Extras | Vault Keypad (GTA$ 450,000), Advanced Avionics (GTA$ 1,200,000) |
This is the prep and scope-out deep dive. For requirements, how to start the heist, and the weekly target rotation, see the Kortz Center Heist overview.
How the Planning Board Works
The planning board at your Art Studio splits the job into four prep categories: Infiltration Gear, Unmarked Weapons, Getaway Vehicle, and Equipment.
The first three are single-pick categories. Each one has < > arrows, and you cycle through the options to choose exactly one approach per category. Equipment is different: it holds two fixed preps, the Access Code and the Hacking Device, with no arrows and no choice. Both are required. That gives you five mandatory prep missions in total: one from each single-pick category, plus the two Equipment preps. The board's to-do list shows six required items because it also counts the Scope Out Kortz Center, which is an intel run rather than a prep mission.
Alongside the preps, the board carries an Extras panel with two optional purchases (covered below) and the to-do list tracking what is left before the START option unlocks.
The big red figures on the board are the potential value of the art, not a guaranteed payout. On our board, the primary painting LA DERNIÈRE DÉBAUCHE was valued at GTA$ 1,925,000, with a running total underneath for the secondary targets we had scoped so far. Treat both as a ceiling: what you actually walk away with depends on how the run goes, and we break that down in the payout section.
Finally, the scope out is re-launchable. The board's action bar reads Scope Kortz Center, and any options you have not found yet show as crossed-out blanks until you go back and scope them.
Scoping Out the Kortz Center
The scope out is a repeatable intel run through the Kortz Center: find and photograph the entry points and any potential secondary targets. It is the single highest-leverage thing you do in this heist, because what you photograph directly determines which options exist on your board.
One part of the run is required: slip into the security room, knock out the guard, and connect your Mansion's AI Assistant to the Kortz Center's security system. The AI Assistant is the voice you chose when you set the mansion up, and it is what actually hacks the network; Raf, your fixer, just phones through intel as you go. Once it is in, the building's CCTV network is on your phone, and some targets can only be scoped through it: the vault feed is how the primary target gets valued, and the Loading Bay entry is flagged through its camera too. Beyond that, how much you find is up to you. Rack up too many detections and you get thrown out, so treat it as a soft-stealth mission rather than a free roam.
Here is what scoping controls:
Entry points. Each of the four entrances only appears on the board once you have photographed it.
Optional prep work. Each of the five optional preps unlocks by finding a specific object inside the Kortz Center, either with your camera or through the CCTV feeds. The optional preps section below lists all five.
Your maximum secondary targets. The more you scope, the more secondary loot your run can hold. On our board, the secondary-targets total climbed from GTA$ 460,000 to GTA$ 2,677,500 as we scoped more. The primary target's valuation never moved.
Scoping unlocks options, not the heist itself. The five mandatory preps and the START option are on the board from the beginning, so you can rush the required preps and start early if you want to. You would just be locking yourself into fewer entry choices and leaving the optional preps and secondary loot on the table.
A tip for picking targets: not every piece in the exhibition can be stolen. Check the plaque at the lower right of the art. If it names the piece, it is stealable: photograph it and send the shot to Raf to log it as a secondary target. If the plaque only shows a catalog number, the piece cannot be taken, so save yourself the detection risk.
Two more things worth knowing. Secondary targets are randomized per run, so there is no fixed checklist of photos that equals "100 percent scoped": you photograph what your run spawns. And because the scope out is re-launchable from the board, there is no pressure to get everything in one pass. Go back as often as you like until the crossed-out blanks are gone.
The scope out also tells you something important for planning your crew: one section of the museum can only be robbed with two or more players. Solo players can still complete the heist, but that loot is off the table alone.
To make the locations easier to place, here is where the entry points and the main scope objects sit on the Kortz Center grounds:
The Four Entry Points
There are four entry points into the Kortz Center: the Staff Entrance, the Skylight, the Loading Bay, and the Sewer. The first two run through the Bell Building, the tower attached to the Kortz Center; the Loading Bay takes you in at ground level and the Sewer brings you up through the basement.
Each entry has to be scoped before it appears as an option, and each is unlocked by a different photograph:
Entry point | How you scope it |
|---|---|
Staff Entrance | Photograph the Bell Building's ground-floor staff door, marked as a restricted area for authorized employees. This is the default entrance the scope out steers you toward. |
Skylight | Get up to the Bell Building roof and photograph the skylight. |
Loading Bay | Flag the Loading Bay through its CCTV camera feed first, then photograph the garage doors. |
Sewer | Photograph the manhole at the centre of the hedge maze. This one has an extra requirement, covered in the manhole key section below. |
Scoping all four costs you nothing but time, and it keeps every approach open until you commit through your Infiltration Gear pick. Which brings us to the most important link on the whole board.
Infiltration Gear: Your Entry-Point Selector
Here is the key mechanic most first-timers miss: Infiltration Gear is your entry-point selector. The four gear options map one-to-one to the four entry points, so the prep you run decides which door you use on the night:
Infiltration Gear | Entry point | What the gear does |
|---|---|---|
Staff Key Card | Staff Entrance | Clones a key card for the Bell Building staff entrance, and it keeps working inside: the same card opens doors to and from the exhibition. |
Tactical Equipment | Skylight | Night vision, thermite for certain locked doors, and rappel gear for dropping in through the Bell Building skylight. Can also disable some of the exhibition's security cameras. |
Alpha Mail Disguise | Loading Bay | An Alpha Mail van, ID, and outfit, so you can drive in through the loading bay undetected. |
Hazmat Suit | Sewer | Lets you travel the sewers into the Kortz Center basement, and reduces guard detection range once you are inside. You also need the manhole key, covered below. |
You only need to complete one Infiltration Gear prep to start the heist. The rest are optional, but every extra one you finish is another entry point you can pick at the last minute. If you are not sure how you want to run the finale yet, do two: one loud-friendly and one covert.
Remember that the entry point has to be scoped and the matching gear prep completed before the combination is usable. Scoping alone puts the door on the board; the gear prep is what opens it.
Here is how each gear prep actually plays out.
Staff Key Card
Assault the hacker den. Clear the gunmen outside, then push inside.
Take the key card cloner. Shoot the power box to open the shutter, then enter the Terrorbyte parked inside and grab the cloner.
Plant the cloner at the Kortz Center. Attach it to the Staff Entrance keypad while staying out of view of the one security camera watching the door. If the camera catches you, the mission fails.
Leave the area. That is it: this is the only gear prep with no delivery drive back to the mansion.
Tip: there is a second power box in the den that opens a shutter hiding health and armor, worth a shot before the drive out.
Tactical Equipment
Steal the thermite from a guarded van in Burton.
Head to the Bail Office. You have a choice here: surrender at the entrance, or storm the front door.
If you surrender, you get taken to a jail cell. Lockpick your way out and pick your weapons back up from the desk; grabbing them alerts the guards.
Plant the thermite on the main office door.
Clear the office, grab the blue duffel, and deliver it to your mansion.
Tip: surrendering is the easier route in, even with the scramble when you take your weapons back.
Alpha Mail Disguise
Enter the Alpha Mail warehouse quietly and take out the one guard blocking your path with a suppressed weapon.
Grab the outfit. In the locker room to the right, deal with the worker and take the uniform off the wall hook. Holster your weapon so nobody gets suspicious.
Take the Alpha Mail ID from the table in the main office.
Drive the Alpha Mail van out. You get no wanted stars, but police search cones look for you, so swing by the marked LS Customs to change the plate.
Deliver the van to your mansion.
Tips: this is the easiest gear prep, fully stealthable with just two kills. The van failing means the mission failing, so drive it gently.
Hazmat Suit
Hit the meth house in Banham Canyon and fight through the guards.
Find the lab boss. Raf texts you his photo; take him down.
Scan his face with your phone camera to spoof the retina lock, then head through the basement door into the lab.
Take a hazmat suit off one of the workers.
Deliver it to the mansion. You need to be cop-free to hand it in.
Unmarked Weapons: Your Loadout
Unmarked Weapons is the second single-pick category: it decides what you carry inside. There are three loadouts, and if your mansion has the Armory, each one gains a bonus weapon on top:
Loadout | Weapons | Mansion Armory bonus |
|---|---|---|
Street | Battle Rifle, Mini SMG, Suppressed Pistol, Pipe Bomb, Machete | Pump Shotgun Mk II |
Security | Suppressed Bullpup Rifle, Heavy Shotgun, Suppressed Machine Pistol, Stun Gun, Combat Pistol, Grenade, Switchblade | Marksman Rifle Mk II |
Military | Military Rifle, Assault Shotgun, Stun Gun, Tactical SMG, Sticky Bomb, Knife | Heavy Sniper Mk II |
All three loadout preps share one shape: break into the holder's location, crack the weapon locker's keypad, grab the duffel, wipe the CCTV, and deliver everything to the mansion. What changes is the venue, and how much heat it brings:
Street sends you to a gang repair shop, and it is the easiest of the three.
Security raids a SecuroServ warehouse. Here you wipe the CCTV by planting explosives on the terminal, so get clear before they blow.
Military means the Fort Zancudo control tower. Your first kill puts an instant 3-star army response on you, the terminal at the top uses a connect-the-nodes hack, and the locker room opens one floor down by the elevator. You wipe the CCTV by hacking a laptop and pulling its backup drive, then lose the cops before delivering.
The keypad on Street and Security is a five-letter anagram that plays like hangman: wrong guesses keep any correctly placed letters, and you get five mistakes to work with. Words we have seen: MOTOR, RAPID, COVER. And a Zancudo tip: if your ride gets destroyed on the Military prep, the hangars have jets to steal for the escape.
For a stealth run, Security is the natural pick: it is the only loadout with two suppressed weapons, and the Stun Gun gives you a non-lethal option for guards. Military hits hardest if you plan to go loud, and Street sits in between with a suppressed sidearm and cheap explosive utility.
Getaway Vehicle
The third single-pick category is your ride out, and each option leaves from a different part of the complex:
Manchez: fast off-road dirt bikes, escaping from the rear of the Bell Building.
Armored Caracara: an armored truck with a .50 Cal Machine Gun, escaping via the car park. The pick for when you expect the exit to get loud.
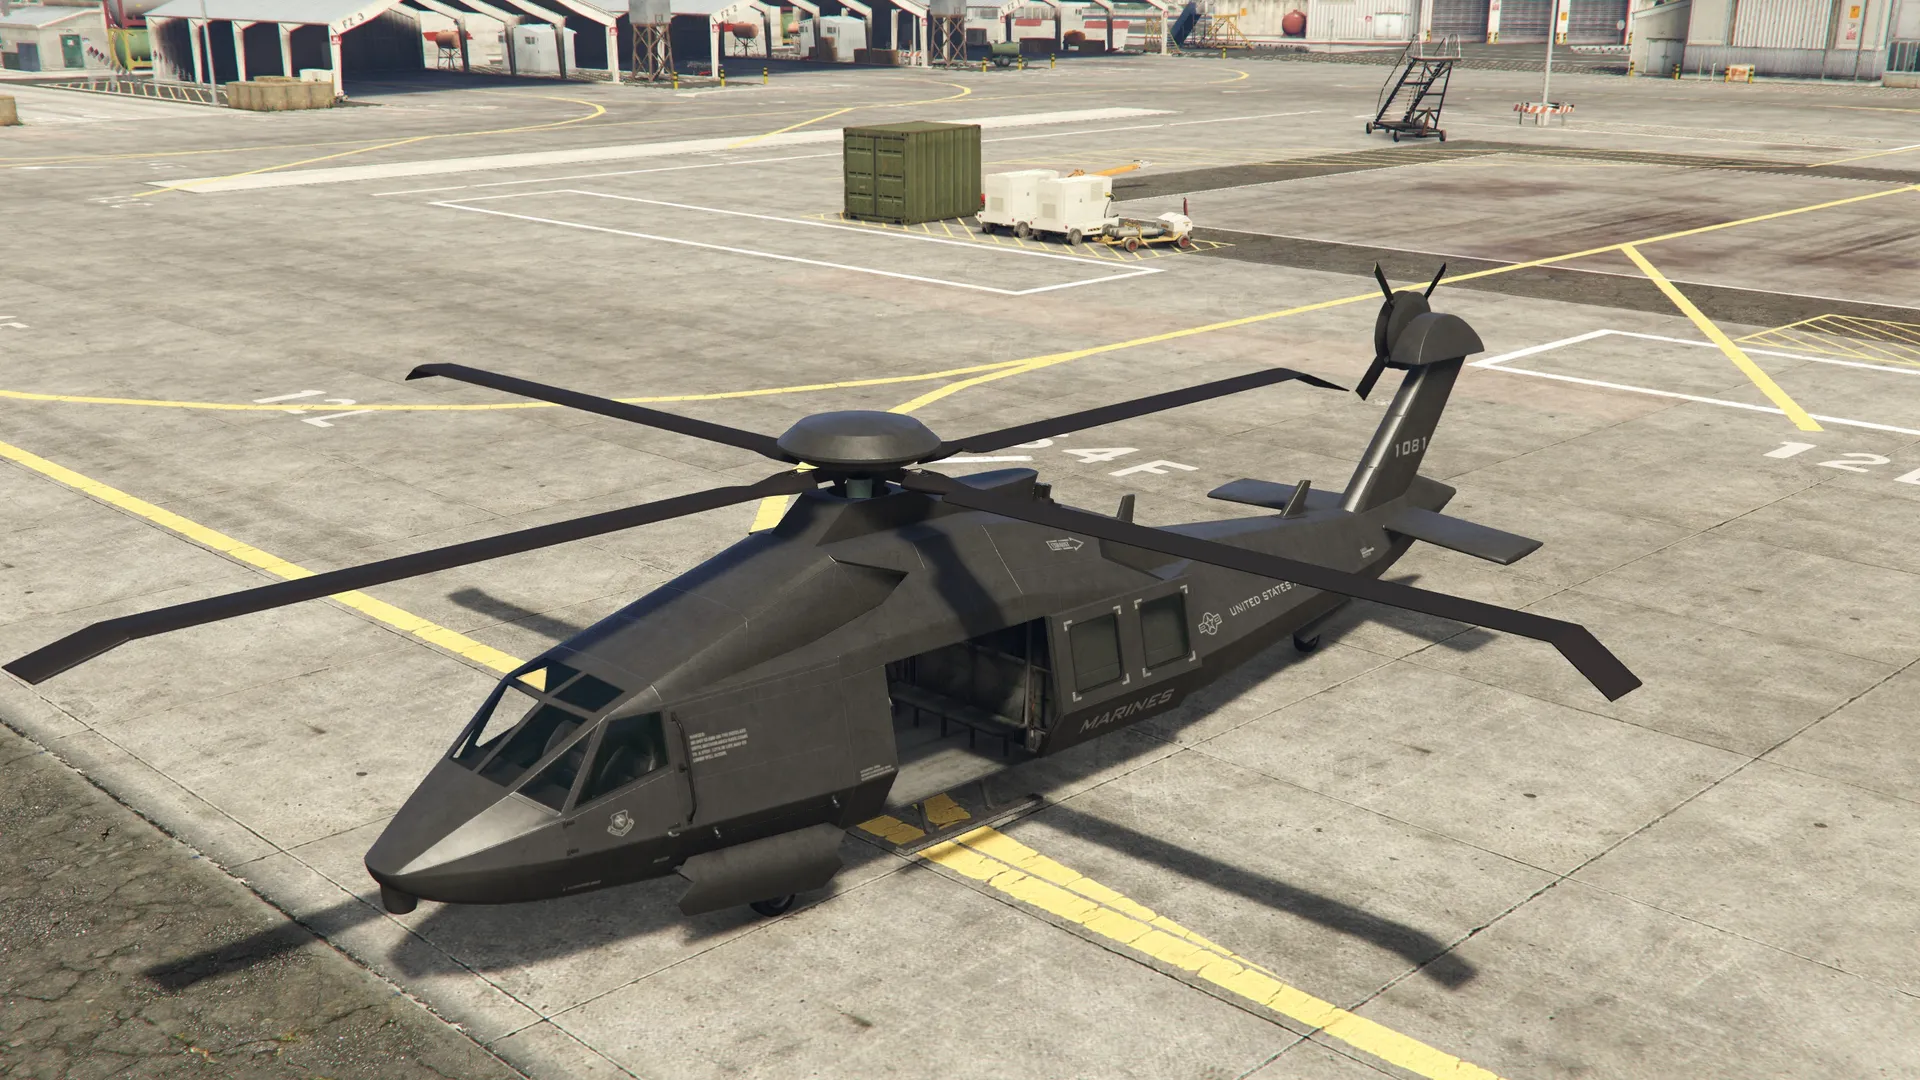
Annihilator Stealth: a stealth helicopter piloted by Pernell Moss, lifting you off the Bell Building roof.
If your mansion has the Vehicle Workshop, whichever vehicle you pick gets Engine Performance Upgrades on top.
One pairing worth planning around: the Annihilator Stealth is the vehicle the Advanced Avionics purchase in the Extras panel supports, so if you are leaning toward the air exit, read the Extras section before you spend.
Manchez
Raid the cocaine lockup, and shoot the alarm on purpose. It pulls cops away from where you are headed next: the Mission Row Police Station.
Breach the station's rear entrance and fight your way up to the Captain's office.
Pick the office lock. Clear the officers around the office first so nobody interrupts you, then grab the garage key card from the cabinet.
Open the garage. Back downstairs, shoot the fuse box to raise the shutters. Four Manchez bikes wait inside; solo you only need one, a full crew can take one each.
Lose the cops and deliver. The sewer tunnel entrance right beside the station is the easy out. Text Raf to wrap it up.
Armored Caracara
Crack the letter keypad on a Vespucci Canals garage.
Suit up. Put on the racing overalls and take the Apocalypse Imperator inside.
Roll into Maze Bank Arena through the marker like a race entrant.
Take the Caracara on the track. Drop the .50 cal gunner on the back first (he is heavily armored and the real threat), then the driver.
Steal it and outrun the 2-star on the way to the mansion; the Caracara mostly shrugs the pursuit off.
Tip: if you cannot catch it, drive the track the wrong way and meet it head-on.
Annihilator Stealth
Head to Fort Zancudo and destroy the two reinforced hangar door locks: three homing missiles or rockets each. Launchers spawn around the base, marked on the map, if you came empty.
Weather the 4-star response once the shooting starts.
Haul the heli out. It sits on a flatbed trailer: hook it to a truck cab and go off-road to shake the pursuit. The heli has its own health bar, and losing it fails the prep.
Deliver the trailer to Pernell Moss at Sandy Shores Airfield.
Fly it to the drop-off once he patches it up, in stealth mode, weaving past the patrol jets' vision cones. Get spotted and you have to down every jet and lose the cops before you can land.
This is the hardest getaway prep by a distance.
One caveat before you commit to the air exit: there is currently a launch-week bug where Pernell Moss can crash the helicopter during the finale extraction and sink an otherwise clean run. Until it is patched, the Manchez or the Caracara is the safer call.
Equipment: Access Code and Hacking Device
The Equipment category holds the two preps you cannot skip and cannot swap: the Access Code and the Hacking Device. No arrows, no options, both required before START unlocks.
The Access Code unlocks the reinforced door deeper into the building: the room behind it holds the laser grid that leads to the vault. The Hacking Device is what opens the vault door itself without being detected, and it doubles as the requirement for the Vault Keypad practice extra covered below.
The Access Code prep is the low-stakes one of the pair: clear the guards holding the container, and the rest is mostly flying. Here is the flow:
Take the drone. Fight through the guards around the container, shoot the lock, and grab the drone inside.
Drive to the rooftop vantage point overlooking the security firm's tower.
Fly the drone into the tower through the marked A/C unit.
Shock the control panel to short the door open.
Scan the office terminals while staying out of the guards' sight; the right terminal is different every time.
Hover in the green field until the download finishes.
Fry the backup server. Fly to the far side and hold the detonate on it so the code cannot be rotated, then leave the area. Done.
Tips: if the drone gets wrecked it respawns at the entry point, and its shock also works on any guard who gets curious.
The Hacking Device prep has more moving parts, and one in-mission decision that a little loadout planning makes far easier, so we walk that one through next.
The Hacking Device Prep, Step by Step
The Hacking Device prep sends you to raid an IAA facility for the device that opens the vault door in the finale. Most of it is a straightforward smash-and-grab, but one moment inside rewards you for loading out correctly before you launch it.
Bring Night Vision or Thermal Vision, or run a weapon with a flashlight. You will see why at the blast door: without night sight, one of the mission's two shortcuts turns into a bad idea.
Here is how the prep plays out:
Interrupt the deal. The mission opens on an IAA deal going down after dark. Hit it hard and take out the agents.
Search the agent for the IAA key card. One of the agents is carrying the key card that gets you into the facility, so search the agent's body to grab it. Expect the firefight to pull a wanted level.
Escape the cops. Lose the police before you move on; you do not want heat trailing you to the IAA facility.
Open the blast door. Inside the facility, a blast door stands between you and the device, and you have two ways past it: hack the terminal, or destroy the power generator beside it. Destroying the generator cuts the power and plunges the whole facility into darkness for about a minute. This is the decision your loadout is for. If you brought Night Vision, Thermal, or a flashlight, blow the generator: the lights drop and you can clear the guards in the dark while they cannot see you. If you did not, leave the generator alone (you would be fighting blind too) and hack the terminal instead to keep the lights on.
Steal the hacking device. With the blast door open, grab the device from the facility's control room. One caution: the room near the device holds explosive gas canisters, so watch your fire in there.
Escape through the access tunnels. The exit route can differ run to run: sometimes you drive the van straight out, sometimes the route winds up a ramp through the maintenance areas. Either way you escape through the tunnels and shake the IAA pursuit on the drive back to your mansion.
The generator-versus-terminal call is the whole trick to this prep: with night sight it turns a guarded room into a free clear; without it, take the terminal and keep the lights on. Below are the two moments that decide it, the blast-door call and the grab that follows:
The Five Optional Preps
The optional preps are where the scope out pays off. There are five. Three of them unlock when you photograph a specific object during the scope out; the other two unlock the moment you view their objects through the CCTV camera feeds, no photo needed. That is one more reason the security-room hook-in comes first.
Optional prep | How you unlock it | What it does |
|---|---|---|
EMP Charges | Photograph the electrical box on the upper level outside, on the way up to the roof | Triggers an EMP during your escape: lights and security cameras go down, all CCTV footage is destroyed, and an extra staircase between the exhibition and the basement opens up |
Guard Routes | Photograph the radio tower on the roof | Plants a tracker on the Kortz Center's radio master, showing the position of every security guard |
Guard Shipments | View the guards' shipment crates through the Loading Bay camera feed | Destroys the guards' incoming weapons and equipment, so they fight with weaker weapons and armor |
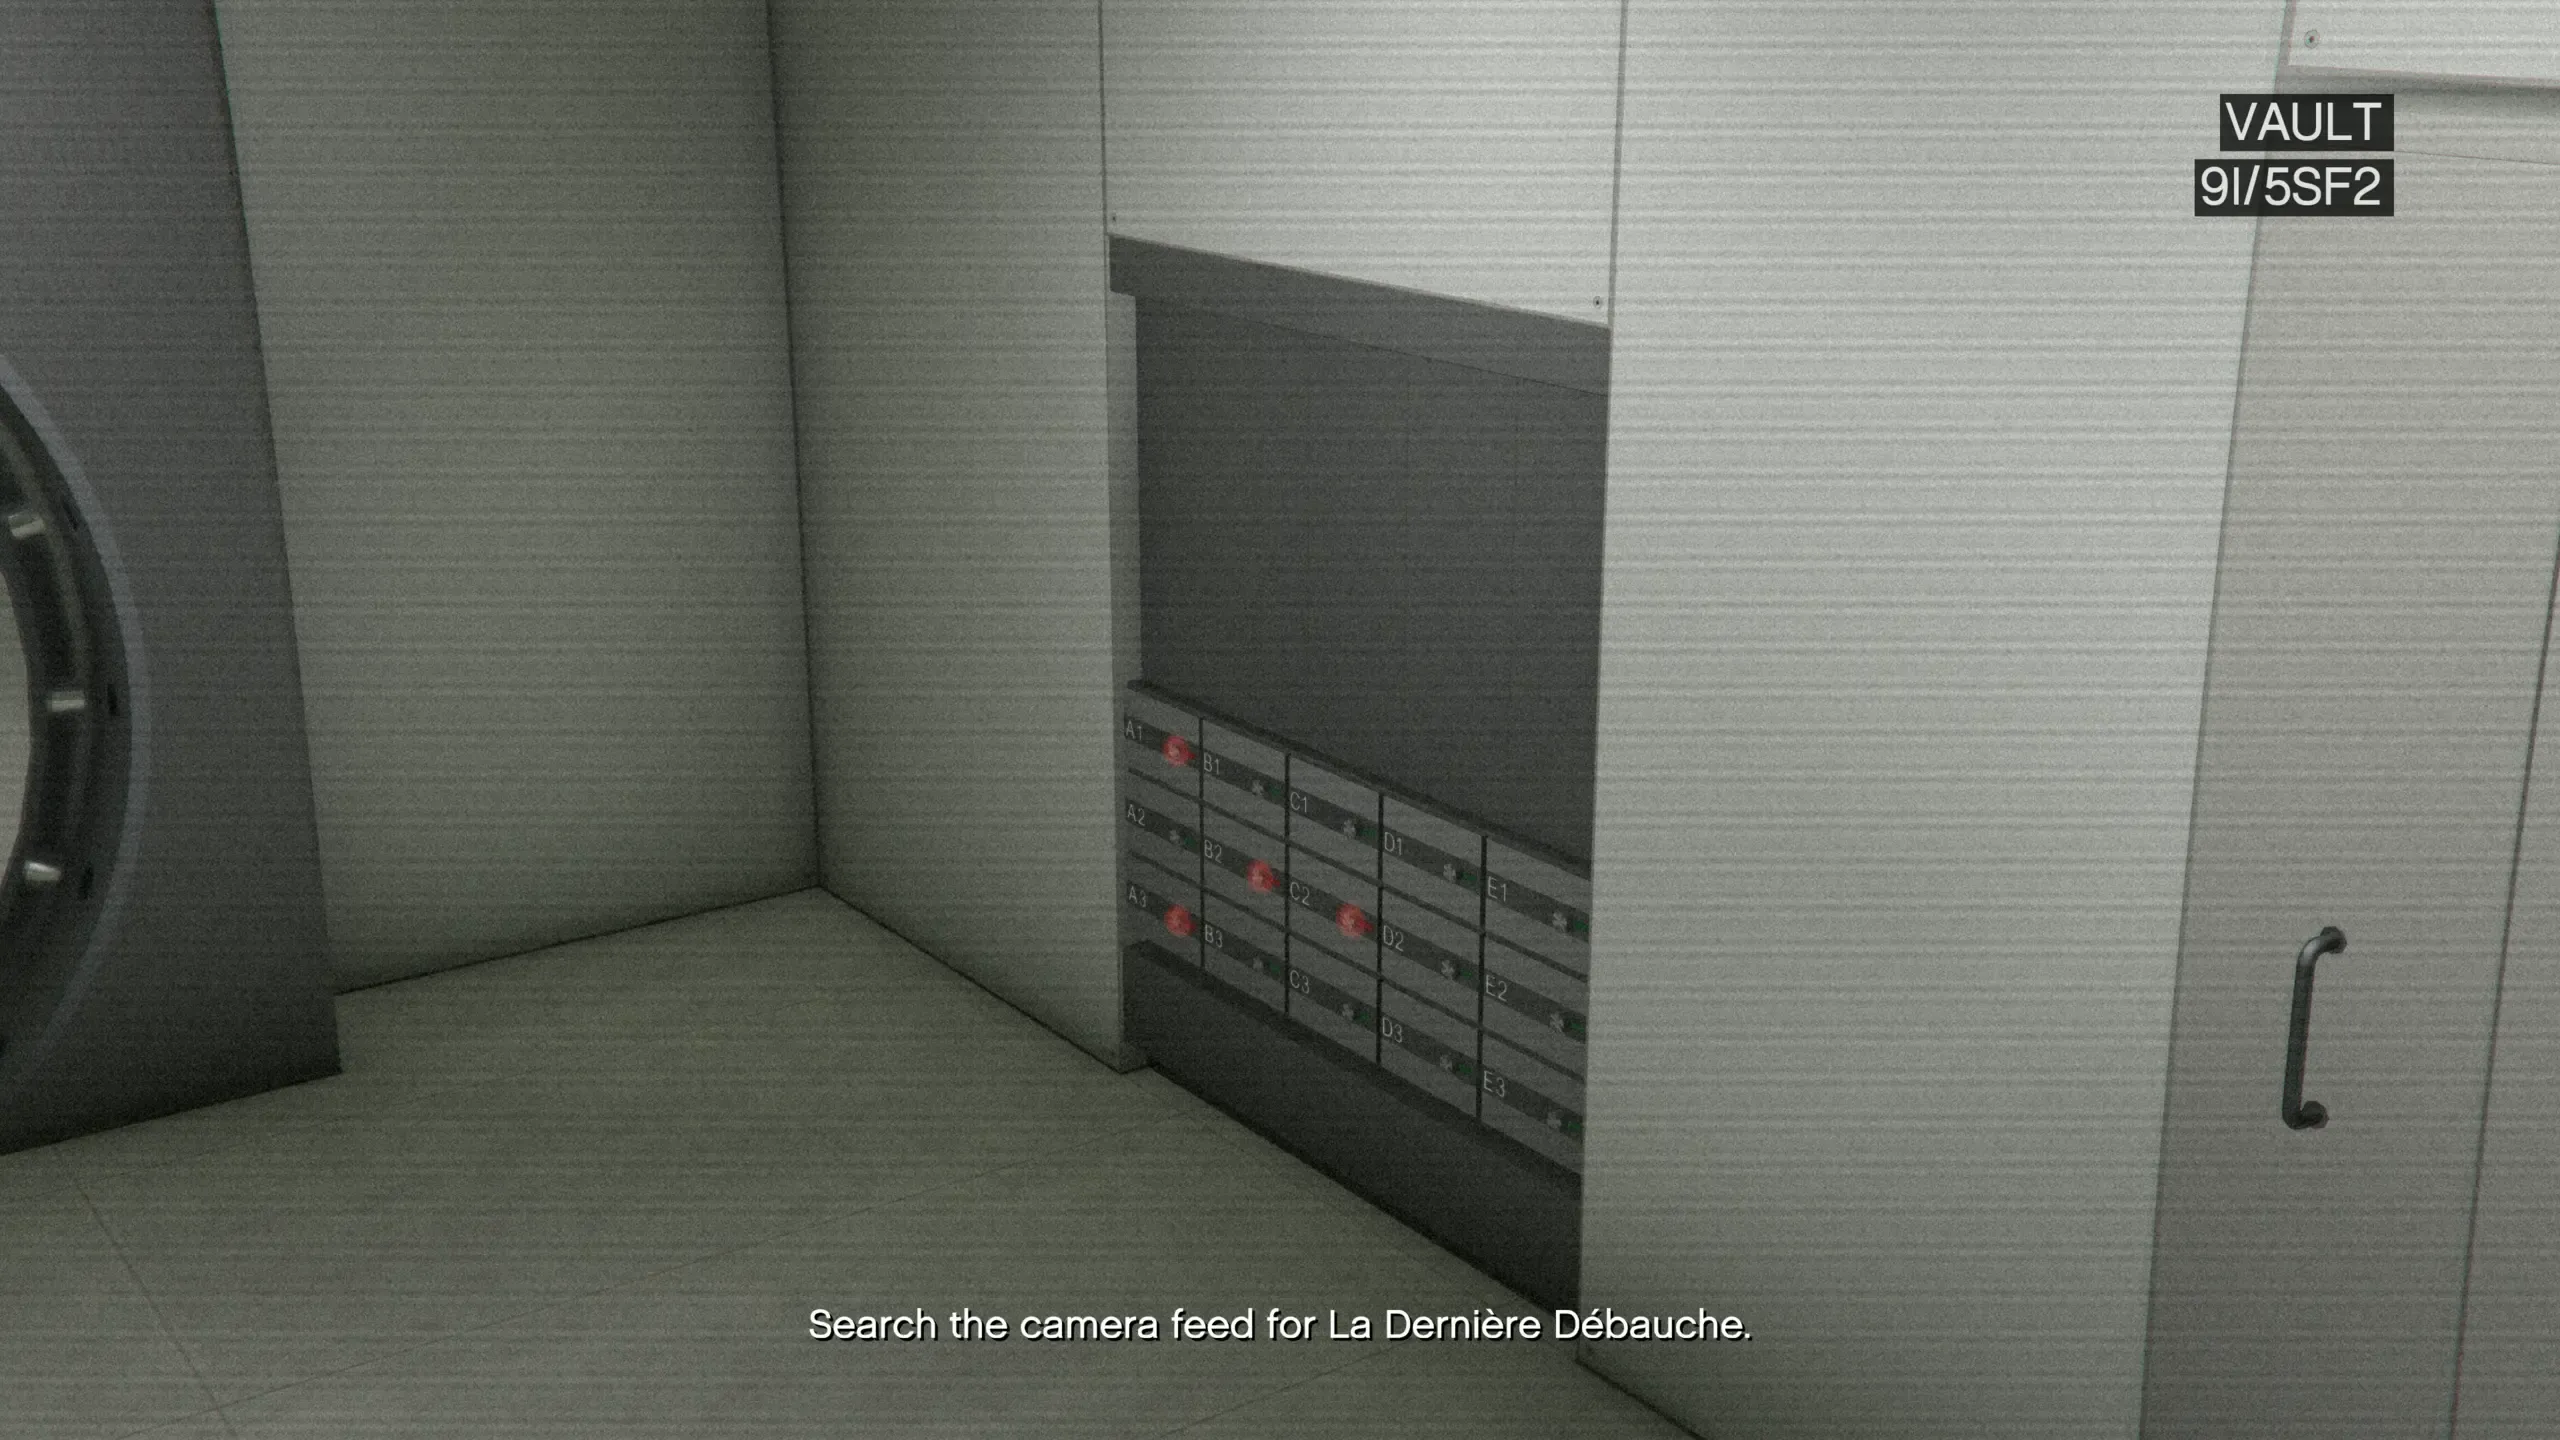
Power Drills | View the lockboxes through the vault camera feed | Lets you drill the lockboxes inside the vault for additional loot |
Glass Cutter | Photograph any reinforced glass display case (the sealed cases with a red light inside) | Cuts through the reinforced display cases in the exhibition, which is what makes the secondary targets inside them takeable |
Here is what each mission involves, and which ones are actually worth your time.
EMP Charges. Intercept a Merryweather Mobile Operations Center and clear the agents inside, then drive the Rumpo van from the back of the truck to the Kortz Center, park it out front, and arm it. Verdict: the covert core. The blackout and the extra staircase are what you are really buying; the footage wipe helps too, though there is also a computer inside the Kortz Center during the finale that can wipe footage.
Guard Routes. Steal a radio tracker from the trunk of an unmarked police cruiser, lose the cops, then plant it on the radio mast on the Kortz Center roof, dealing with the two roof guards. Verdict: the stealth pick. Seeing every guard's position takes the guesswork out of a quiet run; skip it if you plan to go loud.
Guard Shipments. Hit a warehouse on Elysian Island, destroy the weapon and armor shipments, hack the laptop for the delivery routes, then chase down and destroy three delivery vans before they scatter. Verdict: do this one every time. Weaker, lighter-armored guards make the whole finale easier, whether you are sneaking or shooting.
Power Drills. A quick raid on a construction house in Vinewood: grab the drills from the duffel inside and get out. It is the shortest prep of the five. Verdict: the one to skip. The vault lockboxes it opens hold some of the least valuable loot in the building, and your bag space is better spent on art.
Glass Cutter. Upload your Mansion's AI Assistant to the KnoWay servers, then raid the gang safehouse it finds in Burton and take the cutter. While you are in the safehouse, look for the sticky note with the safe code: it opens a safe with GTA$ 10,000 inside. Verdict: effectively mandatory if you want secondary loot, because the best pieces sit in the reinforced cases only the cutter opens. Skippable on a primary-only speed run.
The Extras Panel
The Extras panel on the board holds two optional purchases. Neither is a prep mission.
Vault Keypad (GTA$ 450,000): a replica of the vault door's keypad for your mansion, so you can practice the unlock ahead of time instead of learning it under pressure in the finale. You need the Hacking Device acquired before you can use it. Ours showed up free, which looks tied to GTA+ and completing the Fine Art Collector Program, so check your own board price before budgeting.
Advanced Avionics (GTA$ 1,200,000): improves the Annihilator Stealth's handling so Pernell Moss can more easily evade the cops during the getaway. If the cops do not know your location when he takes off, he evades them completely. It only applies to the Annihilator Stealth, so skip it with any other getaway.
Where to Find the Manhole Key
If your Sewer entry point refuses to scope, this is why. Photographing the manhole at the centre of the hedge maze is not enough on its own: the Sewer route also needs a Manhole Key.
The key spawns at one of five spots on the Kortz Center grounds, all of them at ground level and always near the workbenches, toolboxes, ladders, and work equipment left lying around outside. Only one spot has the key on any given run, so if the first spot you check is empty, move on to the next. The map below marks all five and the maze route to the sewer entrance; the photos beneath it, numbered to match the map, show what the spots look like on the ground.
The key is easy to spot once you know what you are looking for: a long gold rod with a triangular handle, about waist height, propped against a wall or standing by the tools. Grab it, photograph the manhole, and the Sewer entry logs properly. You may also see it called the Sewer Key in some places; same item.
Since the scope out is re-launchable, missing the key on your first pass costs you nothing. Relaunch, sweep the five spots until you find it, and pick it up.
Which Entrance and Setup Is Best?
Every run ends up at the same place: the basement vault. The Loading Bay and the Sewer start you at or near it; the Staff Entrance and the Skylight start you higher up, with more of the building to cross on the way down. The further from the vault you start, the more guards and cameras you meet, and that simple rule decides most of the verdicts below.
Best overall, and best solo: the Loading Bay with the Alpha Mail Disguise. You drive in disguised, nothing challenges you on the way in, and you start closest to the vault. The depot you spawn in also holds a valuable extra case in the back of a truck; there is a crowbar nearby that opens it, and it barely takes any bag space. If you only run one entrance, this is the best entrance in the Kortz Center Heist.
Best for pure stealth: the Sewer. It surfaces in the basement with the fewest guards and cameras between you and the vault, sometimes none at all, and the Hazmat Suit shrinks guard detection range once you are inside. The cost is the setup friction: the manhole key hunt and the least convenient scope-out.
Staff Entrance: the easiest to set up, with the easiest scope and the easiest gear prep, and a fine first run. But you start on the exhibition's upper floor and work down; the elevator hack shortens the descent.
Skylight: the flashy one. Night vision and camera disabling are real perks, but it is the longest route down to the vault, so it is the hardest to keep quiet.
Entry | Where you start inside | Best for | Watch out for |
|---|---|---|---|
Loading Bay | The depot, closest to the basement vault | Best overall pick and the best solo run | You need the Alpha Mail van prep done and driven in clean |
Sewer | The basement, near the vault | Pure stealth runs | The manhole key hunt and the least convenient scope-out |
Staff Entrance | The exhibition's upper floor | First runs; the easiest setup | You start a floor up; the elevator hack shortens the trip down |
Skylight | The top of the Bell Building | Night vision and camera-disabling perks | The longest route to the vault, hardest to keep quiet |
Getaway verdict. The Annihilator Stealth is the solo pick: a roof exit with no street pursuit, and Advanced Avionics makes it near-untouchable if you lift off unseen, though at GTA$ 1,200,000 it only pays for itself if you will replay the heist. Until the landing bug above is patched, the Manchez (one bike per crew member, rear exit) is the reliable pick, and the Caracara is the insurance choice for a run you expect to end loud.
Loadout verdict. Security for stealth: two suppressed guns plus the Stun Gun. Street if you want the cheapest, fastest prep mission. Military only if you plan to fight.
Choices, Stealth, and Payout
The Kortz Center Heist runs on a stealth economy: witnesses and surviving CCTV footage make the stolen art harder to fence and worth less. A clean covert run, with no witnesses and the footage destroyed, sells for full value. This is why the EMP Charges matter so much: destroying the CCTV footage is not just a convenience, it directly protects your take.
Crew money is simple: there are no percentage cuts to negotiate. The host banks the take, and anyone who assists is paid a flat fee instead.
Now the numbers. The standard take for the primary painting runs GTA$ 304,500 to GTA$ 481,250, depending on which painting is on the board that week. The first time you complete the heist each week pays a roughly 4x bonus on the primary, GTA$ 1,218,000 to GTA$ 1,925,000, and the weekly clock resets on Thursday. Secondaries stack on top: a fully scoped board can hold well over GTA$ 2,000,000 in art, and clean solo runs regularly land around GTA$ 2,000,000 to GTA$ 2,200,000 all-in on the first run of the week.
Replays change the math. Your first run is free to launch; every replay costs a GTA$ 100,000 setup fee, and repeat runs the same week earn a fraction of the first as the market saturates, with the repeat primary landing around GTA$ 400,000 before secondaries and the fee. The first clean run each week is the one that matters.
There is a hard mode, but you cannot get it on a fresh weekly run: it only triggers when you pay to replay within about 15 minutes of Raf's call. That makes every hard run a same-week replay, so its roughly 10 percent bonus applies to the reduced replay take, not the first-run millions. Do not chase hard for the base money; treat it as a small sweetener on farming runs and the way to double the elite bonus below. Hard is not one-life; you can go down and keep the run alive.
And there is an elite bonus on top: finish under 17 minutes with 90 percent accuracy, minimal value loss, and the buyer's request secured, and you earn GTA$ 50,000 on normal or GTA$ 100,000 on hard.
Our own board backs those ranges up: our fully scoped week-one board valued the primary painting at GTA$ 1,925,000, right at the top of the first-weekly bonus band, with up to GTA$ 2,677,500 more in secondary targets. Board valuations are a ceiling, and a clean run is how you get close to it.
Recommended Setups
Scope everything first. The scope out is free, repeatable, and it is the only thing that raises your maximum secondary take. Nothing else on the board grows the job.
Bring a partner for the full take. The heist completes fine solo, but one section of the museum can only be robbed with two or more players, so a duo has a higher ceiling.
The solo stealth build. Alpha Mail Disguise into the Loading Bay, the Security loadout, and the Annihilator Stealth (add Advanced Avionics if you will replay; take the Manchez while the landing bug stands). For optionals, run Guard Shipments, EMP Charges, Guard Routes, and the Glass Cutter, and skip the Power Drills.
The group build. Two players minimum unlocks the co-op room on Exhibit Level 2 and more bags for case loot, so the Glass Cutter matters even more here. Run the same optionals and clear the exhibition properly.
Prep order that wastes no time. Scope fully first, then your one gear prep, then loadout, then getaway. Slot the Access Code and Hacking Device in whenever; they are required anyway. Run the optional preps last, skipping whatever your plan does not need.
Match your gear to your plan. Pick the Infiltration Gear for the entry you actually want, and only buy Advanced Avionics if the Annihilator Stealth is your getaway.
Kortz Center Heist Preps FAQ
How do you scope out the Kortz Center Heist?
Launch the scope out from your planning board (you can relaunch it at any time). Get into the security room and connect your Mansion's AI Assistant to the security system to unlock the CCTV feed, then work through what you find: photograph the four entry points and the secondary targets your run spawns, and scope the objects that unlock the five optional preps, some in person and some through the cameras. Un-found options stay as crossed-out blanks on the board until you scope them, and too many detections end the run early.
What are all four entry points?
The Staff Entrance, the Skylight, the Loading Bay, and the Sewer. Each has to be photographed during the scope out to appear on the board, and each is opened by a matching Infiltration Gear prep: the Staff Key Card, Tactical Equipment, the Alpha Mail Disguise, and the Hazmat Suit respectively.
Which entrance is best in the Kortz Center Heist?
The Loading Bay via the Alpha Mail Disguise, both overall and solo: you drive in unchallenged and start closest to the vault. For a pure stealth run the Sewer edges it, surfacing in the basement past almost every guard and camera. The full reasoning, plus a per-entrance comparison table, is in the best-entrance section above.
What order should you do the Kortz Center preps in?
Scope fully first, since scoping is what puts entry points, optional preps, and secondary loot on the board. Then run your gear prep, loadout, and getaway, fit the Access Code and Hacking Device in whenever, and finish with the optional preps your plan actually needs. Every prep is free to launch and runs on a roughly 30-minute timer.
Can you do the Kortz Center preps solo or in an invite-only session?
Yes, all of them. Every prep supports 1–4 players and works in an invite-only session, and after the first unlock you can start them by calling Raf instead of returning to the mansion.
Where is the manhole key?
It spawns at one of five ground-level spots around the Kortz Center grounds, near the workbenches, toolboxes, ladders, and work equipment outside; all five are marked on the map in the manhole key section above. Look for a long gold rod with a triangular handle, propped upright at about waist height. You need it, plus a photo of the manhole at the centre of the hedge maze, for the Sewer entry point to log.
What does the Glass Cutter prep do?
It cuts through the reinforced display cases in the exhibition, which is what makes the secondary targets inside them takeable. You unlock the prep by photographing one of those reinforced cases (the sealed ones with a red light inside) during the scope out. If secondary loot is part of your plan, this prep is not really optional.
Can you do the Kortz Center Heist solo?
Yes, the heist supports 1–4 players and is fully playable alone. One section of the museum can only be robbed with two or more players though (the scope out tells you this), so a partner raises your maximum take.
What are the mandatory and optional preps?
Five preps are mandatory: one pick each from Infiltration Gear, Unmarked Weapons, and Getaway Vehicle, plus the fixed Access Code and Hacking Device. The board's to-do list shows six items because it also counts the Scope Out. The five optional preps are EMP Charges, Guard Routes, Guard Shipments, Power Drills, and the Glass Cutter, each unlocked by scoping a specific object.
How much does the Kortz Center Heist pay?
The standard primary take runs GTA$ 304,500 to GTA$ 481,250 depending on the week's painting, and your first completion each week pays a roughly 4x bonus on that, GTA$ 1,218,000 to GTA$ 1,925,000, with the weekly clock resetting on Thursday. Secondary loot stacks on top, so clean solo runs regularly land around GTA$ 2,000,000 or more all-in on the first run of the week, and more players raise the ceiling since a bigger crew can carry out more of the art. Witnesses and surviving CCTV footage cut into whatever you grab.
How does the payout split work with a crew?
There are no percentage cuts to negotiate: the host banks the take, and helpers are paid a flat fee instead. Decide up front who hosts.
Is there a cooldown on the Kortz Center Heist?
After the finale, Raf calls when you can run it again, and the wait varies. Replays carry a GTA$ 100,000 setup fee (your first run is free) and pay a fraction of your first weekly run, and replaying within about 15 minutes of his call starts the run on hard mode.
What is the difference between normal and hard difficulty?
Hard mode only exists on replays: it triggers when you start the heist again within about 15 minutes of Raf's call, and there is no way to play your first run of the week on hard. It pays roughly 10 percent more, but since every hard run is a same-week replay, that bonus applies to the reduced replay take rather than the big first-run payout. The real draw is the doubled elite bonus, GTA$ 100,000 instead of GTA$ 50,000. It is not one-life: you can go down and keep the run alive. We are still confirming what else changes on hard.